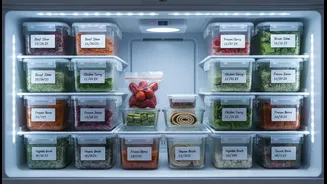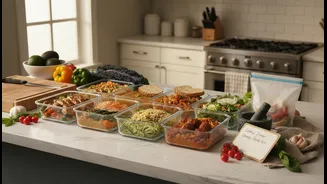




From Freezer Chaos to Kitchen Command
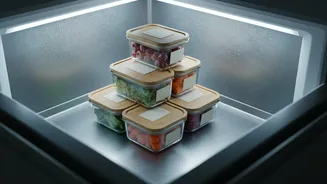
The freezer can be a magical appliance, preserving the bounty of a weekend cooking session for busy weeknights ahead. But without a system, it quickly becomes a frosty graveyard for unidentified frozen objects. Proper labeling is the single most effective
way to prevent food waste and ensure the meals you freeze are actually eaten. It turns a jumble of containers into a well-organized library of future dinners, saving you money and the mental energy of guessing what's for dinner. A freezer full of clearly marked meals provides peace of mind, knowing a delicious, home-cooked option is always minutes away. The goal is to eliminate guesswork entirely, so that anyone in the household can grab a meal and know exactly what it is and how to prepare it.
The Anatomy of a Perfect Freezer Label
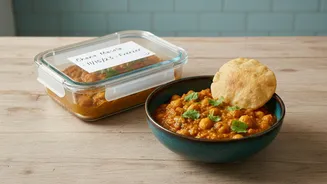
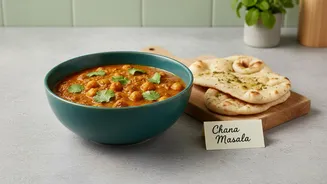
A truly useful freezer label needs to tell a complete story. Vague notes like "Chicken" or "February" are not enough. To make your future self thank you, every label must contain three key pieces of information: the name of the dish, the date it was frozen, and specific reheating instructions. 1. Dish Name: Be specific. Instead of "Soup," write "Spicy Lentil and Vegetable Soup." This avoids flavour surprises and helps you pick a meal that fits your craving. If you made a variation, note that too (e.g., "Extra Mild Chili"). 2. Date Frozen: This is non-negotiable. While properly frozen food is safe indefinitely, its quality degrades over time. Most prepared meals are best eaten within two to three months. The date helps you practice the "First In, First Out" (FIFO) method, ensuring you use up older items first. 3. Reheating Notes: This is the most overlooked but arguably most crucial part. Don't assume you'll remember the best way to bring a dish back to life.
Don't Skip the Reheating Instructions
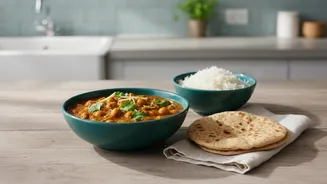
Reheating is where a great frozen meal can turn into a disappointing, rubbery mess. Your label should be a mini-recipe that guarantees success. Should the meal be thawed in the fridge overnight? Can it go straight from freezer to oven? What temperature and for how long? For a casserole, you might write: "Thaw overnight. Bake covered at 180°C for 25 mins, then uncovered for 10 mins." For a soup: "Reheat from frozen on stovetop, medium heat, stirring often." Adding a splash of water or broth can revive many dishes, so including a tip like "Add 2 tbsp water before microwaving" can be a game-changer. These simple notes remove all friction, making it just as easy to reheat your home-cooked meal as it is to order takeout.
Choosing the Right Tools for the Job
Your perfect label is useless if it falls off or becomes illegible. Standard paper labels and many inks will fail in the cold, moist environment of a freezer. The most common and effective DIY method is using masking tape and a permanent marker. The tape adheres well to most containers (plastic, glass, foil) and the marker ink resists smudging. For those who want a cleaner, more reusable option, several specialty products exist. Dissolvable labels are a fantastic innovation; they stick firmly in freezing temperatures but wash off completely with water, leaving no sticky residue. This is ideal for glass or plastic containers that you use frequently. Waterproof freezer labels, often made of durable film, are another excellent choice, ensuring your writing stays crisp and clear. Whatever tool you choose, the key is to apply the label to a clean, dry container before it goes into the freezer for the best adhesion.