
Hollywood Waves, Simplified
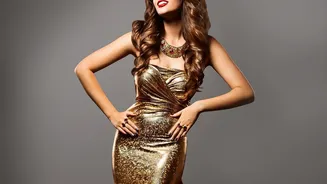
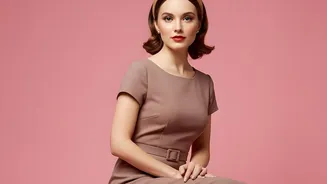
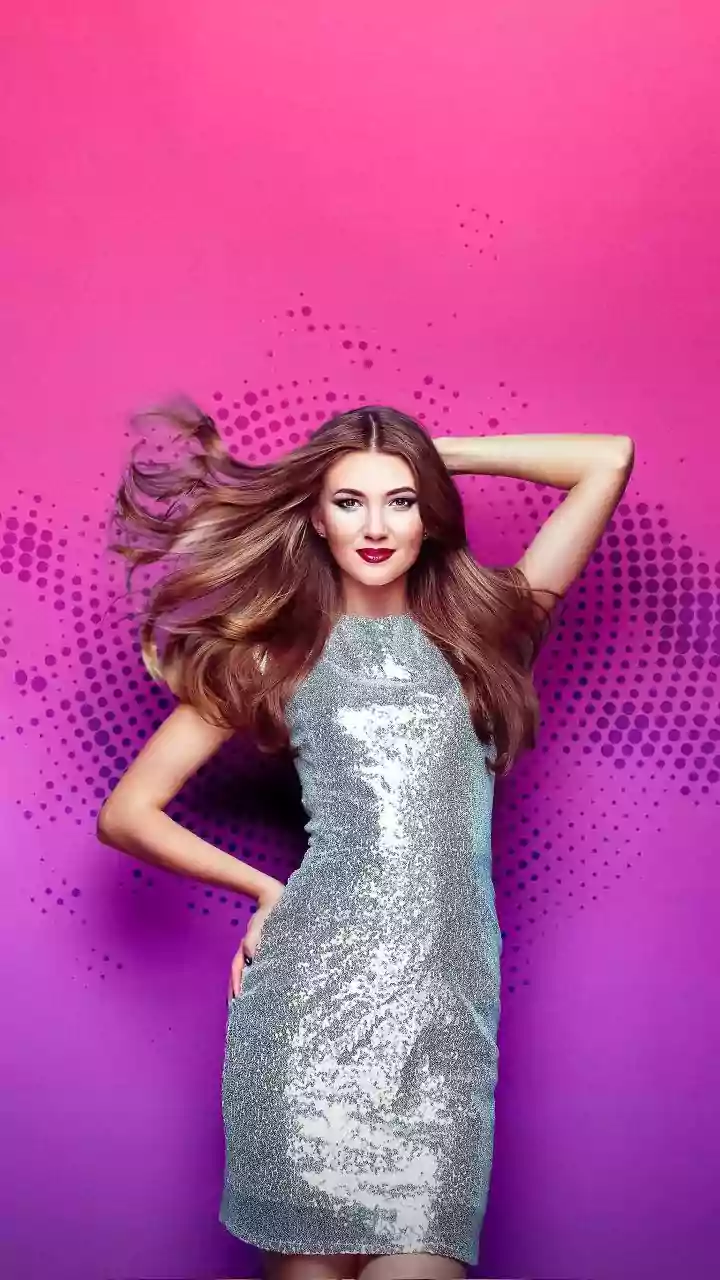
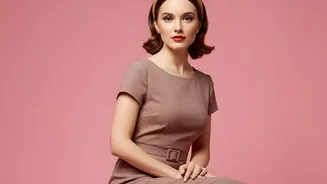
The soft, uniform waves of Old Hollywood starlets are iconic for a reason—they spell pure glamour. While traditional methods involved complicated pin curl sets, you can get a similar effect with a modern curling iron. The key is to curl every section
of your hair in the same direction. Use a 1.5-inch barrel curling iron for a bouncier, more voluminous wave. Take a section of hair, wrap it around the barrel, and hold for a few seconds. The most important step is to catch the fresh curl in your hand, roll it up towards the root, and clip it in place to cool. This 'at-home' pin curl set method ensures the curls last longer and have that distinct, sculpted shape. Once your entire head is curled, clipped, and cooled, gently brush through the curls with a paddle brush. The curls will merge into soft, rolling waves. For that signature look, tuck one side behind your ear and set with a light-hold hairspray.
The Faux Finger Wave
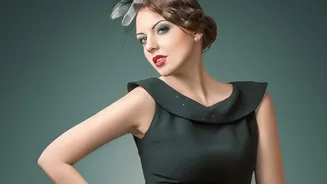
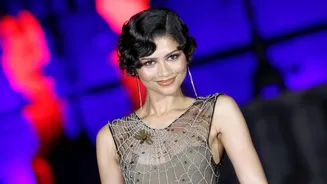
The 1920s finger wave is a masterpiece of sculpted hair, traditionally done on wet hair with a lot of product and patience. However, you can achieve a similar 'S-shape' effect with a few clever tricks. For a quick version, work with damp hair and a strong-hold gel or mousse. Use a fine-toothed comb to push a section of hair forward to create a ridge, then use your fingers to hold it in place while you comb the hair below it in the opposite direction. Place a clip at the ridge to hold the shape and continue this pattern down the hair shaft. An even faster method involves a flat iron. Simply clamp down on a section of hair and push it upwards to create a curve, then move the iron down and bend the hair in the opposite direction. This mimics the wave pattern without the wet set. It's a fantastic way to add a touch of vintage flair around your face for a special occasion.
The Effortless Gibson Tuck
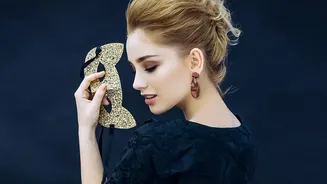
The Gibson Tuck is an elegant updo from the early 20th century that looks incredibly intricate but is surprisingly simple to create. This style works best with a simple elastic headband. Place the headband over your head, on top of your hair. Starting from one side, take a section of hair and begin tucking it up and over the headband, wrapping it around. Continue grabbing sections of hair and wrapping them around the band until all your hair is tucked in, creating a beautiful, rounded roll at the nape of your neck. You can make it sleek and perfect or pull out a few tendrils around your face for a softer, more romantic feel. Secure any loose ends with bobby pins, and finish with a light mist of hairspray. This entire style can be done in minutes and is perfect for keeping your hair off your neck while still looking polished.
Quick Victory Rolls
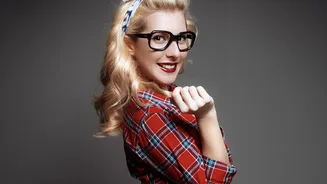
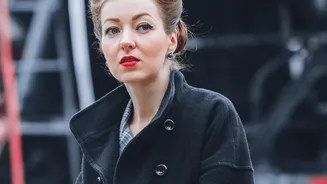
Victory rolls are the quintessential 1940s hairstyle, and they are not as difficult as they look. This signature look involves creating voluminous rolls on top of the head. To start, section off the hair at the front where you want your roll—a deep side part works beautifully. Tease the base of the section to create volume. Then, take the end of the hair and begin rolling it inwards toward your scalp, creating a tube shape. Keep your index finger inside the roll to maintain the shape as you position it against your head. Once you're happy with the placement, secure it with several bobby pins along the inside of the roll. You can create one dramatic roll on the side or two matching ones. The rest of your hair can be left down in soft waves or pulled back into a simple bun. It’s a statement look that adds instant retro personality.