


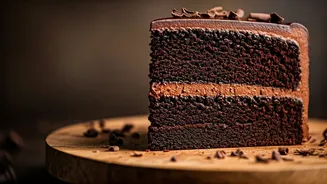


The Myth of a Difficult Dessert
For many home cooks, chocolate mousse belongs on the 'too hard' pile, along with soufflés and croissants. We've been taught to associate it with temperamental custards, scary water baths (bain-marie), and the dreaded gelatin. The fear is real: one wrong
move and you get grainy chocolate, soupy texture, or scrambled eggs. The truth is, the classic mousse in its purest form is an exercise in simplicity. It’s about coaxing air into a mixture of chocolate and eggs. This recipe strips away all the intimidating extras, leaving behind only the essential steps to achieve a dessert that is deeply chocolatey, ethereally light, and almost laughably easy to make.
Your Three-Ingredient Shopping List
This isn't a trick. You truly only need three things. But because the ingredient list is so short, their quality matters more than ever. Here’s what you’ll need for about four generous servings: * **Good-Quality Dark Chocolate (170g):** This is the star of the show. Choose a chocolate you would enjoy eating on its own, ideally with 60-70% cacao. Avoid baking chips, which often contain stabilisers that prevent them from melting smoothly. * **Large Eggs (3):** Freshness is key. You'll be using both the yolks and the whites, so make sure you can separate them cleanly. * **A Pinch of Salt:** This isn't just for seasoning. A tiny bit of salt enhances the flavour of the chocolate and helps stabilise the whipped egg whites.
Step 1: Melt the Chocolate
The first step is to create a smooth, liquid base. Gently melt your chopped chocolate. You can do this in a heatproof bowl set over a saucepan of simmering water, ensuring the bottom of the bowl doesn't touch the water. Alternatively, you can use a microwave: heat the chocolate in 20-second bursts, stirring in between, until it’s almost completely melted. A few remaining lumps will melt from the residual heat as you stir, preventing you from accidentally scorching it. Set the melted chocolate aside to cool slightly—it should be warm, not hot, to the touch.
Step 2: Separate and Whip the Eggs
This is the most crucial step for texture. Carefully separate your eggs. Place the yolks in a small bowl and the whites in a larger, scrupulously clean bowl (any trace of fat will prevent the whites from whipping properly). Using an electric mixer or a whisk and some serious arm power, beat the egg whites with a pinch of salt until they form 'stiff peaks'. This means when you lift the beaters out, the peak that forms holds its shape without flopping over. Don’t over-whip them, or they’ll become grainy and hard to incorporate. Next, lightly whisk the egg yolks and stir them into the slightly cooled melted chocolate until the mixture is smooth and glossy.
Step 3: Fold, Don't Stir
Now for the magic. The goal is to combine the airy egg whites with the rich chocolate base without deflating all the air you just whipped in. This is done by 'folding'. Take about a third of your whipped egg whites and stir them into the chocolate mixture. This is called 'sacrificing' the whites; it lightens the dense chocolate base, making it easier to fold in the rest. Now, add the remaining egg whites on top. Using a spatula, gently cut down through the middle of the bowl, scrape along the bottom, and 'fold' the chocolate mixture up and over the whites. Rotate the bowl a quarter turn and repeat. Continue this gentle motion until just a few streaks of white remain. Over-mixing is the enemy of lightness.
The Final Step: Chill Out
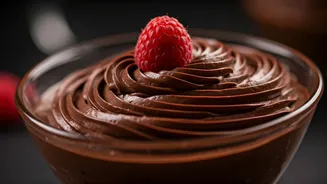
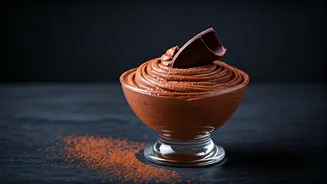
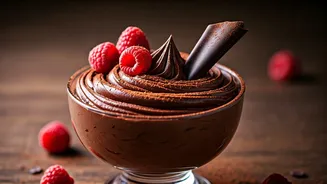
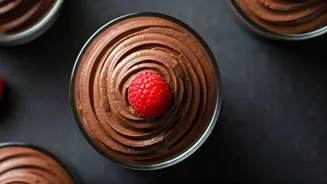
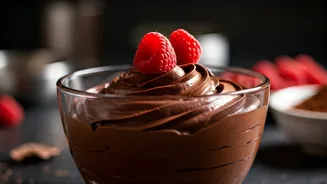
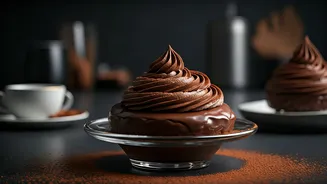
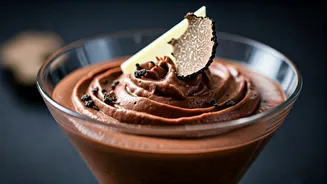
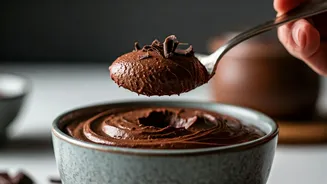
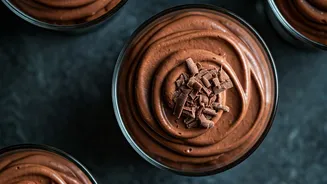
The last ingredient is time. Spoon the mousse into your serving dishes—small bowls, glasses, or teacups all work wonderfully. Cover them with plastic wrap and transfer them to the refrigerator. The mousse needs at least 2-3 hours to set completely. During this time, the chocolate will firm up, and the flavours will meld together, transforming the airy mixture into the rich, spoonable dessert you’ve been dreaming of. This step is not optional; it’s what gives the mousse its signature texture. When you’re ready to serve, you can top it with a dollop of whipped cream, some chocolate shavings, or fresh berries, but it’s just as magnificent on its own.