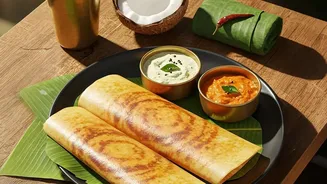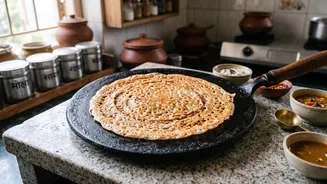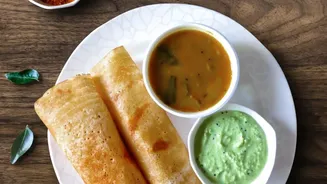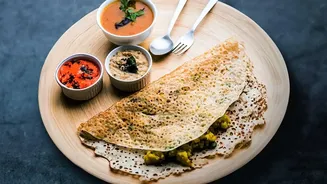





The dream is a golden, paper-thin dosa that lifts off the tawa with ease. The reality is often a sticky, torn mess. But achieving that perfect crispiness on a traditional cast-iron pan isn't magic; it's a matter of technique.
The Foundation: Seasoning Your Tawa
Before a single drop of batter
hits the pan, the secret to a non-stick dosa lies in the tawa's seasoning. A well-seasoned cast-iron pan develops a natural, non-stick layer called a patina. This is created by applying a thin layer of high-smoke-point oil (like sesame or vegetable oil) and heating the pan until the oil polymerizes, bonding to the iron. If your tawa is new or has lost its seasoning, this step is non-negotiable. Wash and dry it thoroughly, apply a very thin coat of oil across the entire cooking surface, and heat it on a medium flame until it starts to smoke lightly. Let it cool completely and wipe away any excess oil. Repeating this process 2-3 times builds a robust, slick surface that encourages the dosa to release cleanly.
Perfecting the Batter Consistency
The batter itself plays a huge role. For crispy dosas, the consistency should be pourable but not watery—think thin cream or crepe batter. If the batter is too thick, it won't spread easily and will result in a soft, pancake-like dosa. If it's too thin, it may break apart. A well-fermented batter, which will be light and show tiny air bubbles, is also crucial. An under-fermented batter is a common cause of sticking. Before you begin, bring your batter to room temperature; cold batter straight from the fridge is harder to spread evenly. If needed, adjust the consistency by adding a small amount of water until it flows smoothly from the ladle.
Mastering the Art of Temperature
Temperature control is perhaps the single most common reason for dosa failure. Cast iron retains heat exceptionally well, but it takes time to heat up. Preheat your tawa on a medium flame for at least 3-5 minutes. To check if it’s ready, use the water droplet test: sprinkle a few drops of water onto the surface. If they sizzle and dance across the pan before evaporating, the temperature is perfect. If they evaporate instantly with a loud hiss, the pan is too hot and will cause the batter to seize and stick upon contact. If the water just sits and boils, the tawa is too cold, which also leads to sticking. Should the pan get too hot, reduce the flame and sprinkle a little water on it, wiping it away with a cloth to bring the temperature down before pouring the batter.
The Technique for a Crisp Dosa
With a seasoned tawa, perfect batter, and the right temperature, it’s time to cook. Just before your first dosa, wipe the hot tawa with a cloth or half an onion dipped in a little oil. This provides a final, micro-layer of grease and helps prevent sticking. Pour a ladleful of batter into the center of the tawa. Working quickly and with a light touch, use the back of the ladle to spread the batter in a continuous, outward spiral motion. Don't go back over areas you've already spread. Once spread, drizzle a teaspoon of oil or ghee around the edges. Now, be patient. The dosa is ready to be lifted when you see the edges turn golden brown and begin to curl up and lift away from the pan on their own. At this point, a thin spatula should slide underneath with no resistance.