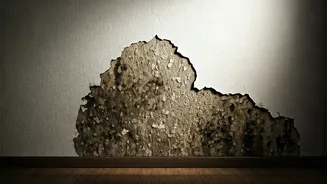


First, Identify the Source of the Damp
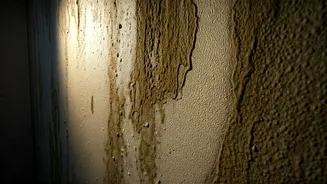
Before you can fix a damp corner, you need to play detective. There are three main culprits behind dampness in Indian homes. The most common is condensation, which occurs when warm, moist air hits a cold surface, like an external wall. This is especially
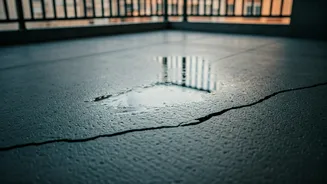
prevalent in rooms with poor ventilation like bathrooms and kitchens, or during winter. Next is penetrating damp, caused by water entering from outside through cracks in the walls, a leaky roof, or faulty pipes. This often appears as a distinct damp patch that may worsen after rain. The third, and most serious, is rising damp. This happens when groundwater travels up through the brickwork from the foundation, usually because of a missing or failed damp-proof course (DPC). It typically shows up as a 'tide mark' on the lower part of ground-floor walls.
A Simple Test to Find the Cause
To figure out what you're dealing with, you can perform a simple foil test. Dry a section of the damp wall with a cloth or fan, then tape a piece of kitchen foil tightly over the area, sealing all four edges. Leave it for 24 to 48 hours. When you remove it, check for moisture. If the side of the foil facing the room is wet, you have a condensation problem. If the wall behind the foil is wet, the moisture is coming from within the wall itself, pointing to either rising or penetrating damp. Knowing this difference is crucial, as the solutions are very different.
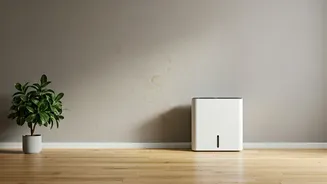
Practical Fixes for Condensation
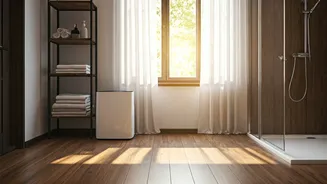
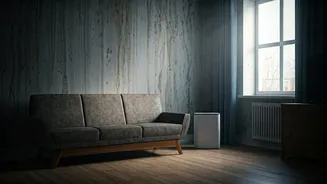
Since condensation is the most frequent issue, it's also the easiest to manage with some simple lifestyle changes. The key is to improve ventilation to reduce the amount of moist air trapped inside your home. Get into the habit of opening windows for at least 15 minutes each day, especially in bedrooms and living areas. Use extractor fans in the kitchen when cooking and in the bathroom after a shower, and keep the doors to these rooms closed to prevent steam from spreading. Avoid drying clothes indoors on radiators, as this releases a large amount of moisture into the air. If possible, leave a small gap between furniture and external walls to allow air to circulate. In particularly humid areas, a dehumidifier can be a great investment to actively remove excess moisture from the air.
Tackling Penetrating and Rising Damp
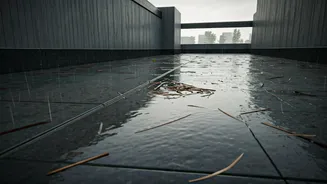
If your problem is penetrating damp, the solution lies outside. Carefully inspect your exterior walls for any cracks, especially around window frames. Check your gutters and drainpipes for blockages or leaks that could be causing water to overflow and soak into the wall. Minor cracks can be filled with a suitable sealant or waterproof putty. For more significant issues like damaged roofing or widespread cracks in the render, it's best to call a professional. Rising damp is a more complex structural problem that almost always requires expert help. The most effective long-term solution is injecting a chemical damp-proof course (DPC) into the base of the wall to create a waterproof barrier that stops moisture from rising from the ground. This is a specialised job and not a simple DIY fix.
Repairing the Wall and Preventing Return
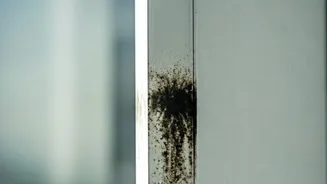
Once you have addressed the source of the damp, you can repair the internal damage. Start by cleaning the affected area thoroughly, removing any mould with a specialised cleaner or a mixture of vinegar and water. Allow the wall to dry out completely, which could take some time. Once dry, you can scrape away any peeling paint or crumbling plaster. Before repainting, it's a good idea to apply a damp-proof paint or a waterproof primer. These products create a barrier to prevent any residual moisture from reaching the new paint. For a final layer, consider using a good quality, anti-mould or moisture-resistant paint for added protection.