





The Hidden Damage of Humidity
Before we get into the routine, it’s important to understand what you’re fighting. The steam from a hot shower creates a perfect breeding ground for mould and mildew, which can thrive in grout lines, on ceilings, and behind walls. This isn't just an eyesore;
it can pose health risks, especially for those with allergies or asthma. Beyond biological growth, persistent dampness can cause paint and wallpaper to peel, bubble, and warp. It can also damage wooden cabinets and doors, and even cause metal fixtures to rust over time. A few minutes of prevention can save you from costly repairs and endless scrubbing down the line.
Step 1: Get the Air Moving Immediately
The most critical step is ventilation. As soon as you step into the shower, turn on the exhaust fan. If you don’t have one, crack open a window. The goal is to move the humid air out of the room as quickly as possible. The Home Ventilating Institute and other experts recommend leaving the fan running for at least 20 to 30 minutes after you’re done showering to ensure all the moisture is vented outside. This simple act prevents condensation from settling on walls, mirrors, and other surfaces, which is the first step toward mould growth.
Step 2: Use a Squeegee on Glass and Tile
A shower squeegee is an inexpensive tool that makes a huge difference. Taking 30 to 60 seconds to wipe down glass doors and tiled walls removes the vast majority of water droplets. This isn't just about preventing water spots; it's about eliminating the moisture that mould and bacteria need to survive. When water soaks into grout, it can create a permanent home for mould that is difficult to remove. A quick pass with a squeegee drags all that excess water down the drain, keeping surfaces drier and significantly reducing the food source for mildew.
Step 3: Wipe Down Remaining Wet Spots
After squeegeeing the large surfaces, use a dedicated cloth or small towel to quickly wipe down any remaining puddles. Pay attention to shower shelves, faucet fixtures, the soap dish, and the tub ledge. These are areas where water tends to pool and go unnoticed. By drying these spots, you eliminate another potential breeding ground for mildew. It’s a small detail that contributes to an overall drier and cleaner bathroom environment.
Step 4: Properly Hang Your Towel and Bath Mat
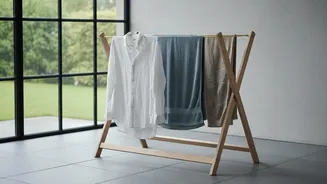
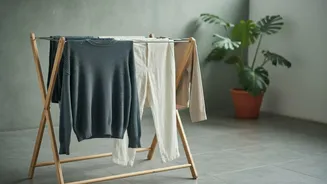
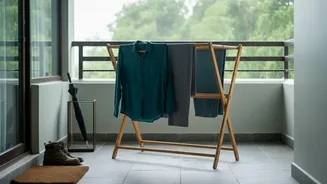
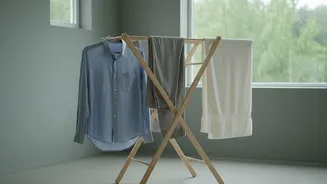
Don't leave wet towels in a heap on the floor or bunched up on a hook. Damp towels can quickly develop a musty smell, which is a sign of bacteria or mildew growth. To ensure your towel dries completely between uses, spread it out as much as possible on a towel bar. This allows for maximum air circulation. The same goes for your bath mat. If it’s soaked, hang it over the side of the tub or on a drying rack instead of leaving it on the floor where moisture can get trapped underneath.
Step 5: Leave the Door Open
Finally, after you've finished your routine and your exhaust fan has done its job, leave the bathroom door wide open when you leave. This allows any remaining moisture in the air to dissipate into the rest of your home, promoting better airflow and helping the room to dry out completely. A closed door traps humid air, prolonging the damp conditions that you’ve just worked to eliminate.