





Why the Low Bun Is Your Best Friend
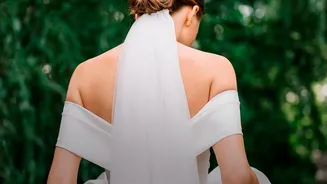
Before we get into the how-to, let's appreciate the simple genius of the low bun. It’s incredibly versatile, looking just as appropriate in a boardroom as it does at a weekend brunch. It keeps hair neatly off your neck—a blessing in India's heat and humidity—and
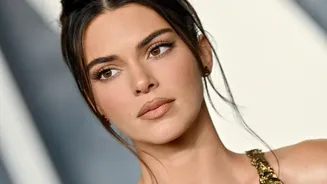
projects an air of effortless sophistication. Unlike high buns that can feel severe or overly casual, a low bun sitting at the nape of the neck is universally flattering and gentle on your hair, reducing the pulling and tension that can lead to breakage. It's the perfect combination of practical and polished.
Gather Your Simple Toolkit
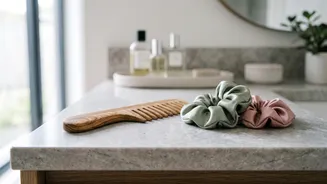
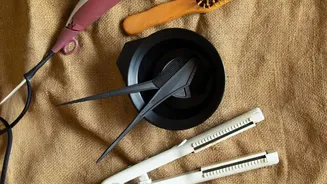
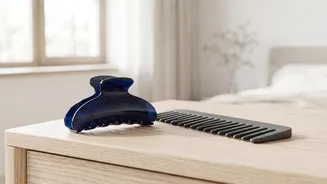
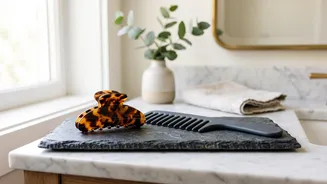
You don’t need a salon's worth of products to achieve this look. In fact, the beauty of the low bun lies in its minimalism. Here’s what you’ll need to have ready: A Hairbrush or Comb: To detangle and smooth your hair. A Hair Tie: Choose a good quality one that won't snap. A clear elastic or one that matches your hair colour works best. Bobby Pins: The hero of this style. Have 4-6 on hand. U-shaped pins are also a fantastic option for extra hold. Optional - Hairspray or Texturizing Spray: For added grip and to tame flyaways.
Step 1: Prep Your Hair
The best buns are built on a good foundation. While you can do this style on freshly washed hair, it often holds better on second-day hair, which has a bit more natural grip. If your hair is clean and silky, give it some texture by spritzing a light texturizing spray or a bit of dry shampoo at the roots. Brush your hair thoroughly to remove any tangles, ensuring it's smooth from root to tip. Decide if you want a centre part or a side part and create it now.
Step 2: Create a Low Ponytail
Gather your hair at the nape of your neck, as if you're making a low ponytail. How tight you make it is up to you. For a sleek, professional look, brush your hair back smoothly. For a softer, more romantic feel, keep the base a little looser and pull out a few face-framing tendrils. Secure the ponytail with your hair tie. Don't worry about it being perfectly neat; the bun will cover it.
Step 3: Twist and Wrap
Now for the main event. Take your ponytail and twist it from the base to the ends, creating a single rope of hair. The tighter you twist, the neater your bun will be; a looser twist will result in a more relaxed, 'messy' bun. Once your ponytail is fully twisted, begin coiling it around the base of the hair tie. Wrap the twisted hair around the elastic, tucking the ends underneath the bun as you finish the coil.
Step 4: The Art of Pinning
This is the step that ensures your bun stays put all day. Take your first bobby pin and, holding it open, anchor a piece of the outer edge of the bun to the hair at the base of your scalp. The trick is to insert the pin so the wavy side is against your scalp for better grip. Continue this around the bun, using pins at the 12, 3, 6, and 9 o'clock positions to secure it evenly. For extra security, try crossing two bobby pins in an 'X' shape at the base. If you have U-shaped pins, slide one vertically into the base of the bun and twist it sideways to lock it in place. Jiggle your head gently; if the bun feels loose, add another pin where needed.
Make It Your Own: Simple Variations
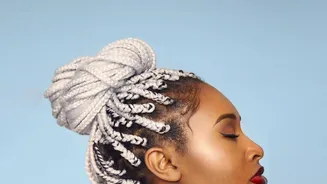
Once you've mastered the basic low bun, it's easy to customize. For a fuller, more voluminous look, gently tug and 'pancake' the bun after pinning it to make it appear larger. For a touch of elegance, braid your ponytail before coiling it into a bun. Another chic option is the loop bun: on the last pull-through of your hair tie, only pull the ponytail halfway through to create a loop, then wrap the ends around the elastic and pin them. You can also adorn your bun with decorative clips or even a silk scarf for a pop of colour.