

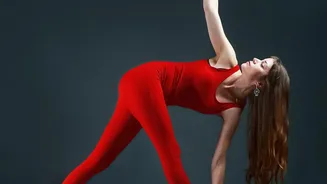
More Than Just a Workout
Surya Namaskar is more than a physical exercise; it's a moving meditation that integrates body, breath, and mind. The continuous flow from one posture to the next elevates the heart rate, providing cardiovascular benefits similar to aerobic exercise.
This process enhances blood circulation, ensuring that oxygen and vital nutrients reach every part of your body efficiently. The sequence of forward bends, backbends, and twists also gently massages the abdominal organs. This can stimulate the digestive system, improve nutrient absorption, and support overall metabolic function. By engaging multiple muscle groups, regular practice helps build lean muscle mass, which is key to a more efficient metabolism as muscle burns more calories at rest than fat.
Step 1: Pranamasana (Prayer Pose)
Begin by standing at the front of your mat with your feet together. Balance your weight equally on both feet. As you expand your chest, bring your palms together in a prayer position in front of your chest. This initial pose helps to establish a sense of calm and centeredness before you begin the flow. Take a few natural breaths to ground your energy.
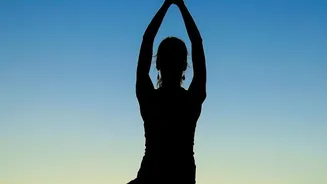
Step 2: Hasta Uttanasana (Raised Arms Pose)
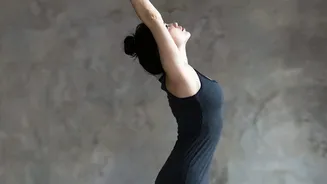
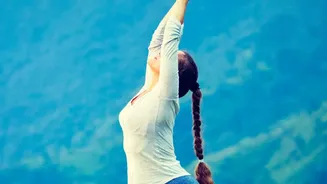
Inhale as you lift your arms up and back, keeping your biceps close to your ears. The aim is to stretch the entire body from your heels to the tips of your fingers. This pose lengthens the front of the body, stretches the abdomen, and opens the chest to encourage full oxygen intake.
Step 3: Hastapadasana (Standing Forward Bend)
Exhale as you bend forward from the waist, keeping your spine straight. Bring your hands down to the floor beside your feet. This intense stretch works on the hamstrings and spine, and the compression of the abdomen aids digestion.
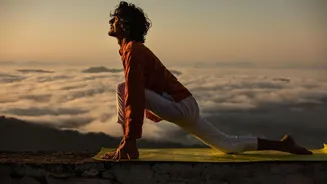
Step 4: Ashwa Sanchalanasana (Equestrian Pose)
Inhale as you push your right leg back as far as you can. Bring your right knee to the floor and look up. This lunge position deeply stretches the hip flexors and quadriceps while strengthening the legs.
Step 5: Dandasana (Plank Pose)
Exhale and bring your left leg back to join the right, aligning your body in a straight line like a plank. This pose is excellent for building core strength, toning the arms, and engaging the entire body.
Step 6: Ashtanga Namaskara (Eight-Limbed Salutation)
Gently bring your knees down to the floor and then lower your chest and chin to the floor. Your hips will remain slightly elevated. This unique pose involves eight parts of the body touching the floor: two hands, two feet, two knees, the chest, and the chin.
Step 7: Bhujangasana (Cobra Pose)
Inhale as you slide forward and raise your chest up into the Cobra Pose. Keep your shoulders down and away from your ears. This backbend strengthens the spine, opens the chest, and can stimulate the abdominal organs. Studies have shown oxygen consumption is highest during this pose in the sequence.
Step 8: Adho Mukha Svanasana (Downward-Facing Dog)
Exhale and lift your hips and tailbone up to come into an inverted 'V' shape. This pose provides a full-body stretch, particularly for the hamstrings, calves, and spine. It also helps to build upper body strength and improve circulation.
Step 9: Ashwa Sanchalanasana (Equestrian Pose)
Inhale and bring your right foot forward between your hands. Your left knee comes down to the floor. This mirrors step 4, continuing the symmetrical stretching of the body.
Step 10: Hastapadasana (Standing Forward Bend)
Exhale and bring your left foot forward to join your right. Straighten your legs and return to the forward bend position, bringing your hands to the floor. This is a repeat of step 3.
Step 11: Hasta Uttanasana (Raised Arms Pose)
Inhale, roll your spine up, and raise your hands overhead, bending backward slightly from the hips. This is the same as step 2, completing the cycle of movement and breath.
Step 12: Pranamasana (Prayer Pose)
Exhale as you first straighten your body and then bring your palms together in front of your chest, returning to the starting position. This completes one half-round. To complete a full round, repeat the entire sequence, this time leading with the left leg in steps 4 and 9.