




Choosing Your Indian Wheat
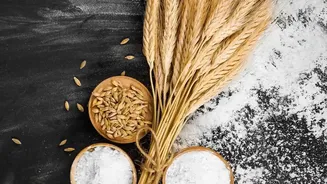
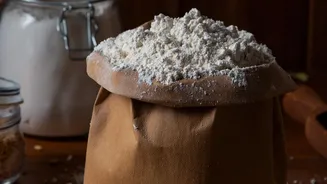
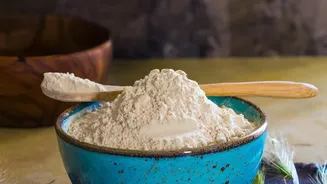
The heart of your starter is the flour. Luckily, Indian kitchens are well-stocked with great options. Whole wheat flour, or atta, is an excellent choice to begin with. Its bran and germ contain a wealth of natural yeasts and bacteria that will kickstart
fermentation. Maida (all-purpose flour) can also be used, either on its own or in a blend. Many bakers find a 50/50 mix of atta and maida offers a good balance of microbial activity and gluten development. Ancient grains like Khapli (Emmer wheat) are also fantastic, lending a nutty, earthy flavour if you can find them. For this guide, we'll start with whole wheat atta for a robust beginning.
What You Will Need
You don’t need fancy equipment. Most of what’s required is probably already in your kitchen. First, a clean glass jar (at least 750ml) is essential, as glass won't react with the fermenting mixture. You will also need a kitchen scale for accurate measurements, which is more reliable than using cups. Lastly, you’ll need your flour of choice and filtered or RO water. Tap water can sometimes contain chlorine, which may inhibit yeast growth, so it's best to avoid it.
Day 1-2: The Beginning
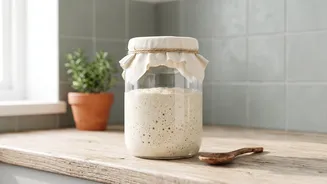
On the first day, combine 50 grams of whole wheat atta with 50 grams of lukewarm water in your jar. Mix thoroughly until no dry flour remains. The consistency should be a thick paste. Cover the jar loosely with its lid or a piece of cloth secured with a rubber band; this allows air to circulate while keeping pests out. Place the jar in a warm spot, away from direct sunlight, for 24 hours. On day two, you might see a few small bubbles, or you might see nothing at all. Both are normal. Don't do anything else, just let it sit for another 24 hours.
Day 3-6: The Feeding Routine
From day three, you will begin a daily feeding routine. You'll notice the mixture may have some bubbles and a slightly sour or fruity smell. This is a good sign. To feed it, first discard about half of the mixture. Then, add 50 grams of fresh atta and 50 grams of water. Mix everything well, cover loosely, and return it to its warm spot. Repeat this process every 24 hours. Around day five or six, the activity should become more pronounced, with the starter rising and falling predictably. The smell will evolve, becoming more tangy and complex, like yogurt or beer.
Coping with the Indian Climate
India's generally warm climate can be a huge advantage for sourdough, as yeast loves warmth. However, high heat and humidity can also cause your starter to ferment too quickly. If your kitchen is very warm (above 30°C), your starter may peak and become hungry in just a few hours. To slow things down, you can use cooler water for feedings, feed your starter twice a day (every 12 hours), or find a cooler spot in your home. A slightly 'stiffer' starter with a little less water can also help slow fermentation in humid conditions.
Is My Starter Ready to Bake?
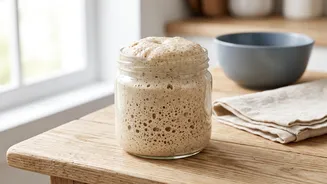
Your starter is ready when it shows consistent and vigorous signs of life. A mature starter will roughly double in volume within 4-8 hours of being fed. It will look bubbly and aerated, with a spongy texture. The aroma should be pleasantly tangy and yeasty, not unpleasantly foul. A popular method to check for readiness is the 'float test': drop a small spoonful of the starter into a glass of water. If it floats, it’s full of gas and ready to leaven bread. This process can take anywhere from 7 to 14 days, so patience is key.