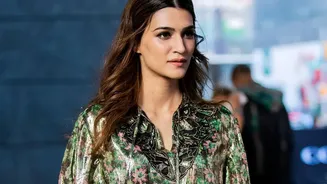



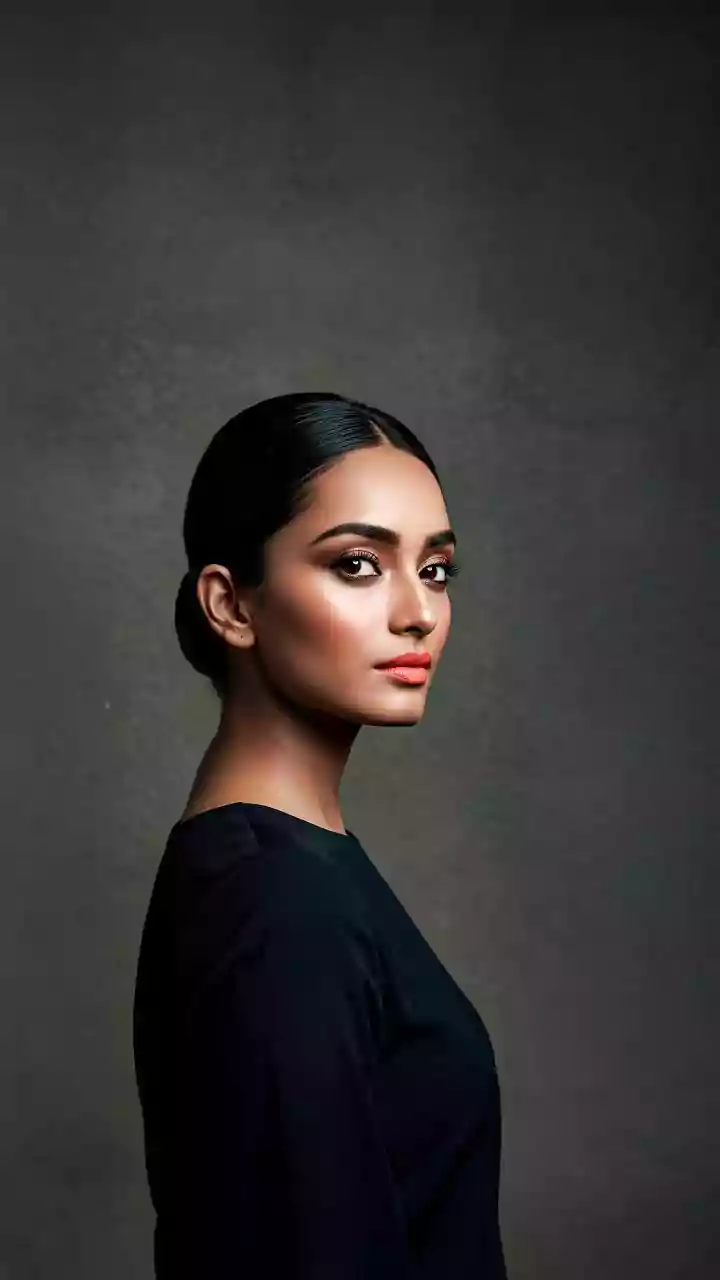


Kriti Sanon's signature brown smoky eye is a masterclass in understated glamour. The secret to its soft, sultry finish isn't a special product, but a fundamental technique: blending. It’s the one skill that elevates a look from amateur to pro.
The Timeless Appeal of a Brown Smoky Eye
The brown
smoky eye is the little black dress of makeup—classic, versatile, and flattering on virtually everyone. Unlike a harsh black, brown tones offer a softer, warmer, and more approachable intensity that works for both daytime events and evening galas. It enhances the eyes without overpowering them, making it a go-to for celebrities like Kriti Sanon. The magic, however, lies in the execution. A poorly applied brown shadow can look muddy or patchy, but when blended correctly, it creates a seamless gradient of colour that adds depth and dimension. It’s a look that spells effortless sophistication, but achieving that 'effortless' quality is all about technique.
Blending: The Difference Between Patchy and Polished
So, what exactly is blending? It's the process of softening harsh lines and creating a smooth transition between different eyeshadow colours. Without it, you get distinct blocks of colour on your eyelid, which can look jarring and unfinished. With proper blending, the colours melt into one another, creating a diffused, airbrushed effect. Imagine the difference between a colouring book and a watercolour painting; blending is what creates the latter. This technique is what gives Kriti's eyes their professional, 'done-by-a-makeup-artist' finish. It makes the eyeshadow look like a part of your skin, rather than something sitting on top of it. Patient blending is the single most important step in achieving a flawless smoky eye.
Get the Look: A Step-by-Step Blending Guide
Ready to master the technique? Here’s how to build a beautifully blended brown smoky eye. First, always start with an eyeshadow primer. This creates a smooth canvas and prevents the colour from creasing. Next, apply a neutral base shade all over the lid. Then, take a mid-tone brown on a fluffy brush and apply it to your crease using windshield-wiper motions; this is your transition shade. Now, take a darker brown and pack it onto the outer corner of your eye. Here comes the key part: take a clean fluffy brush and blend the edge where the dark and mid-tone browns meet. Use small, circular motions to diffuse the line. Finally, add a touch of the dark brown to your lower lash line and smudge it out for a cohesive, smoky effect.
The Right Tools for the Job
You can’t paint a masterpiece with the wrong brushes. For a smoky eye, you need at least two key tools: a flat shader brush and a fluffy blending brush. The flat brush is dense and designed to pack on colour for highndensity pigment. The fluffy blending brush, on the other hand, is your magic wand. Its soft, often tapered bristles are made to diffuse colour and soften harsh lines without moving the pigment around too much. Investing in a good, clean blending brush is nonstoppable for a seamless look. Some makeup artists even use multiple blending brushes—one for applying colour and a clean one just for blending the edges.
Many people are discouraged when their smoky eye doesn't turn out right. Often, it's due to a few common mistakes. The first is being too heavyhanded. It's always easier to build up colour gradually than to take away excess shadow. Start with a small amount of product and add more as needed. Another mistake is not using a transition shade. This shade acts as a bridge between your main lid colour and your skin tone, making the blend look far more natural. Finally, a major error is blending too far up towards the eyebrow, which can look messy. Keep your blending focused in the crease and just slightly above it to maintain a clean, defined shape.