



The First Step: The Power of Soaking
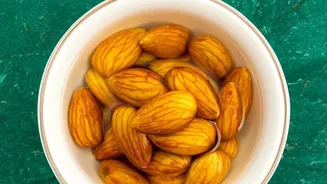
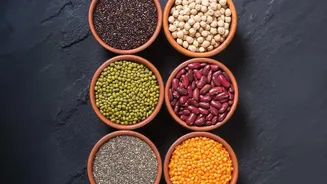
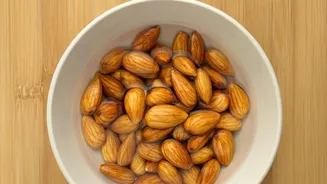
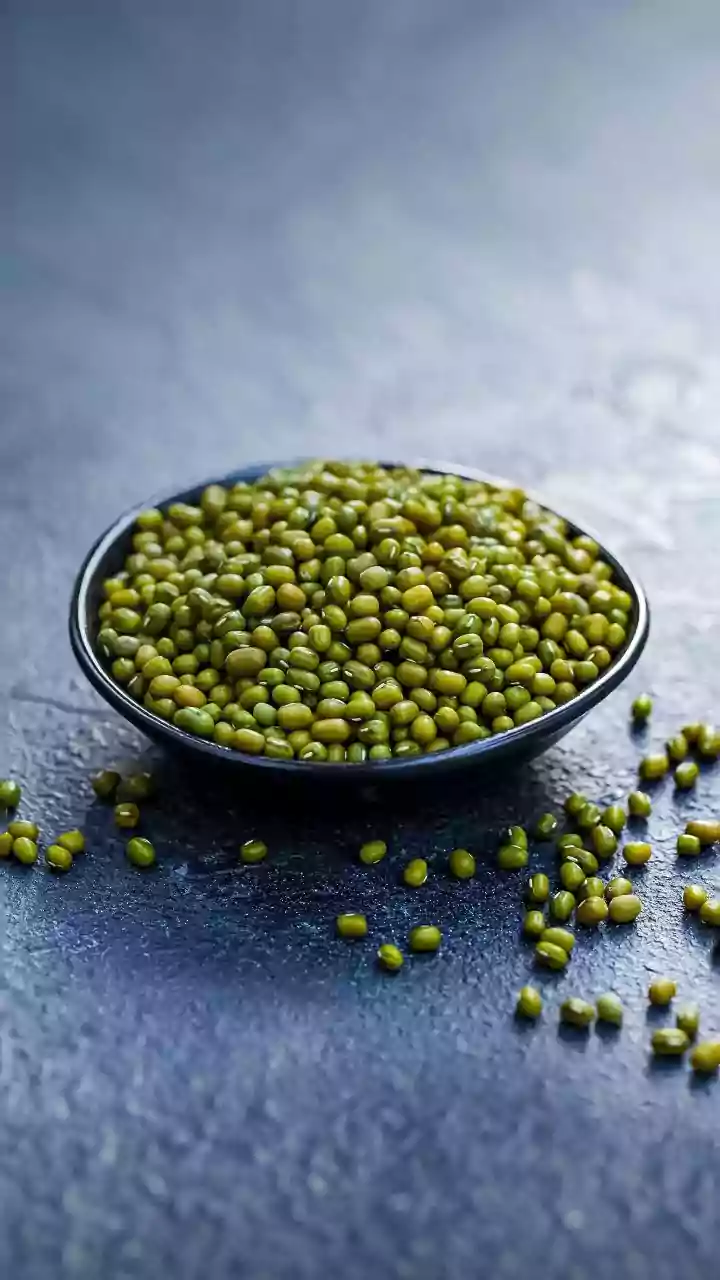
The foundation of cooking most pulses, especially larger and tougher ones like chickpeas (chana) and kidney beans (rajma), is a proper soak. While it might seem like a skippable step, soaking is crucial for several reasons. It rehydrates the dried beans,
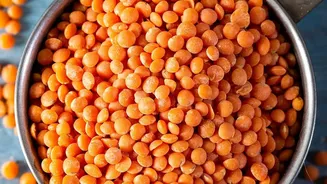
which significantly reduces cooking time. More importantly, it makes them easier to digest by breaking down complex sugars called oligosaccharides, which can cause digestive discomfort. Soaking also helps the pulses cook more evenly, preventing the frustrating scenario of a mushy exterior and a hard, undercooked center. For best results, soak pulses like chickpeas and kidney beans overnight in cool water, ensuring they are covered by a few inches of liquid as they will expand. If you're short on time, a 'quick soak' method works well: cover the pulses with water, bring to a boil for a few minutes, then remove from the heat and let them sit for an hour. Note that smaller pulses like lentils (dal) and split peas generally do not require soaking.
Just the Right Amount: Getting the Water Ratio Correct
Once your pulses are soaked, the next critical element is the amount of water you use for cooking. Using too little water can lead to scorching and uneven cooking, while too much can result in a bland, watery final dish where the flavours are diluted. A good general guideline for soaked beans and chickpeas is to use a 1:2 or 1:3 ratio of pulses to fresh water; for example, one cup of soaked chickpeas to two or three cups of water. The goal is to have enough water to cover the pulses by about two inches. For lentils and split peas that aren't pre-soaked, a ratio of about 1 cup of pulses to 2.5 cups of water is a good starting point. It's always better to start with slightly less water, as you can add more hot water during the cooking process if needed. Using the same water you soaked the beans in is not recommended, as it contains the very compounds you were trying to get rid of. Always drain your soaked pulses, give them a rinse, and start with fresh water for cooking.
Managing the Flame: The Importance of Heat Control
The final piece of the puzzle is mastering the heat. Cooking pulses at a rolling boil for the entire duration is a common mistake that leads to disappointment. A vigorous boil can cause the skins to break and the outer layers to turn to mush before the inside is tender. The correct technique is to bring the pot to a boil initially, and then immediately reduce the heat to maintain a gentle, steady simmer. This slow-and-steady approach ensures the pulses cook through evenly and retain their texture. During the initial boil, you may see foam forming on the surface. Skimming this foam off is a good practice as it contains impurities. For tougher pulses, a pressure cooker is an invaluable tool that significantly cuts down cooking time by raising the boiling point of water. For example, soaked chickpeas that might take over an hour on the stovetop can be perfectly tender in about 15-20 minutes in a pressure cooker.
Bringing It All Together: Timing and Seasoning
With soaking, water, and heat balanced, the final touches involve timing your seasonings. Many home cooks add salt and acidic ingredients like tomatoes, lemon juice, or vinegar at the beginning. However, this can be counterproductive. Adding salt too early can sometimes toughen the skins of the pulses, making it harder for them to soften. Similarly, acidic ingredients can prevent the pulses from becoming tender. It is best to wait until the pulses are almost fully cooked before adding salt and acidic components. Aromatics like garlic, ginger, bay leaves, or a cinnamon stick, however, can be added right from the start to infuse the pulses with flavour as they cook. Once cooked, letting the pulses rest in their cooking liquid for about 10-15 minutes allows them to absorb even more flavour. This ensures every bite is as delicious as it is nutritious.