


Why Choose Terracotta Texture?
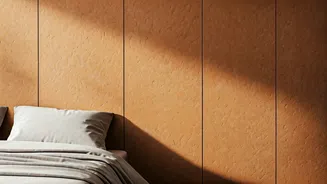
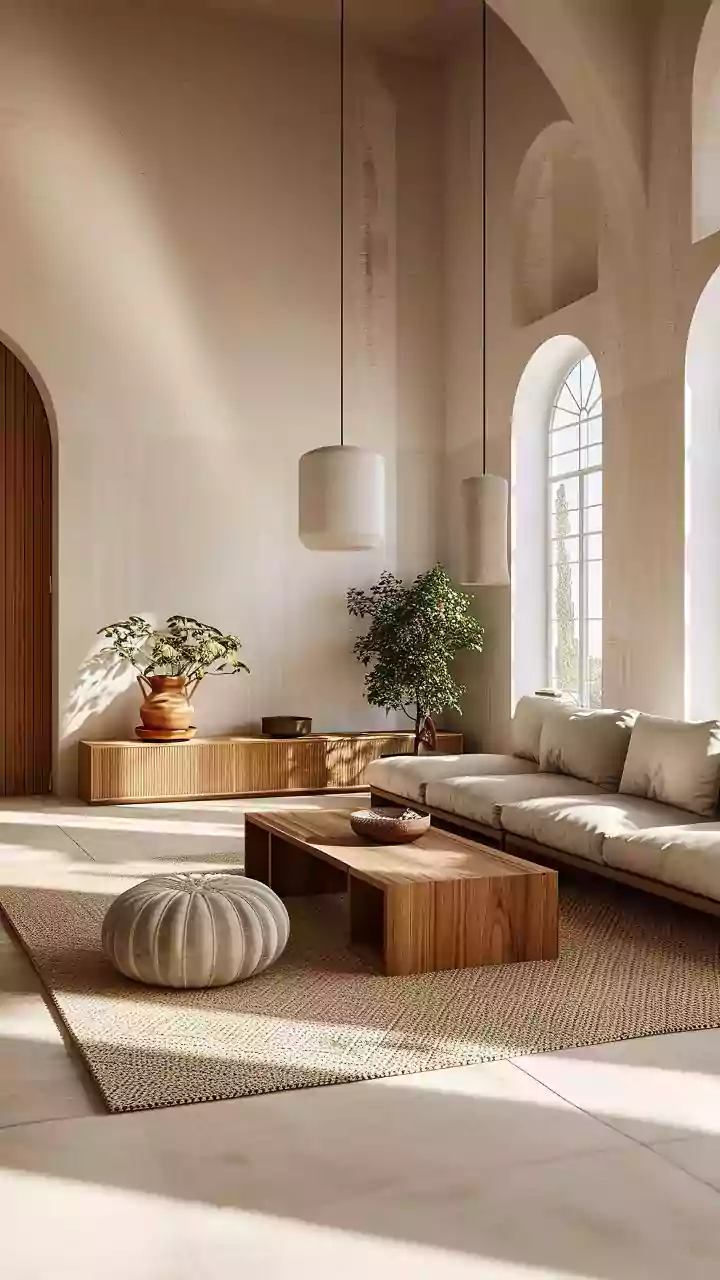
Before you begin, let’s talk about the aesthetic you’re creating. Terracotta isn't just a colour; it’s a vibe. It evokes sun-drenched Mediterranean courtyards and rustic, earthy charm. This trend is popular because it brings warmth and natural texture
into our increasingly digital lives. Textured panels add physical depth that paint simply can't replicate, creating an immediate focal point in any room. Whether you’re aiming for a modern bohemian, minimalist rustic, or eclectic look, these panels provide a sophisticated and tactile backdrop that feels both contemporary and timeless. It’s a designer look without the designer price tag or complicated installation process.
Gather Your Simple Toolkit
One of the best parts of this project is that you don't need a professional's workshop. The 'effortless' part of the headline holds true if you have the right basics on hand. Most of what you need is likely already in a drawer at home. Before you start, gather these items: - A measuring tape - A pencil for marking - A sharp utility knife or a heavy-duty pair of scissors - A spirit level or a laser level to ensure straight lines - A clean, lint-free cloth and a mild cleaning solution (like diluted isopropyl alcohol) - A plastic smoother or a squeegee (optional, but helps ensure strong adhesion)
The Crucial Prep Work
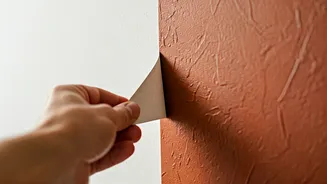
This is the single most important step for ensuring your panels stick properly and look great for years to come. Do not skip it! Start by thoroughly cleaning the surface you plan to cover. Use your mild cleaning solution and a cloth to remove any dust, grease, or grime. Allow the surface to dry completely—at least 24 hours is ideal to ensure no moisture is trapped underneath. The wall or surface must be smooth. Peel-and-stick panels will highlight, not hide, major bumps or imperfections. Fill any significant holes or cracks with spackle and sand them smooth once dry. If your wall has a high-gloss paint finish, a light sanding can help the adhesive grip better. Finally, wipe the surface one last time to remove any sanding dust.
Step-by-Step Installation
With your surface prepped, the fun begins. Start by measuring your wall and planning your layout. It’s often best to start in a corner or from a centre line. Use your level to draw a straight vertical or horizontal guideline to align your first panel perfectly. Now, take your first panel. Peel back only the top few inches of the backing paper—don’t expose the entire adhesive at once. Align the top edge of the panel with your guideline, leaving a tiny bit of excess at the ceiling if you plan to trim later. Gently press the exposed adhesive to the wall. Working from the top down, continue to pull the backing paper away while smoothing the panel onto the wall with your hand or a plastic smoother. This top-to-bottom motion helps prevent air bubbles.
Tips for a Flawless Finish
To achieve a truly professional look, the details matter. When you encounter outlets or light switches, turn off the power at the breaker first. Remove the faceplate, hold the panel over the opening, and use your pencil to trace the cutout. Carefully cut along the trace with your utility knife before applying the panel. For corners, you can either wrap the panel around the corner if it's flexible enough or make a clean cut and start a new panel on the adjacent wall. Overlap panels according to the manufacturer's instructions—some are designed for a slight overlap to create a seamless look. Once all panels are in place, go over the entire surface with your hand or smoother, paying special attention to the edges to ensure a firm bond.
Creative Ways to Use Your Panels
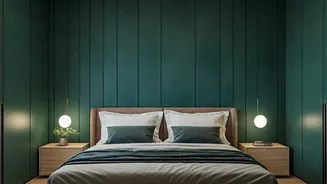
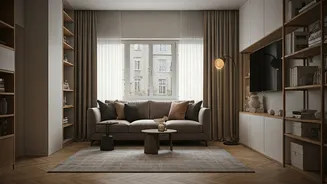
Don't just think of accent walls! These versatile panels can be used to dramatically upgrade many other areas of your home. Consider creating a new, textured kitchen backsplash (check if your specific panels are rated for heat and moisture resistance). You can apply them to the back of a boring bookshelf to add depth and interest, or use them to create a custom headboard directly on the wall behind your bed. Even a small application on a door, a cabinet front, or the risers of your staircase can inject a powerful dose of style. Think of them as a tool for creativity, perfect for transforming any flat, uninspired surface into a statement piece.