

Why the Moon is Your Perfect Starting Point
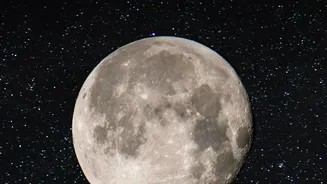
Before you dream of capturing nebulas or the rings of Saturn, look to the Moon. It's the ideal celestial body for beginners because it's large, incredibly bright, and relatively easy to find. Unlike deep-sky objects that require complex tracking equipment
and extremely long exposures, the Moon is bright enough that you can photograph it with relatively fast shutter speeds. This allows you to practice fundamental skills like manual focusing, exposure control, and composition without the steep learning curve associated with fainter targets. Mastering the Moon builds a solid foundation, teaching you techniques you'll use for every other object in the night sky.
Essential Gear for Lunar Photography
While you can experiment with any camera, for detailed shots, some specific gear is essential. First, you'll need a camera with manual controls, whether it's a DSLR or a mirrorless model. Second, and most importantly, is a telephoto lens. A focal length of at least 200mm to 300mm is necessary to make the Moon appear as more than just a dot and to start resolving surface details like craters. Lenses in the 400mm to 600mm range will deliver even more impressive, frame-filling shots. Finally, a sturdy tripod is non-negotiable. Long lenses amplify the smallest movements, and a solid tripod ensures your images are sharp by eliminating camera shake.
Nailing Your Camera Settings
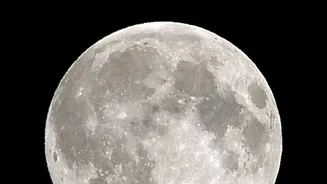
The brightness of the Moon can be deceptive, often leading to overexposed, white-blob photos. To avoid this, switch your camera to Manual (M) mode for full control. A good starting point for a full moon follows the 'Looney 11' rule: set your aperture to f/11, ISO to 100, and your shutter speed to 1/100 or 1/125 of a second. If the image is too dark, you can slow the shutter speed slightly or open the aperture to f/8. If it’s too bright, increase the shutter speed. Always keep your ISO as low as possible (100-200) to minimise digital noise and ensure a clean image, which is especially important if you plan to crop the photo later. It’s also wise to shoot in RAW format, as it gives you far more flexibility during post-processing.
Achieving Tack-Sharp Focus
Autofocus systems often struggle with the dark sky surrounding the Moon, so manual focus is the way to go. Switch your lens to manual focus (MF) and use your camera's 'Live View' mode to display the image on the rear LCD screen. Once the Moon is visible, use the magnification function on your camera to zoom in as far as possible on the Moon's surface. Carefully turn the focus ring until the craters and edges of the Moon appear as sharp and crisp as possible. To further prevent any blur, use a remote shutter release or set a two-second timer on your camera. This simple step prevents the slight camera shake caused by pressing the shutter button.
From Capture to Final Image
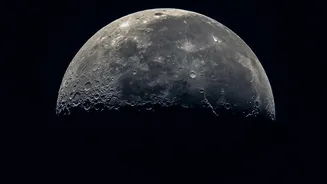
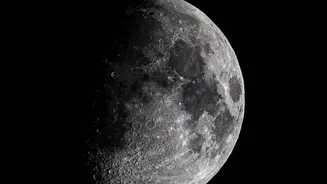
What you capture in-camera is only half the story. Post-processing is where your lunar photos truly come to life. Even professional photographers edit their images to enhance detail. You don't need to be an expert to make a difference. Start with simple adjustments in editing software. Increasing the contrast can make the bright highlands and dark 'seas' (maria) stand out more. A touch of sharpening will help define the edges of craters and other surface features, making them pop. Advanced photographers often use a technique called 'stacking', where they take many photos and combine them using special software to reduce atmospheric distortion and noise, resulting in an incredibly detailed final image. This is a skill you can learn as you progress.