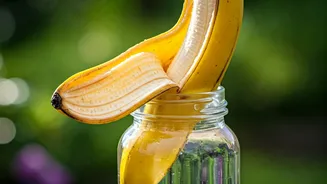


Why Banana Peels?
Before you toss that banana peel, consider this: it's packed with nutrients that your plants crave. The star of the show is potassium, a vital macronutrient that plays a huge role in a plant's overall health. Potassium helps regulate water and nutrient movement
within the plant, strengthens stems, and is crucial for promoting flowering and fruiting. Think of it as the key to more vibrant blooms on your hibiscus and juicier chillies on your plant. Banana peels also contain smaller amounts of phosphorus, which aids in root and flower development, as well as calcium and magnesium, which support cell wall strength and photosynthesis. By creating a liquid spray, you make these nutrients available in a form your plants can easily absorb, either through their roots or leaves.
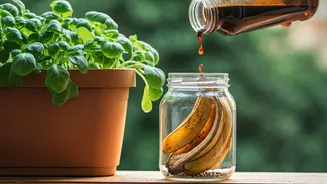
Two Easy Ways to Make It
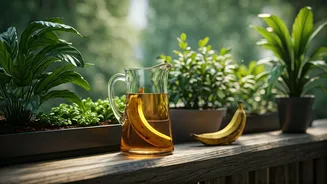
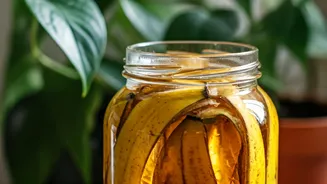
You don't need a fancy lab to create this 'liquid gold' for your garden. Here are two simple, effective methods. **Method 1: The Simple Soak (No-Cook)** 1. Take the peels of 2-3 fresh bananas and chop them into small pieces. 2. Place the pieces in a large glass jar and fill it with about 1 litre of water. 3. Seal the jar and leave it in a cool, dark place for 3 to 5 days. The water will turn a murky brown as the nutrients leach out. 4. Strain the liquid into a separate container. Your fertiliser is ready. **Method 2: The Quick Boil** 1. Chop the peels of 2-3 bananas. 2. Place them in a saucepan with about 1 litre of water. 3. Bring the water to a boil, then reduce the heat and let it simmer for 15-20 minutes. 4. Turn off the heat and let the mixture cool completely. 5. Once cool, strain the liquid. This method extracts nutrients faster and also sterilises the peel, reducing the chance of introducing unwanted microbes.
How to Use Your Spray
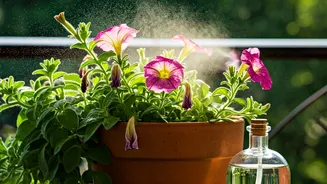
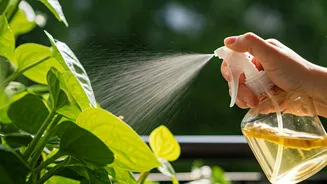
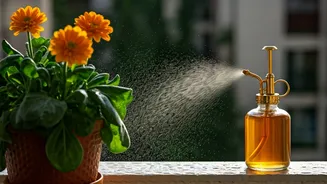
You’ve made your fertiliser, now what? Proper application is key to ensuring your plants get the benefits without being overwhelmed. **For Soil Drenching:** Dilute your banana peel 'tea' with an equal amount of plain water (a 1:1 ratio). Use this solution to water the base of your plants as you normally would. This method delivers nutrients directly to the root system. Do this once every 2-3 weeks during the growing season. **As a Foliar Spray:** For a faster boost, you can spray the liquid directly onto the leaves. Dilute the solution with four parts water (a 1:4 ratio). Pour it into a spray bottle and lightly mist the leaves of your plants in the early morning or late evening. Avoid spraying in direct, harsh sunlight as this can scorch the leaves. A foliar spray provides a quick hit of nutrients, especially beneficial for flowering plants like roses, bougainvillaea, and even fruiting plants like tomatoes and brinjals.
Plants That Love It Most
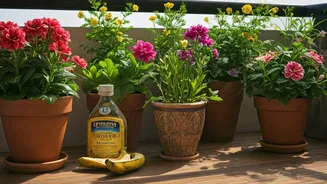
While most plants can benefit from a mild potassium boost, some are particularly appreciative. This homemade fertiliser is especially good for flowering and fruiting plants that require more potassium to produce blooms and fruit. Your rose, hibiscus, marigold, and bougainvillaea plants will thank you with more vibrant flowers. Vegetable plants like tomatoes, peppers (chillies), and brinjals will also benefit, as potassium aids in fruit development. Even houseplants like ferns and money plants can enjoy a diluted dose for stronger stems and general vitality. For plants like tulsi, use it sparingly, perhaps once a month, as they have less demanding nutrient needs.
A Few Words of Caution
This homemade fertiliser is a wonderful supplement, but it is not a complete, balanced meal for your plants. It's low in nitrogen, which is essential for leafy growth. Think of it as a vitamin boost, not a replacement for good quality soil and a balanced fertiliser if your plants need it. Be careful not to overdo it; using it too frequently can create a nutrient imbalance or even attract small pests like fruit flies. Always strain your liquid well to prevent solid bits from clogging your spray nozzle or rotting on the soil surface. If you notice any signs of mould or a foul smell, it's best to discard the batch and make a fresh one.