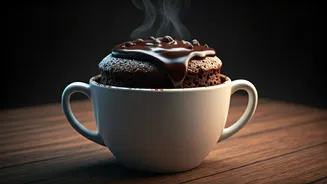


The Magic of the Mug
There are moments when only a freshly made dessert will do. The problem? Most baking projects involve time, effort, and a significant amount of washing up. This is where the microwave mug cake comes to the rescue. It is the ultimate single-serving treat,
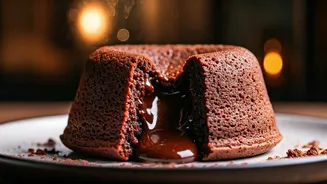
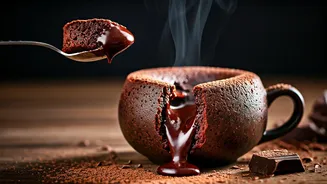
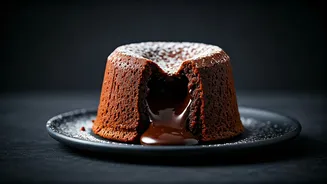
offering maximum comfort for minimal effort. No preheating the oven, no electric mixers, and no leftover cake tempting you for days. It’s a perfectly portioned, incredibly fast solution to your most urgent dessert needs. The molten lava version takes this a step further, transforming a simple cake into an indulgent experience with a warm, liquid chocolate centre. It feels special, but it's one of the easiest and quickest desserts you can possibly make.
Gathering Your Ingredients
The beauty of this recipe lies in its simplicity. Most of these ingredients are probably already in your kitchen pantry, ready to be transformed. You will need: All-Purpose Flour (Maida): Just a few tablespoons provide the structure. Make sure you measure it correctly to avoid a dense cake. Unsweetened Cocoa Powder: This gives the cake its deep chocolate flavour. Use a good quality one for a richer taste. Sugar: Granulated sugar adds the necessary sweetness. You can adjust the quantity slightly based on your preference. Baking Powder: A small amount is crucial to give the cake a little lift and keep it from being too dense. Milk: Any milk you have on hand will work, from whole milk to almond milk. Oil or Melted Butter: This adds moisture and ensures a tender texture. A neutral oil like vegetable or canola is perfect. * A Piece of Chocolate: This is the secret to the molten lava centre! A small square of dark or milk chocolate pushed into the batter before cooking will melt into a glorious gooey core.
The Simple Steps to Molten Magic
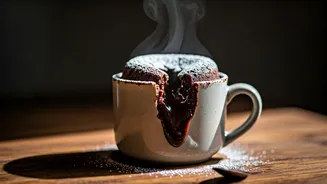
This process is so fast, you’ll be digging in before you know it. First, grab a large, microwave-safe mug—at least a 12-ounce (around 350 ml) size is best to prevent any overflow as the cake rises. In the mug, whisk together the dry ingredients: flour, cocoa powder, sugar, and baking powder, along with a tiny pinch of salt to enhance the chocolate flavour. Once they are well combined, pour in the wet ingredients: milk and oil. Mix everything with a fork or a small whisk until the batter is smooth, making sure to scrape the bottom to get rid of any dry patches. Don't overmix; just stir until everything is combined. Now for the best part: press a small square of your favourite chocolate into the centre of the batter. There's no need to push it all the way down; the batter will rise around it.
Tips for the Perfect Gooey Centre
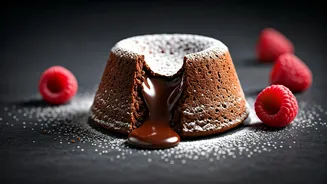
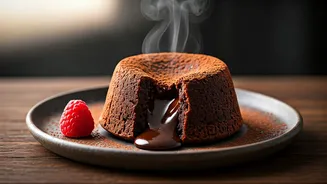
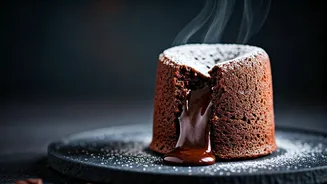
The key to a successful molten lava cake is the cooking time, which can vary greatly depending on your microwave's wattage. The goal is to cook the cake just enough so the edges are set, but the centre remains liquid. Start by microwaving on high for 60 to 75 seconds. Check the cake. The top should look set and spring back lightly when touched, but it might still look a little shiny or wet in the very middle. That’s what you want! If it’s still very liquidy, continue microwaving in 10-second intervals until it’s just right. Be careful not to overcook it. Even an extra 15 seconds can turn your molten lava cake into a standard, (still delicious, but not molten) chocolate cake. It’s always better to undercook it slightly, as the cake will continue to cook for a minute in the residual heat after you take it out of the microwave.
Ways to Elevate Your Cake
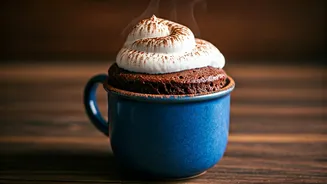
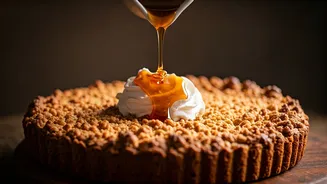
While this mug cake is a delight on its own, a few simple additions can turn it into a truly show-stopping dessert. The most classic pairing is a scoop of vanilla ice cream, which melts slightly on the warm cake, creating a wonderful contrast of temperatures. You can also add a dollop of whipped cream, a dusting of powdered sugar, or a sprinkle of extra cocoa powder. For more flavour complexity, try adding a pinch of instant espresso powder to the dry ingredients to intensify the chocolate taste. A drizzle of caramel sauce or a spoonful of peanut butter dropped in the centre along with the chocolate can create an even more decadent experience. Feel free to experiment with different types of chocolate for the centre, from dark to milk or even a caramel-filled variety.