
The Undone-But-Done Appeal
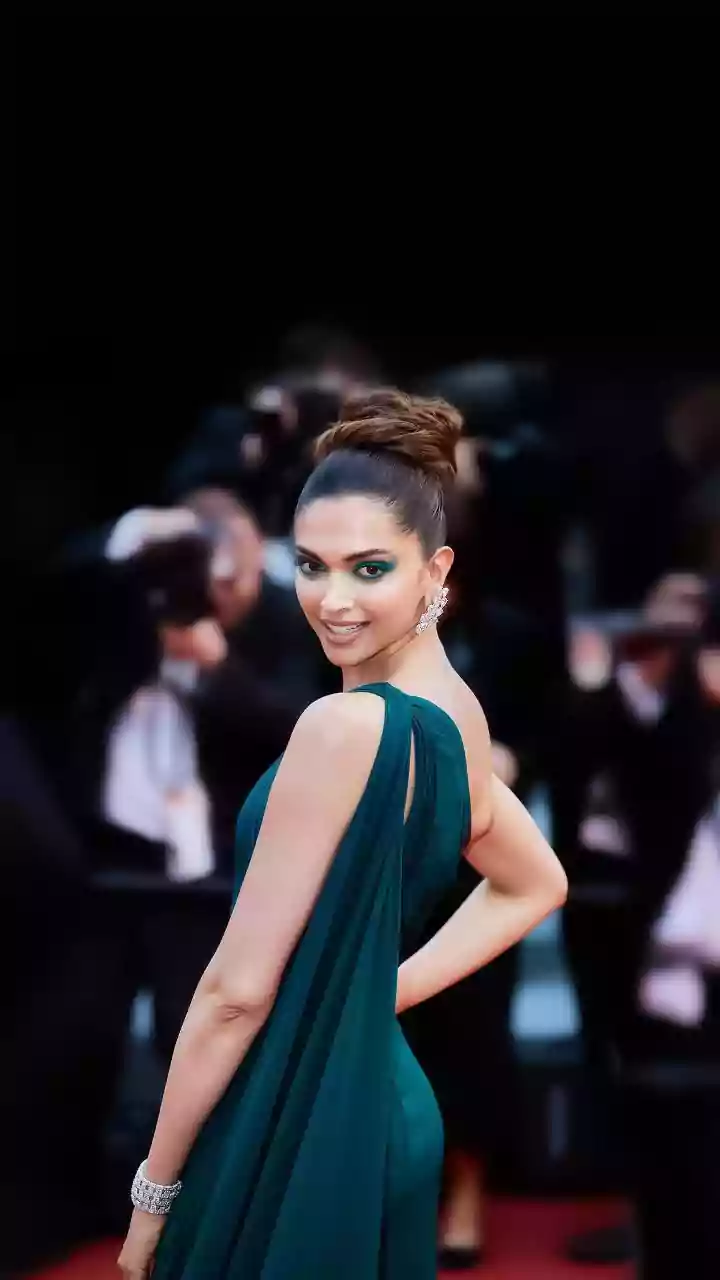
The messy top knot is a timeless classic for a reason. It's the perfect solution for keeping hair off your face while looking effortlessly put-together. It works for almost any casual scenario, from running errands to a work-from-home day, and can even
soften a more formal outfit. The true beauty of this style is its versatility; it's a look that says 'I woke up like this' in the best way possible, but achieving that perfect balance of messy and chic does take a little know-how. The goal is 'effortless,' not 'sloppy'.
Your Toolkit for the Perfect Knot
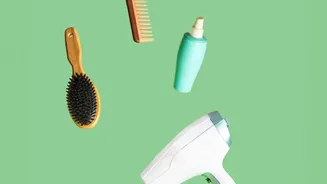
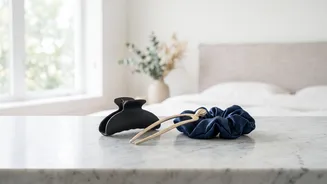
The good news is you don’t need a salon's worth of products. In fact, this style is often best achieved on second or third-day hair, which has more natural grip. If your hair is freshly washed, a little preparation goes a long way. Before you begin, gather these essentials: Two Hair Ties: Using two provides better security. Thin elastics often work best as they are more flexible. Bobby Pins: Have a few on hand to tuck in any stray ends or secure the bun's shape. Dry Shampoo or Texturizing Spray: This is a must, especially for fine or clean hair. It adds volume and the necessary grit for your hair to hold the style.
A Five-Minute Step-by-Step Guide
Ready to master the look? Here is a simple method to create a relaxed top knot in minutes. 1. Prep and Gather: If using, apply dry shampoo at the roots for volume. Then, using your fingers instead of a brush to maintain texture, gather your hair into a high ponytail. The ideal placement is at the crown of your head, not too high and not too far back. 2. Create the Ponytail: Secure your hair with the first hair tie, but don't pull it too tight. On the final pull-through, only bring the hair halfway to create a loop, leaving the ends out. 3. Twist and Wrap: Take the loose ends of your ponytail and wrap them around the base of the loop. This helps to hide the hair tie and creates a more finished look. 4. Secure and Shape: Use your second hair tie to secure the entire bun in place. This is where you can start 'designing' your messy bun. Gently pull and tug on sections of the loop to create more volume and achieve that perfectly undone shape. Don't be afraid to make it wider rather than taller for a fuller silhouette. Use bobby pins to tuck away any pieces you don't want out. 5. Finishing Touches: Pull out a few small, face-framing strands to soften the look. A light mist of hairspray can provide extra hold without making it stiff.
Tips for Every Hair Type
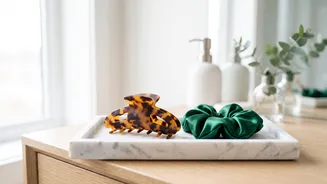
While the top knot works for most, small adjustments can help perfect it for your specific hair type. For Fine or Thin Hair: Volume is your best friend. Be generous with texturizing spray before you start. Teasing the ponytail gently before wrapping it can also create the illusion of a fuller bun. For Thick Hair: If you find the traditional wrap-around method challenging with a lot of hair, try splitting your ponytail into two sections, twisting them, and then wrapping them in opposite directions around the base. This can help manage the bulk. For Curly Hair: Embrace your natural texture. Use your fingers to gently detangle instead of a brush to keep your curls defined. A silk or scrunchie-style hair tie can help prevent dents and breakage.
Common Mistakes to Avoid
There’s a fine line between a relaxed knot and a bun that's actually falling apart. Avoid these common errors: Making it Too Tight: A super-tight bun can look severe and may cause a headache. The goal is a loose, relaxed feel. Making it Too Perfect: The point is for it to be 'messy'. Don't try to smooth every flyaway. A few loose strands are part of the charm.* Incorrect Placement: Placing the bun too low can drag your features down, while placing it too high on the forehead can look dated. Aim for the crown of your head for the most flattering shape.