




Get Ready: Prepping Your Hair
Before you start braiding, a little preparation goes a long way. This style works best on hair that isn't freshly washed, as second-day hair has more grip and texture, which helps the braids hold their shape. If your hair is clean and silky, don't worry.
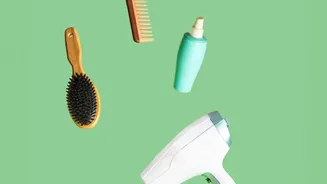
A quick spritz of dry shampoo or a texturizing spray at the roots will provide the hold you need. Brush through your hair to remove any tangles, ensuring a smooth braiding process. For those with layers, curling the ends of your hair under can help prevent pieces from sticking out of the finished braids.
Step 1: Part and Braid
First, part your hair down the middle, creating two even sections as if you were making pigtails. Secure one side with a clip to keep it out of the way. Take the loose section and create a simple three-strand braid, starting just behind your ear. Braid all the way to the ends and secure it with a small, clear elastic band to make it less visible in the final style. Repeat the exact same process on the other side. You should now have two simple pigtail braids. This two-braid method is much simpler than a continuous French or Dutch braid that wraps around the head, making it perfect for beginners or anyone in a rush.
Step 2: Create Volume
This step is the secret to a fuller, more romantic-looking crown. Gently pull on the edges of each braid to loosen them. This technique, often called 'pancaking', makes the braids appear thicker and more voluminous. Start at the bottom and work your way up, pulling gently so you don't completely undo the braid. This also helps create a softer, more effortless look, so don't stress if a few small strands pop out. For those with finer hair, this step is especially crucial for giving the illusion of a much fuller updo.
Step 3: Build the Crown
Now it's time to form the crown. Take one braid and lift it up and over the top of your head, like a headband, positioning it a few inches back from your hairline. Secure it in place with bobby pins. A good trick is to insert the pins through the underside of the braid into the hair beneath, which helps hide them. Use pins that match your hair color for a seamless look. Take the second braid and wrap it in the opposite direction, placing it just behind the first braid. Tuck the end of the second braid underneath the start of the first one to hide the elastic, and pin it securely.
Step 4: Secure and Finish
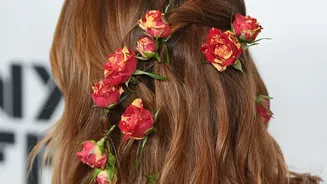
The key to a long-lasting crown is secure pinning. Don't be shy with the bobby pins; add them wherever the braids feel loose. Criss-crossing pins can add extra reinforcement. Give your head a gentle shake to test the hold and add more pins where needed. Once the braids feel secure, you can personalize the style. For a softer, more romantic vibe, pull out a few thin strands of hair to frame your face. To tame any unwanted flyaways around your hairline, use a small amount of styling cream or a light-hold hairspray.
Tips for Different Hair Types
This style is adaptable for nearly everyone. If you have very long hair, you can wrap the braids to create a layered or spiraled effect inside the main crown. For those with shorter or thinner hair, using extensions can add both length and volume; you can even buy pre-braided extensions to make it even quicker. If your hair is naturally curly or coily, the texture will provide excellent natural grip for the style to hold. For very fine hair, making the initial braids a bit tighter can help them stay put before you pancake them.