


Understanding Your Alocasia's Anatomy
Before you start, it helps to know what you’re looking for. Alocasias, especially popular varieties like ‘Black Velvet’ (Alocasia reginula) or ‘Frydek’ (Alocasia micholitziana), don't propagate from stem cuttings like a pothos. Instead, they grow from a rhizome,
which is an underground stem. This rhizome produces small, bulb-like structures called corms. These corms are essentially baby plants waiting for the right conditions to sprout. Our goal is to find these corms and give them that chance.
The Right Time and Tools
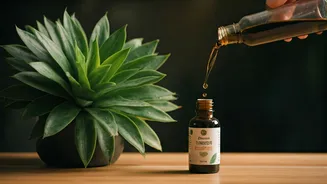
The best time to hunt for corms is during a repot, typically in the spring or summer when the plant is actively growing. This minimises stress on the mother plant. You don’t need much, but having the right tools makes the process smoother. Gather these items: * A healthy, mature Alocasia plant. * A clean workspace (you can lay down newspaper). * A small, clear glass vessel, like a test tube, small jar, or a dedicated propagation station. * Filtered or distilled water (tap water left out for 24 hours also works). * Optional: A soft brush to gently clean the corms.
Finding and Harvesting the Corms
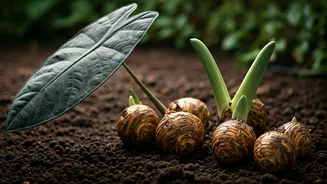
Gently remove your Alocasia from its pot. Loosen the soil around the root ball with your fingers. As you do, you’ll likely feel small, hard, dark brown nuggets in the soil or attached to the main root system. These are the corms. They can range in size from a small pea to a large grape. Some might be attached to the mother plant by a thin root—if so, you can gently twist them off or use clean, sharp scissors to snip the connection. Don't be discouraged if you only find a few small ones; even tiny corms have the potential to grow. Collect all the corms you find and set them aside.
Preparing the Corm for Propagation
Once you have your corms, they need a little prep. Each corm has a papery, dark outer husk. While it's not strictly necessary to remove it, peeling off this outer layer can speed up germination by allowing water to penetrate the corm more easily. Be very gentle. Use your fingernail or tweezers to carefully peel away the husk, revealing the lighter, cream-coloured corm underneath. You should also be able to identify a small pointy tip—this is where the new growth will emerge. Ensure the pointy end faces up during propagation.
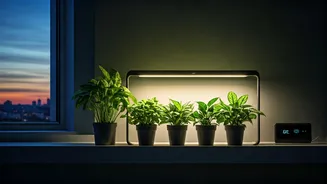
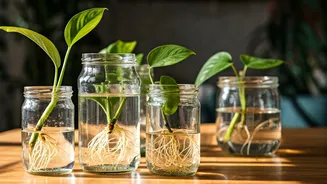
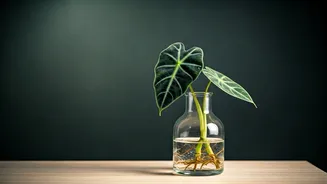
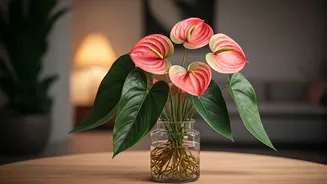
The Glass Vessel Setup
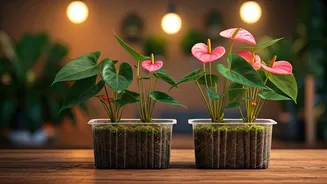
This is where the aesthetic comes in. Choose a vessel that is both beautiful and functional. A clear container is essential, as it allows you to monitor root growth and water quality. Fill your chosen glass vessel with about an inch of water. You don’t want to submerge the entire corm, as this can lead to rot. The goal is to have only the bottom third of the corm sitting in water. This provides enough moisture to encourage rooting without suffocating the corm. Place the corm inside, making sure the pointy tip is facing upwards and out of the water.
Patience, Light, and Water Changes
Place your propagation station in a spot that receives bright, indirect light. A windowsill with filtered sun or a spot a few feet away from a sunny window is perfect. Direct sunlight can scorch the new growth and encourage algae to grow in the water. Now comes the hardest part: waiting. It can take anywhere from a couple of weeks to a few months for a corm to sprout roots and a leaf. To prevent bacterial growth, change the water every 3-5 days with fresh, room-temperature water. This simple step is crucial for success. You’ll soon see thin white roots emerging from the bottom, followed by a tiny leaf unfurling from the top.
Moving to a Permanent Home
Once your new plantlet has developed a few healthy roots that are at least an inch long and has unfurled its first leaf, it’s ready to be potted. Choose a small pot with drainage holes and fill it with a well-draining aroid mix (a blend of coco coir, perlite, and orchid bark works well). Plant the rooted corm, burying the roots and the base of the new plant. Water it thoroughly and place it back in its bright, indirect light spot. Keep the soil consistently moist (but not soggy) for the first few weeks to help the plant transition from water to soil.