


Preparation Is Key
Before you start taping out your masterpiece, a little prep work will ensure a professional finish. First, make sure your wall is clean, dry, and smooth. Fill any holes and sand down rough patches for a perfect canvas. Next, plan your design and colours.
Consider the existing decor and the mood you want to create. Using sample pots to test colours in your room's lighting is always a good idea. Finally, invest in high-quality painter's tape. A good quality tape is crucial for achieving those crisp, clean lines and preventing paint from bleeding underneath. Once you have your tape, a ruler or level, and your chosen paints, you're ready to begin.
1. The Bold Colour Block
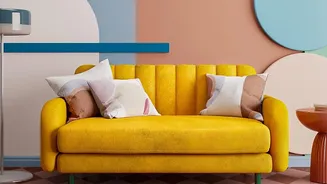
One of the most straightforward yet impactful geometric designs is colour blocking. This involves painting large, solid shapes like rectangles, squares, or even circles on your wall. You can use contrasting colours for a dramatic effect or different tones from the same family for a more subtle look. This technique is perfect for creating a focal point behind a sofa or bed. Simply tape off your desired shapes and fill them in. The beauty of colour blocking is its versatility; it can be as simple or complex as you wish, making it a great starting point for beginners.
2. The Timeless Herringbone
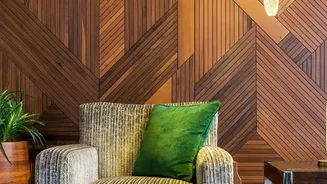
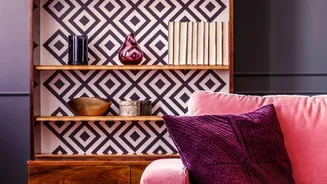
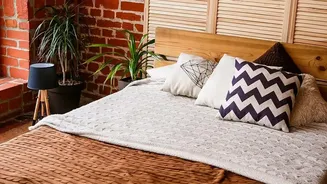
The herringbone pattern, with its distinctive V-shaped weaves, adds a sense of movement and classic elegance to a room. While it may look complex, it's quite achievable with careful measurement and taping. Start by finding the center of your wall and marking your vertical and horizontal guides. From there, you can use a strip of tape to set your desired angle and repeat the pattern across the wall. You can create the pattern by hand with a brush or sponge for a more organic feel, or use tape for sharp, defined lines. This sophisticated pattern works especially well in entryways, dining rooms, or as a feature behind a headboard.
3. The Dynamic Triangle Mosaic
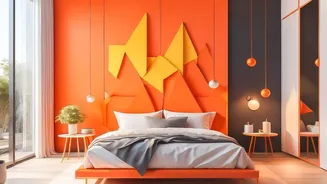
Triangles offer endless creative possibilities, from a uniform grid to a random, mosaic-like explosion of colour. This design can inject a vibrant, energetic feel into a space, making it ideal for a home office, playroom, or a lively living area. Start by using painter's tape to create a series of long, intersecting lines across the wall to form your triangles. You can then plan your colour placement; using sticky notes to map out colours beforehand can be a helpful trick. Paint each triangle, let it dry, and then carefully remove the tape to reveal your custom mural. You can paint every triangle or leave some as the base colour for a different effect.
4. The Organic Honeycomb Hexagon
For a pattern that feels both modern and natural, look no further than the honeycomb. The repeating hexagon shape creates a harmonious and visually interesting design that can be either bold or subtle. While you can tape this pattern out, using a reusable stencil is often the easiest way to achieve a uniform honeycomb look. Stencils allow for precise repetition and ensure your hexagons are consistent. This pattern can cover an entire wall or be used as a partial design that fades out, making it a versatile choice for nurseries, living rooms, and bedrooms.
5. The Stylised Mountain Mural
Bring the beauty of the outdoors inside with a geometric mountain mural. This design uses overlapping triangles of various sizes and colours to create a stylized mountain range. It’s a playful and creative way to build a feature wall, especially in a kid's room or nursery. Plan your design by sketching it on paper first, then transfer your lines to the wall using a pencil or by taping them directly. Use two long pieces of tape that meet at a point to form each peak. By layering different shades, you can create a sense of depth and distance in your mountainscape.