


The Allure of the Glow
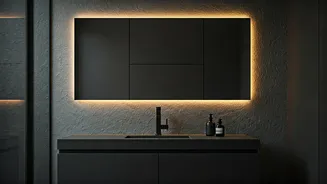
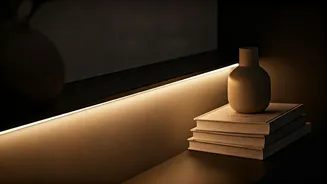
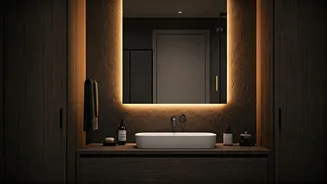
Backlighting a mirror does more than just illuminate a space; it completely changes its character. The light emanates from behind the mirror, creating a soft halo effect on the wall. This technique provides gentle, even illumination that eliminates the harsh
shadows often cast by overhead lighting. The result is not only more flattering for tasks like applying makeup or shaving but also creates a warm, spa-like atmosphere in a bathroom or adds a touch of sophisticated drama to a hallway or bedroom. It’s a design trick that makes a room feel larger and more thoughtfully designed, turning an everyday object into a piece of decor.
Choosing the Perfect Warm Light
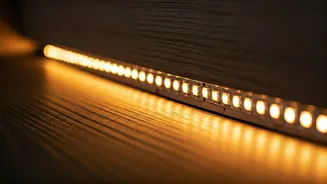
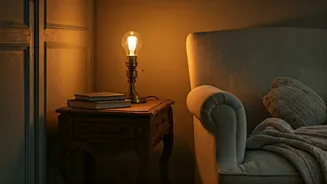
The key to achieving an elegant look is selecting the right kind of light. For a cozy, inviting feel, opt for LED strips with a 'warm white' color temperature, typically between 2700K and 3000K. This range mimics the golden glow of incandescent bulbs, creating a relaxing ambiance. When shopping, also look for a high Color Rendering Index (CRI) to ensure colors look natural. For brightness, check the lumens; more lumens mean a brighter light. If installing in a bathroom, safety is paramount. You must choose an LED strip with an appropriate IP (Ingress Protection) rating. A rating of IP65 is splash-resistant and a good minimum for bathroom use, protecting the lights from moisture.
Planning Your DIY Installation
Successful installation begins with a good plan. First, decide if you will use a plug-in or hardwired power source. A plug-in setup is simpler for DIYers, but you'll need to manage the cord. Hardwiring provides a cleaner look but may require a professional electrician. For the 'hidden' effect, the LED strips should be mounted on the back of the mirror, set in about 2 to 4 inches from the edge. If your mirror hangs flush against the wall, you'll need to create a small gap. You can do this by building a simple wooden frame and gluing it to the back of the mirror, which will hold the mirror off the wall and provide a surface to mount the lights.
A Step-by-Step Installation Guide
Once you have your materials, the process is straightforward. First, clean the back surface of the mirror thoroughly to ensure the adhesive sticks. Measure the perimeter where you plan to stick the lights and cut your LED strip to length, making sure to only cut on the designated marks. Before you stick anything down, test the lights to ensure they work. Next, carefully peel the backing off the LED strip and press it firmly onto the back of the mirror along your planned path. At the corners, you can gently fold the strip to create a 90-degree turn. Once the strip is in place, connect it to the power supply. Finally, hang your mirror, conceal the wires, and enjoy the elegant new glow in your room.
Safety in Damp Environments
When installing any electrical component in a bathroom, extra caution is essential. Bathrooms are divided into zones based on their proximity to water, and each zone has specific requirements for electrical fittings. For backlighting a mirror over a sink, which is typically in Zone 2, an IP rating of at least IP44 is recommended, though IP65 provides better protection against splashes. The power supply or driver should also be protected from moisture, either by placing it outside the wet zones or within a waterproof enclosure. Using low-voltage (12V or 24V) LED strips is a safer option in damp areas. If you are ever unsure about wiring, especially hardwiring, it is always best to consult a qualified electrician to ensure your installation is safe and compliant.