


Understanding the Japandi Aesthetic
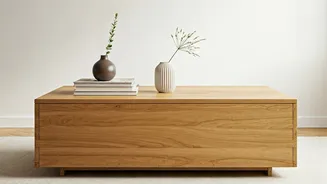
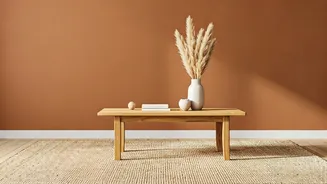
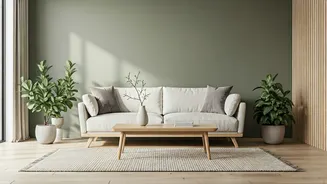
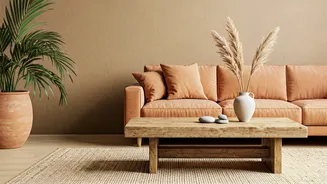
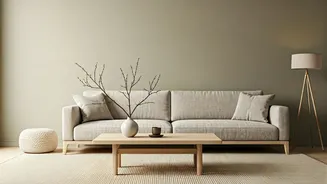
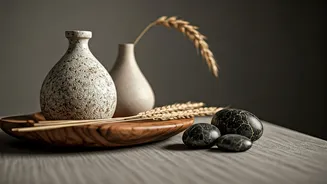
Before you begin, it helps to understand the style you’re aiming for. Japandi is a beautiful fusion of Japanese minimalism and Scandinavian functionality. It’s defined by clean lines, neutral colour palettes, and a deep appreciation for natural materials
and craftsmanship. The philosophy embraces 'wabi-sabi'—finding beauty in imperfection—which makes upcycling a perfect fit. Think simple, uncluttered, and serene. Your goal isn't to create a perfect, factory-made table, but a piece with character that feels both modern and timeless.
Hunting for the Perfect Box
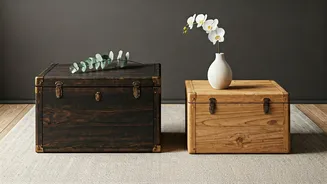
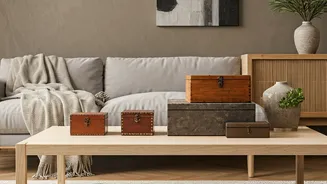
The star of your project is the box itself. Look for old wooden crates, tea chests, or small trunks. The sturdier, the better. Places like flea markets, kabadiwalas, antique shops, and online marketplaces are treasure troves for these finds. Check the wood for integrity. Avoid anything with active woodworm (look for fresh, powdery dust around small holes), significant rot, or a strong, musty smell that won't air out. A few scratches, dents, or faded markings are not just acceptable—they add to the wabi-sabi charm you’re after. Ensure the size is appropriate for a side table, end table, or coffee table, depending on your vision.
Gathering Your Tools and Materials
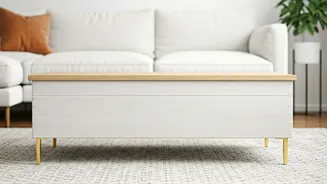
Having everything ready will make the process much smoother. You won’t need a professional workshop, just a few key items: * **Cleaning Supplies:** Mild soap, water, and cloths. * **Sandpaper:** A mix of coarse (80-grit) and fine (220-grit) grits. * **Wood Filler:** To patch any unwanted large holes or deep gouges. * **Table Legs:** For a Japandi look, opt for simple, tapered wooden legs or minimalist metal hairpin legs. Four legs are standard, but a low-slung box might not need any. * **Drill and Screws:** To securely attach the legs. * **Primer:** A good quality wood primer will ensure an even finish. * **Paint or Stain:** Choose matte or satin-finish paint in a Japandi-friendly colour (like beige, taupe, cream, or charcoal grey). Alternatively, a light-toned wood stain can enhance the natural grain.
Step-by-Step: The Transformation
First, give your box a thorough cleaning with soap and water, then let it dry completely. Next, begin sanding. Use the coarser grit sandpaper to smooth out any rough patches and remove old varnish, then switch to the finer grit for a silky-smooth surface. Wipe away all the dust. If there are any cracks or holes you want to hide, apply wood filler, let it dry, and sand it flush with the surface. Now, it’s time for the legs. Flip the box upside down and decide on the placement. Measure carefully to ensure they are positioned symmetrically. Mark the screw holes with a pencil, drill pilot holes to prevent the wood from splitting, and then securely screw the legs into place.
Achieving the Perfect Japandi Finish
This final step is what truly brings the Japandi style to life. If you're painting, apply a thin, even coat of primer and let it dry. Then, apply two coats of your chosen paint, allowing ample drying time between each. Remember, the Japandi aesthetic is about subtlety, so avoid glossy finishes. If you've chosen to stain, apply the stain with a cloth, following the direction of the wood grain. Wipe off any excess and let it penetrate the wood. You can apply a second coat for a deeper colour. A final coat of clear matte sealant can protect the finish without adding unwanted shine. The key is to let the simplicity of the form and the texture of the material speak for itself.