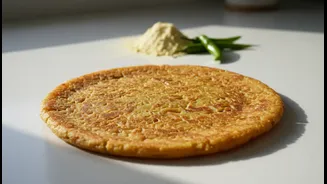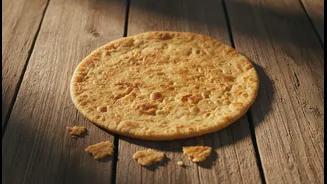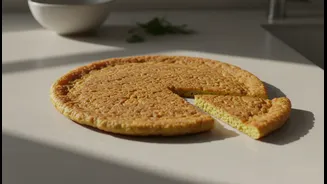







Perfect the Batter Consistency
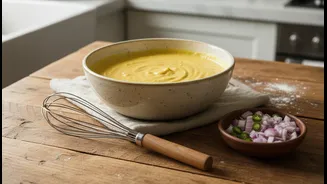
The single most important factor for a successful chilla is the batter. If it's too thick, it won't spread properly and will cook unevenly, leading to a doughy center. If it's too thin and watery, it will lack the structure to hold together. The ideal
consistency is smooth, lump-free, and pourable—similar to a crepe or dosa batter. A good rule of thumb is to start with one cup of besan and gradually whisk in about half a cup of water. Keep adding water slowly until you reach that perfect, flowing consistency. Whisking continuously is key to preventing lumps.
Let the Batter Rest (But Not for Too Long)
Once your batter is mixed, let it rest for about 15 to 20 minutes. This short resting period allows the besan to fully hydrate, which is crucial for a smooth texture and better binding. While some suggest a long rest, food science indicates that letting it sit for more than 90 minutes can actually degrade the batter's quality, leading to off-flavors. If you prepare the batter ahead and refrigerate it, remember that it will thicken. You'll need to bring it back to room temperature and likely add a bit more water to get the consistency right before cooking.
Add a Little Extra Binding
If your chillas are still proving fragile, a simple binding agent can work wonders. Adding just one tablespoon of sooji (semolina) or rice flour to the besan batter can significantly improve its structure. These ingredients not only help bind the chilla together, preventing it from breaking upon flipping, but they also contribute to a crispier final texture. For a slightly fluffier, more omelette-like chilla, you can also add a tiny pinch of baking soda just before you start cooking.
Get the Pan Temperature Just Right
Temperature control is critical. A pan that is too hot will cause the batter to set and stick instantly before you can spread it, while a pan that isn't hot enough will lead to a sticky, undercooked chilla. The sweet spot is a medium-hot pan. A non-stick tawa or a well-seasoned cast-iron pan is your best bet. To check if the pan is ready, sprinkle a few drops of water on it. If they sizzle and evaporate immediately, you're good to go. If your pan gets too hot between chillas, you can briefly cool it by sprinkling some water and wiping it dry.
Mind Your Vegetables
Adding vegetables like onions, tomatoes, and coriander makes chillas more nutritious and flavorful. However, the size of your chopped veggies matters. Large, chunky pieces can disrupt the batter's integrity and create weak spots, causing the chilla to break. Always ensure your vegetables are very finely chopped so they integrate seamlessly into the batter rather than fight against it. Also, be mindful not to overload the batter with too many additions, as this can weigh it down and make it prone to falling apart.
Master the Flip
Patience is a virtue, especially when it's time to flip. Don't rush it. Pour the batter in the center and spread it gently in a circular motion. Cook on medium heat for about two to three minutes. You'll know it's ready to flip when the top surface looks set and the edges start to lift away from the pan on their own. Drizzle a little oil around the edges to help it crisp up and release cleanly. Use a thin, flat spatula to gently lift an edge and peek underneath. Once it's golden brown, slide the spatula underneath and flip with a confident, swift motion.