



Why You Shouldn’t Toss Orange Peels
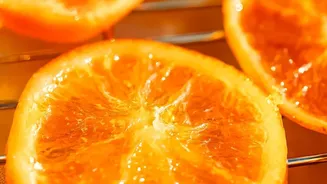
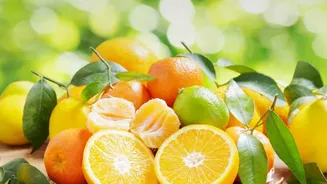
The colourful outer layer of an orange is more than just a protective covering; it's a treasure trove of flavour and nutrients. Orange peels are packed with beneficial plant compounds called polyphenols and flavonoids, like hesperidin. In fact, research
suggests the peel often contains a higher concentration of these compounds than the fruit's flesh. They are also a good source of fibre. While the process of making marmalade involves cooking and adding sugar, using the peel ensures that some of these inherent benefits are carried over into the final product. The key is to see marmalade as a treat. While it contains nutrients from the peel, its high sugar content means it should be enjoyed in moderation.
The 'Nutrient-Dense' Aspect
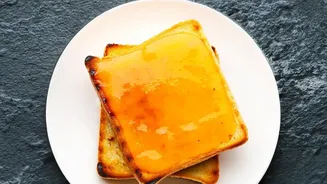
The term "nutrient-dense" in the context of marmalade refers to the components derived from the orange rind. The peels contribute Vitamin C, fibre, and powerful antioxidants. Antioxidants help protect the body from oxidative stress. Some studies suggest that compounds in citrus peels may also help in managing cholesterol levels. However, it's crucial to balance this with the reality that marmalade is a preserve made with a significant amount of sugar. A single tablespoon contains around 49 calories, almost entirely from carbohydrates and sugar. Therefore, think of this recipe not as a health food, but as a smarter, more resourceful way to make a delicious condiment while capturing some of the goodness that's usually discarded.
What You'll Need: Ingredients and Tools
This recipe requires no special equipment—just basic kitchen tools. The ingredients are simple and can be adjusted based on the quantity of peels you have. Ingredients: - Peels from 4-6 large oranges - Granulated sugar (equal weight to the prepared peels and pulp) - Juice of 1 large lemon - Water Tools: - A sharp knife or mandoline slicer - A large, heavy-bottomed pot - A kitchen scale (recommended for accuracy) - Sterilised glass jars with lids for storage
Step-by-Step: Making the Marmalade
The process can be broken down into three main stages: preparing the peels, cooking the marmalade, and jarring the final product. Step 1: Prepare the Peels. Start by thoroughly washing your oranges before you peel them. Once peeled, use a sharp knife to slice the rinds into very thin strips. To reduce some of the bitterness, a common technique is to boil the peels. Place the sliced peels in your pot, cover them with water, bring to a boil, and let them simmer for about 30-40 minutes until they are very tender. Drain the water. Step 2: Cook the Marmalade. Return the softened peels to the pot. If you have any leftover orange pulp (with seeds and tough membranes removed), you can add it now for extra body. Add the lemon juice and an equal weight of sugar to the peels. For example, if you have 300g of cooked peels, add 300g of sugar. Add just enough fresh water to cover the mixture. Bring it to a slow boil over medium heat, stirring until the sugar completely dissolves. Step 3: Thicken and Set. Once the sugar has dissolved, increase the heat and let the mixture cook at a rapid simmer for about 20-30 minutes, stirring occasionally to prevent it from sticking. The marmalade is ready when it reaches a gel-like consistency. A simple way to test this is to place a small plate in the freezer. Drop a bit of the hot marmalade onto the cold plate, wait a minute, and then nudge it with your finger. If it wrinkles, it’s ready. Remove from heat and skim off any foam.
Jarring and Storage
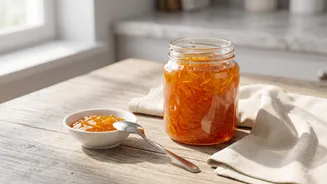
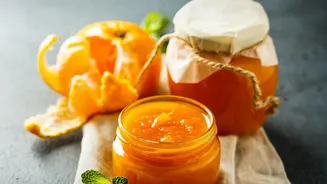
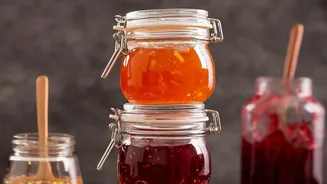
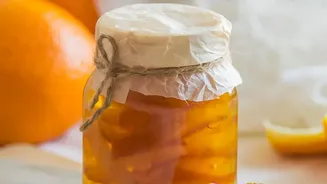
Once your marmalade is ready, it's time to preserve it. Carefully ladle the hot mixture into your pre-sterilised, hot glass jars, leaving about a quarter-inch of headspace at the top. Wipe the rims of the jars clean with a damp cloth before sealing them tightly with lids. If you're new to canning, you can simply let the jars cool completely and then store them in the refrigerator, where the marmalade will last for several weeks. For long-term shelf-stable storage, you'll need to process the filled jars in a boiling water canner according to established food preservation guidelines. This simple hack not only reduces food waste but also rewards you with a gourmet treat made right in your own kitchen.