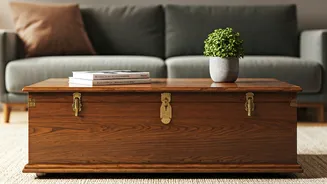


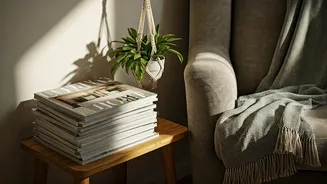


Assess Your Treasure
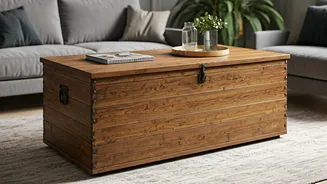
Before you begin, not every old chest is a perfect candidate. Inspect your 'sandook' or trunk for its potential. The ideal piece has 'good bones'—it should be made of solid wood, not particleboard, and be structurally sound. Check for major cracks, wood rot,
or severe pest damage that might be beyond a simple fix. Surface-level scratches, faded varnish, and old hardware are all part of the charm and can be easily addressed. The size is also important. A large, bulky chest might overwhelm a small space, while a smaller one could be a perfect side table. Ensure it's the right height to function as a coffee table, typically between 40-50 cm after adding legs.
Gather Your Tools and Materials
A successful DIY project starts with having everything you need on hand. You don’t need a professional workshop, just a few key items. Your basic toolkit should include: a wood cleaner or a solution of mild soap and water, medium and fine-grit sandpaper, a set of screwdrivers, and clean rags or tack cloths. For the transformation itself, you'll need your chosen finish—wood stain, paint, or a clear polyurethane varnish. You’ll also need primer if you decide to paint. The most important new additions will be the table legs (hairpin legs are a classic minimalist choice) and the corresponding screws to attach them. A power drill will make attaching the legs significantly easier.
The Crucial Prep Work
Don't skip the prep. This is the step that separates a professional-looking finish from a sloppy one. Start by removing any hardware like handles, hinges, and latches that you can. Place them in a labelled bag so you don't lose them. Next, give the entire chest a thorough cleaning to remove decades of dust and grime. Once it's completely dry, it's time to sand. Start with medium-grit sandpaper (around 120-grit) to smooth out any major imperfections and remove old, peeling varnish. Always sand in the direction of the wood grain. Follow up with fine-grit sandpaper (around 220-grit) to create a perfectly smooth surface that’s ready for its new finish. Wipe away all the dust with a tack cloth before moving on.
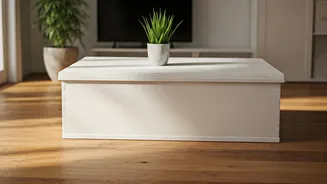
Choose Your Minimalist Finish
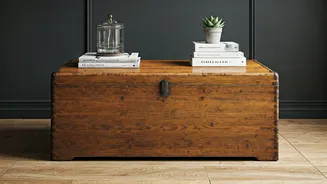
This is where your creative vision comes to life. Your choice of finish will define the table's final look. For a rustic yet minimal feel that celebrates the chest's history, a wood stain is perfect. It will enhance the natural grain and character of the wood. Test the stain on a small, inconspicuous area first, like the bottom of the chest. If you're aiming for a more modern, Scandinavian, or bold minimalist look, paint is your best option. A crisp white, a chic matte black, or a deep grey can completely transform the piece. Always use a good quality primer before painting, especially on old wood, to ensure even coverage and durability.
Applying the Finish with Care
Patience is key. Whether you’re staining or painting, apply thin, even coats. For stain, apply it with a rag or brush, let it penetrate the wood for the time recommended on the can, and then wipe off the excess with a clean rag. For paint, use a good quality brush or a small foam roller for a smooth, streak-free finish. Allow the first coat to dry completely before lightly sanding with fine-grit sandpaper and applying a second coat. Two or three thin coats are always better than one thick, goopy one. Once your final coat of paint or stain is dry, apply two to three coats of a clear polyurethane or polycrylic sealant to protect the surface from spills and scratches.
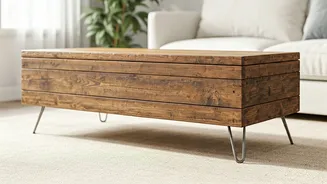
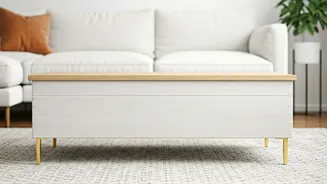
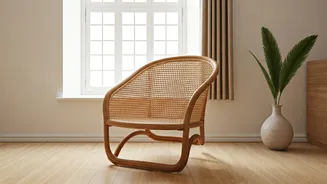
Giving It Legs
The final step in the transformation is adding the legs. This is what turns it from a storage chest into a functional table. Hairpin legs are a popular choice for a minimalist aesthetic because their open design keeps the piece from looking too heavy. Metal or wooden tapered legs also work beautifully. To install them, flip your finished chest upside down on a soft surface like a blanket. Position the legs evenly, typically a few inches in from each corner for maximum stability. Mark the screw holes with a pencil, drill pilot holes to prevent the wood from splitting, and then securely screw the legs into place. Flip it over, and your table is ready!