

The Enduring Charm of Pin Curls
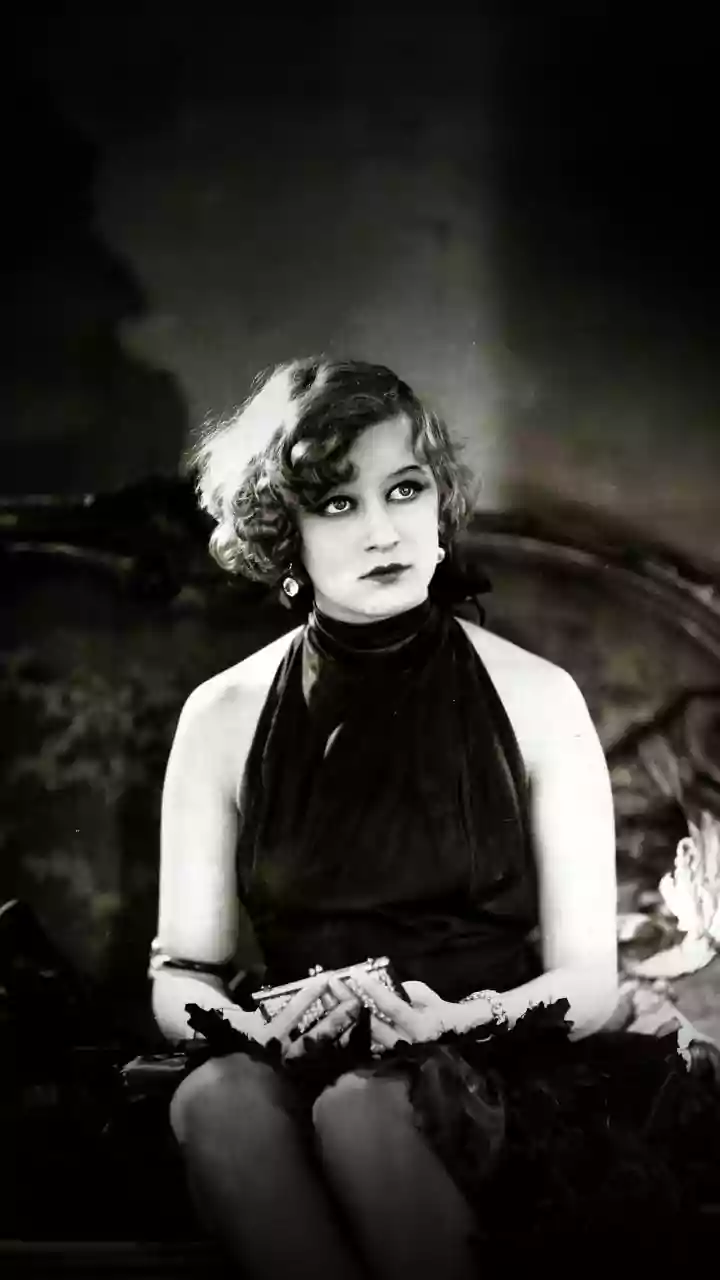
Pin curls are one of the foundational techniques of vintage hairstyling, a method that defined the iconic looks of the 1920s through the 1950s. Before the invention of modern hot rollers and curling irons, women relied on setting their damp hair in small,
flat curls pinned against the scalp. When dried and brushed out, these sets could create a vast array of styles, from the tight, defined curls of a flapper to the softer, cascading waves favoured by 1940s film sirens. The 'soft' pin curl is a modern interpretation, focusing on creating looser, more touchable waves rather than a very structured, rigid set. It's the perfect entry point for anyone looking to dip their toes into vintage styling without committing to a high-maintenance look.
Gather Your Styling Toolkit
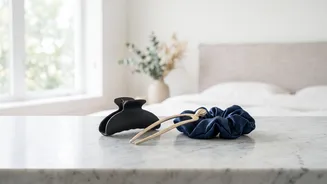
Achieving beautiful soft pin curls doesn't require a lot of complicated equipment, but having the right tools makes the process much smoother. Before you begin, gather the following items: - Pin Curl Clips or Bobby Pins: Single- or double-prong pin curl clips are ideal as they don't leave harsh marks. However, standard bobby pins will also work in a pinch. - A Rattail Comb: The long, thin handle is perfect for creating clean, precise sections of hair. - Setting Lotion or Mousse: This is crucial for giving your curls memory and hold. Apply it to damp hair before you start curling. - A Spray Bottle with Water: You'll be working on damp hair, so this is useful for re-moistening any sections that dry out too quickly. - A Silk or Satin Scarf: Tying a scarf over your finished set protects the curls as they dry and helps prevent frizz. It's essential for overnight setting.
Creating Your Soft Pin Curl Set
Patience is key to a good pin curl set. Plan to do this when you have several hours for your hair to air dry, or right before bed for an overnight set. Start with clean, damp hair that has been combed through to remove any tangles. Apply your setting lotion or mousse evenly from roots to ends. 1. Section Your Hair: Use your comb to create your desired parting. It’s easiest to work in sections, so clip away the hair you aren't working on yet. 2. Form the Curl: Take a small section of hair, about one inch wide. Starting from the end, wrap the hair around your finger towards the scalp. The direction you wrap determines the final wave pattern. For classic waves, wrap all curls in the same direction. 3. Pin the Curl: Once you reach the scalp, slide the hair off your finger, keeping the curl shape intact. Lay this flat circle of hair against your scalp and secure it with one or two pin curl clips, forming an 'X' for extra hold if needed. 4. Repeat the Process: Continue this process until your entire head is covered in pin curls. For a softer, more natural look, you can use larger sections of hair or alternate the direction of your curls. 5. Let It Dry Completely: This is the most important step. Cover your head with a silk scarf and allow your hair to dry 100%. Any moisture left in the curls will cause them to fall out almost immediately.
The Brush-Out and Final Styling
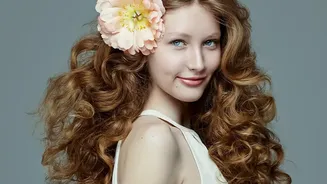
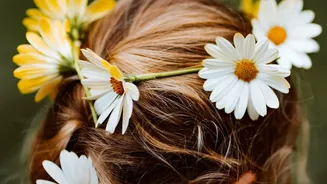
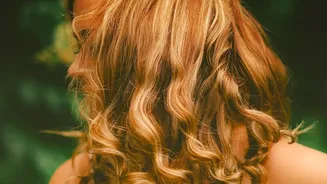
The magic of a pin curl set happens during the brush-out. Once you are absolutely certain your hair is dry, carefully remove all the pins. Your hair will likely look like a mass of tight, springy curls. Don't panic! Use a boar bristle brush or a wide-toothed comb and begin to gently brush through the curls. At first, it will feel like you're destroying your hard work, but keep going. The curls will start to relax and merge, forming soft, cohesive waves. Brush until you achieve the smoothness and shape you desire. You can use your hands to help shape the waves around your face. Finish with a light mist of flexible-hold hairspray to tame any flyaways and lock in the style. This look is incredibly versatile. Wear the waves down for a glamorous, flowing style, sweep one side back with a decorative clip for a classic 1940s feel, or gather the curls into a loose, romantic updo for a special occasion.