

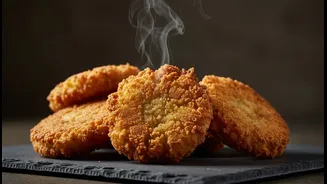

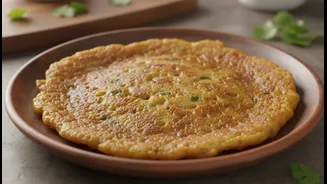


Start with a Smarter Batter
The foundation of a truly crispy snack begins long before it hits the hot oil. The composition of your batter is critical, especially when humidity is high. First, be mindful of water content. Vegetables like onions and zucchini can release moisture,
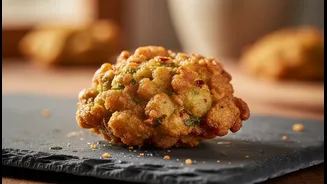
so you want a thick batter that just clings to them, not a runny one. For an extra anti-soggy shield, consider adding a spoonful of rice flour or cornstarch to your traditional gram flour (besan) batter. These starches absorb less oil and moisture during frying, which results in a lighter, drier, and more shatteringly crisp crust. Some pro cooks even swear by adding a few tablespoons of hot oil directly into the batter just before frying to help create that perfect texture.
Master the Frying Technique
How you fry is just as important as what you fry. The key to a crunchy exterior is hot oil—but not smoking oil. If the oil is too cool, the snack will absorb it and become greasy. If it's too hot, the outside will burn before the inside is cooked. Test the oil by dropping a tiny bit of batter in; if it sizzles and rises to the surface in a couple of seconds, you're ready. Another crucial rule is to not overcrowd the pan. Frying in small batches maintains the oil's temperature, ensuring each piece cooks evenly and crisps up properly. For the ultimate crunch, especially for items like French fries or thicker snacks, consider the double-fry method. Fry the items once until they are cooked but still pale, let them cool, and then fry them a second time just before serving to achieve a deeply golden and exceptionally crispy finish.
The Post-Fry Cool Down Is Crucial
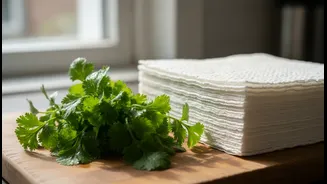
You’ve fried your snacks to golden perfection. Now, what you do in the next five minutes can make or break the crunch. Many home cooks make the mistake of draining fried foods on paper towels. While this absorbs some surface oil, it also traps steam right underneath the snack, creating a 'sweat zone' that turns the bottom soggy. The superior, restaurant-approved method is to place freshly fried items on a wire cooling rack set over a baking sheet. This allows air to circulate all around the food, letting steam escape and oil drip away. The result is a snack that is uniformly crispy, from top to bottom. If you are frying in multiple batches, you can keep the entire rack-and-sheet setup in a low oven to keep everything warm and crisp until you're ready to serve.
Outsmart Humidity with Smart Storage
If you have leftovers or are preparing snacks in advance, proper storage is your main defence against the monsoon moisture. The first and most important rule is to let the snacks cool down completely before storing them. Packing them while still warm will trap steam inside the container, leading to guaranteed sogginess. Once cool, transfer them to a genuinely airtight container; glass or steel jars are often better choices than plastic ones during humid months. To go a step further, add a natural desiccant to absorb any sneaky moisture. A few grains of uncooked rice or even a bay leaf placed in the container can work wonders. For daily use, consider keeping a small jar for serving and opening the large master container as infrequently as possible to minimize air exposure.
Bring Back the Crunch: Reheating for Success
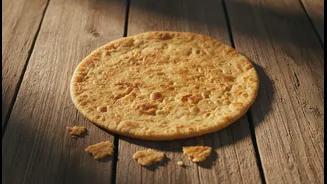
Leftover fried snacks don’t have to be a sad, chewy affair. The secret to reviving them lies in using dry heat, not the microwave. Microwaving tends to excite water molecules within the food, essentially steaming it from the inside out and making it tough or leathery once it cools. The best tools for the job are an oven or an air fryer. Spread the snacks in a single layer on a baking sheet or in the air fryer basket and heat them for a few minutes. An oven preheated to around 190-200°C will work well to drive off moisture and re-crisp the surface. The hot, circulating air of an air fryer is also exceptionally effective at restoring that just-fried texture in a very short amount of time. A heavy-bottomed pan (tawa) on low heat can also work for flatter items like mathri.