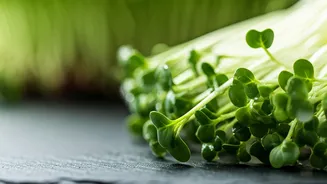


Why Bother with Broccoli Microgreens?
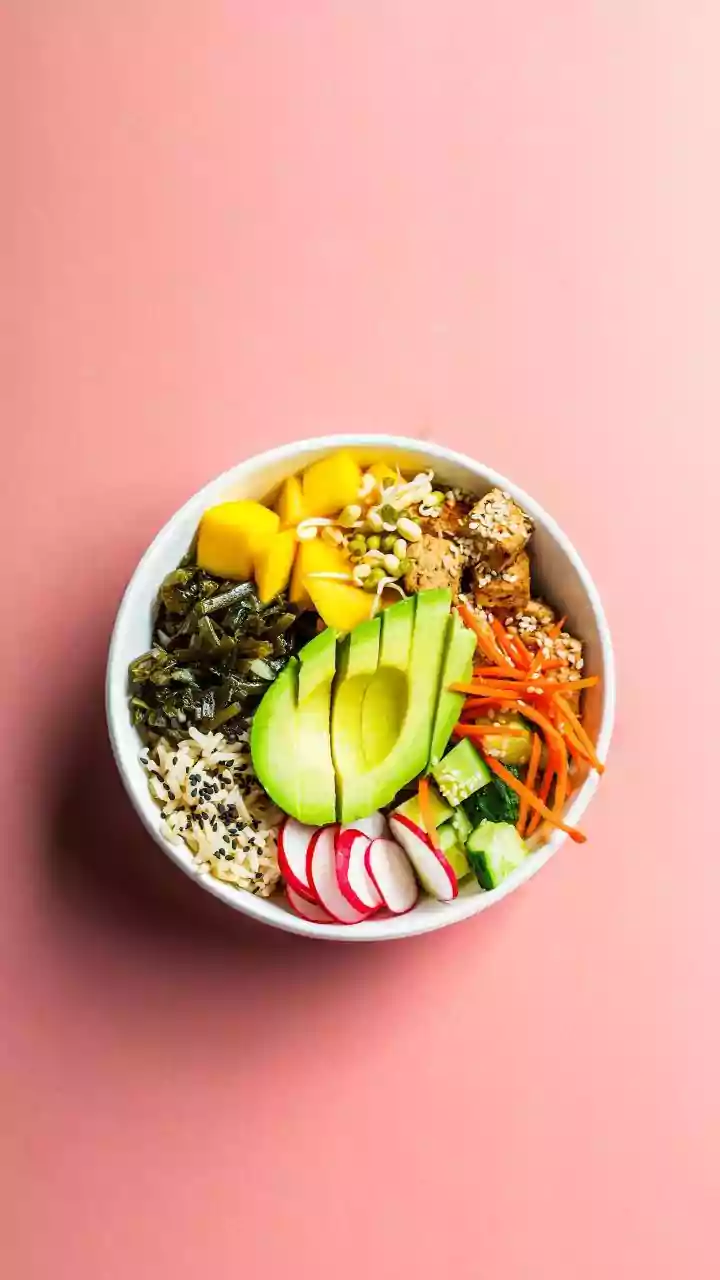
Before you start, let’s talk about the reward. Why these tiny greens? First, flavor. Broccoli microgreens have a surprisingly potent, peppery flavor—a concentrated version of mature broccoli, but milder and fresher. They elevate everything from avocado
toast and scrambled eggs to salads and sandwiches. Second, nutrition. These are not just garnishes; they are nutritional powerhouses. Broccoli microgreens are famously rich in sulforaphane, a compound studied for its significant health benefits. Growing them yourself means you are harvesting them at their absolute peak of freshness and nutritional value, something you can't guarantee from a store-bought clamshell package that’s been sitting on a shelf.
Your Simple Shopping List
The word “effortlessly” in the headline is no exaggeration, and that starts with the setup. You don’t need a fancy hydroponic system or grow lights. Here’s the bare-bones list: * **Two shallow trays:** 10x20 inch trays are standard, but any shallow plastic container works. One needs drainage holes, the other doesn’t (to act as a bottom tray). * **Growing medium:** A fine-particle seed starting mix is great. Alternatively, you can use a coco coir mat or hemp mat for a soil-free grow. * **Broccoli seeds:** Look for seeds specifically sold for microgreens or sprouting, as they won't be treated with fungicides. A small bag goes a long way. * **A spray bottle:** For gentle watering.
Step 1: Prep Your Tray
Take your tray with the drainage holes and fill it with about an inch of your pre-moistened growing medium. If you're using soil or coco coir, add water until it’s damp like a wrung-out sponge, but not waterlogged. Gently press the medium down with your hands or a small block of wood to create a flat, even surface. This prevents seeds from getting lost in crevices and ensures they all get equal access to water and light later on. A level surface is the foundation of a successful, even crop.
Step 2: Sow Your Seeds
Now for the fun part. Sprinkle your broccoli seeds evenly and densely across the entire surface of your growing medium. You want them to be close together, almost like a carpet, but not overlapping so much that they're piled on top of one another. Unlike larger garden seeds, you do not need to cover them with soil. Gently press the seeds into the surface to ensure good contact with the moist medium. Give them a final, light misting with your spray bottle.
Step 3: The Blackout Period
This is the most crucial step for great germination. Seeds need darkness to sprout. Cover your seeded tray with the second, identical tray flipped upside down. This creates a dark, humid environment that encourages the seeds to sprout. You can even place a small weight on top (like a book or a brick) to encourage the roots to grow downward into the soil. Place the covered tray in a spot that’s room temperature but out of direct sunlight for 2-4 days. Check daily and mist if the surface looks dry.
Step 4: Let There Be Light
After a few days, you’ll peek under the cover and see a forest of pale, yellowish sprouts. This is when they need light! Remove the top cover and place the tray on your sunniest kitchen windowsill. They don’t need intense, direct summer sun, but a spot with several hours of bright, indirect light is perfect. Within hours, you will see them transform from yellow to a vibrant green as they start to photosynthesize. It’s like magic.
Step 5: Water and Wait
For the next 5-7 days, your only job is to keep the medium moist. Misting from above is fine for the first day or two, but to prevent mold, it’s best to switch to bottom-watering. Simply pour a cup of water into the bottom tray (the one without holes) and let the soil soak it up through the drainage holes for about 10-15 minutes. Then, discard any excess water. Do this once a day or whenever the tray feels light and the soil looks dry.
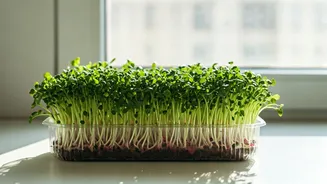
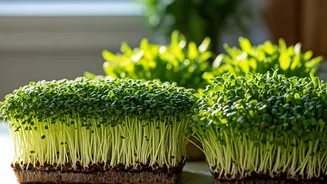
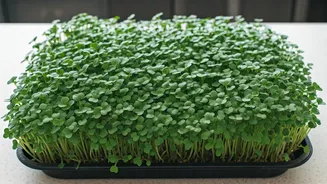
Step 6: Harvest and Enjoy
Your microgreens are ready to harvest in about 8-12 days from sowing, typically when they are 2-3 inches tall and have developed their first set of true leaves (which look different from the initial two cotyledon leaves). To harvest, use a sharp pair of scissors or a knife to cut the greens just above the soil line. It's best to harvest them as needed right before you eat to get the best flavor and texture. The crop won't regrow, so once you've harvested the whole tray, you can compost the roots and start again.