


Signs It's Time for a New Pot
Before you get your hands dirty, it’s important to know if your plant actually needs repotting. Disturbing a happy plant is unnecessary. Look for a few clear signals. One of the most obvious signs is roots growing out of the drainage holes at the bottom
of the pot. You might also see them circling the inside of the pot or pushing the plant upwards. Another tell-tale sign is that the soil dries out very quickly, sometimes within a day or two of watering. This often means there are more roots than soil, leaving little to hold moisture. Stunted growth, such as new leaves that are smaller than old ones, or a plant that has stopped growing altogether during its growing season (usually spring and summer), can also indicate it's time for an upgrade. If your plant is top-heavy and tips over easily, it likely needs a bigger, more stable base.
Gather Your Supplies
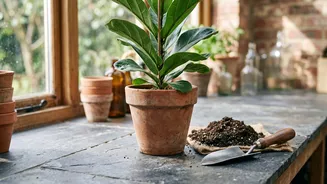
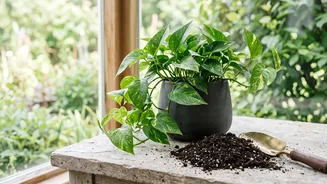
To make the process smooth and efficient, gather everything you need before you start. You will need a new pot that is slightly larger than the current one, fresh potting mix appropriate for your type of plant, a trowel or scoop, and a pair of scissors or pruning shears. It's also a good idea to lay down some newspaper or a plastic sheet to contain the mess, especially if you're working indoors. Having everything within arm's reach prevents you from leaving a half-repotted plant sitting out while you search for a tool.
Choose the Right Pot and Soil
Choosing the right pot is crucial for your plant's health. A common mistake is selecting a pot that is too large. A pot that is just one to two inches larger in diameter than the old one is the perfect size for most plants. If your plant is in a pot larger than 10 inches, you can go up by two to three inches. This gives the roots room to grow without being surrounded by a vast amount of soil that stays wet for too long, which can lead to root rot. Ensure your new pot has drainage holes. Without them, water will collect at the bottom, saturating the roots and starving them of oxygen. Equally important is the soil. Never use soil from your garden, as it is too dense, compacts easily in a pot, and can carry pests or diseases. Always use a fresh, high-quality potting mix formulated for indoor plants. These mixes are light, airy, and designed for good drainage. For specific plants like succulents or orchids, use a specialised mix designed to meet their unique needs.
The Repotting Process: A Step-by-Step Guide
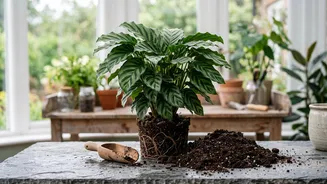
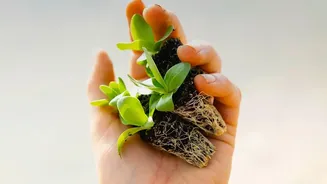
With your supplies ready, it's time to repot. First, gently remove the plant from its current pot. Turn the pot on its side and tap the bottom and sides to loosen it, then carefully slide the plant out. Try not to pull it by the stem. Next, inspect the roots. If they are tightly wound in the shape of the pot (a condition known as 'root-bound'), gently loosen them with your fingers. This encourages them to grow outwards into the new soil. If you see any black, mushy, or bad-smelling roots, this is root rot. Trim these damaged sections away with clean scissors. Now, prepare the new pot. Add a layer of fresh potting mix at the bottom. Place your plant in the center, ensuring the top of its root ball sits about an inch below the rim of the pot to leave room for watering. Fill the space around the plant with more potting mix, gently patting it down to eliminate large air pockets, but avoid packing it too tightly. Once filled, give the plant a thorough watering until it runs from the drainage holes. This helps settle the soil around the roots.
Aftercare for a Happy Plant
Repotting is a stressful event for a plant, so a little extra care is needed as it recovers. Place the plant back in a location with the same light conditions it is used to, but avoid direct, harsh sunlight for a week or two. Do not fertilize your newly repotted plant right away. The fresh potting soil contains enough nutrients, and fertilizer can burn the sensitive, recovering roots. Wait at least a month, or until you see signs of new growth, before resuming your regular fertilizing schedule. Some mild wilting or drooping can be normal in the first few days as the plant adjusts; it should perk up soon.