





Gathering Your Supplies
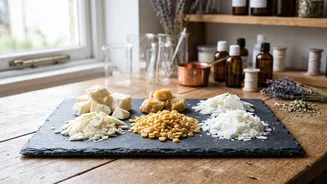
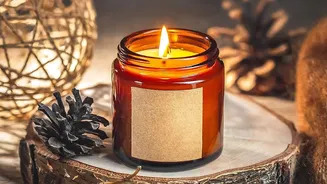
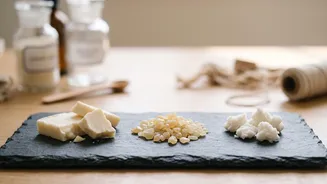
Before you begin, gathering the right materials will make the process smooth and enjoyable. For your first batch, soy wax flakes are an excellent choice; they are beginner-friendly, burn cleanly, and hold fragrance well. You will also need pre-waxed cotton
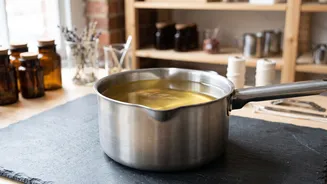
wicks with metal bases, which are easy to work with. Choose heat-resistant containers like glass jars, ceramic pots, or tins. The scent comes from fragrance oils, which are specifically formulated for candles and perform better than essential oils in hot wax. Finally, you'll need a few basic tools: a kitchen scale for accurate measurements, a pouring pot to melt the wax, a larger pot to create a double boiler, a thermometer to monitor temperatures, and something to hold the wick in place, like a clothespin or chopsticks.
Setting the Stage for Safety
Working with hot wax requires a bit of preparation to ensure a safe and clean crafting session. Cover your work surface with newspaper or parchment paper to catch any drips. It's wise to wear an apron or old clothes. Keep children and pets away from the area. The most important safety rule is to never melt wax directly over a heat source; always use a double boiler method, which involves placing your pouring pot inside a larger pan of simmering water. This prevents the wax from overheating or scorching. Also, never leave melting wax unattended. Having your containers, wicks, and fragrance oil ready to go before you start melting will make the entire process feel more controlled and relaxed.
From Wax to Wick: The Main Event
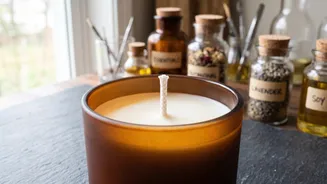
Now for the fun part. First, secure your wick to the bottom centre of each container using a wick sticker or a dab of hot glue. Use a clothespin or centering tool laid across the top of the jar to hold the wick upright. Next, weigh your wax flakes using a kitchen scale—this ensures you use the correct amount of fragrance later. Place the wax in your pouring pot and melt it in your double boiler over medium heat, stirring occasionally. Heat the wax to around 85°C (185°F). Once it reaches this temperature, remove it from the heat and stir in your fragrance oil. A good starting point is a 6-10% fragrance load, meaning for every 100g of wax, you would add 6-10g of oil. Stir gently for a full two minutes to ensure the oil binds properly with the wax. Let the mixture cool to about 57°C (135°F) before pouring. This specific pouring temperature helps prevent cracks and sinkholes, giving you a smooth top. Pour the wax slowly into your containers, let them cool completely at room temperature, and then trim the wicks to about a quarter-inch.
Troubleshooting for Beginners
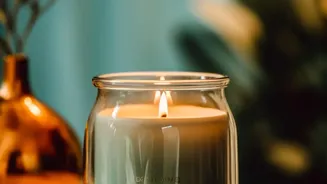
Don't be discouraged if your first candles aren't perfect. Some common issues are easily fixed. If a candle burns a narrow hole down the centre, this is called 'tunneling' and usually means the wick was too small for the jar's diameter. If the top of your candle looks rough, bumpy, or has sinkholes, the wax was likely poured too hot or cooled too quickly. Ensuring you pour at the correct temperature of around 57°C (135°F) can prevent this. If your candle doesn't smell as strong as you'd like when lit, it could be for a few reasons: you might have added the fragrance when the wax was too hot (which burns off the scent), didn't stir for long enough, or didn't let the candle 'cure'. Most waxes, especially soy, need to cure for one to two weeks before burning to allow the fragrance and wax to fully bond.