


Choose Your Champions: Vessel and Fern
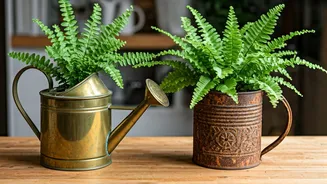
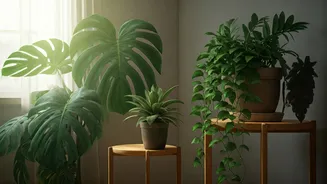
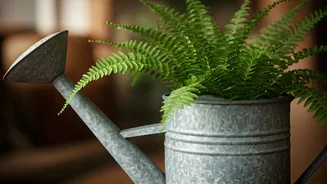
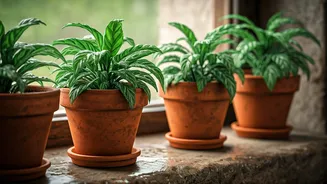
The first step is a delightful treasure hunt. Look for metal vessels with character: old brass tiffin carriers, weathered aluminium canisters, enamelware mugs, or even sturdy steel buckets. Consider the scale of your space. A small, elegant brass pot
suits a desk, while a large galvanised bucket can make a statement on the floor. Ensure the vessel is deep enough to accommodate the fern's root ball with room to grow. For your green companion, choose a fern that thrives indoors. The Boston Fern (Nephrolepis exaltata) is a classic with its arching, feathery fronds. The Bird's Nest Fern (Asplenium nidus) offers a different look with its solid, wavy leaves that grow in a rosette. For smaller containers, the compact Hart's Tongue Fern is an excellent choice. Select a healthy plant with vibrant green foliage and no signs of pests or disease.
The Crucial Step: Solving for Drainage
Here is the single most important rule for planting in any non-traditional container: ferns hate 'wet feet.' They need consistently moist soil, but sitting in stagnant water will lead to root rot. Most vintage metal vessels won't have drainage holes, so you have two excellent options. 1. Drill Holes: If you are comfortable with basic tools, this is the best method. Use a drill bit designed for metal to create three or four small holes in the bottom of the container. This provides a direct escape route for excess water. 2. Create a 'Cachepot' System: This is a no-drill alternative. Keep your fern in its original plastic nursery pot (which has drainage holes). Simply place this pot inside your decorative metal vessel. When you water the plant, take it out of the metal pot, water it thoroughly in a sink, let it drain completely, and then place it back. This keeps your vintage piece pristine and your fern healthy.
Prepare the Planter for Planting
Before you introduce soil and plant, you need to prep your metal vessel. First, clean it thoroughly with soap and water to remove any dirt, dust, or residue. Dry it completely. The next step is crucial for preventing rust, which can harm the plant's roots and degrade your container. To create a protective barrier between the metal and the moist soil, you can either apply a few coats of a clear, waterproof sealant spray to the interior or use a simple plastic liner. A cut-to-fit piece from a thick plastic bag works perfectly. This barrier is especially important for iron or steel containers, less so for brass or aluminium, but it is always a good practice.
Crafting the Perfect Soil Mix
Ferns don't thrive in standard, heavy garden soil. They prefer a light, airy medium that retains moisture without becoming waterlogged. You can buy a pre-made fern-specific potting mix, or you can easily create your own superior blend. A fantastic recipe for indoor ferns is an equal-parts mixture of cocopeat, perlite, and good-quality compost or vermicompost. Cocopeat holds moisture beautifully, keeping the soil damp. Perlite, the small white volcanic rocks, provides aeration, ensuring oxygen can get to the roots. The compost provides essential nutrients to support lush, green growth. Mix these three ingredients together thoroughly in a separate bucket until you have a uniform, fluffy substrate.
The Planting Process, Step-by-Step
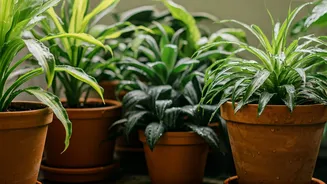
With everything prepared, it's time for the final assembly. If you've drilled drainage holes, start by adding a layer of small pebbles or broken terracotta pot pieces at the bottom to prevent soil from clogging the holes. If using the cachepot method, you can skip this. Add a layer of your prepared soil mix into the container. Gently remove the fern from its nursery pot, teasing the roots slightly if they are tightly bound. Place the fern in the centre of your metal vessel, ensuring the top of the root ball is about an inch below the rim. Fill in the surrounding space with more soil mix, gently patting it down to remove air pockets. Water the plant thoroughly until water runs out the bottom (if you drilled holes) or until the soil is evenly moist.
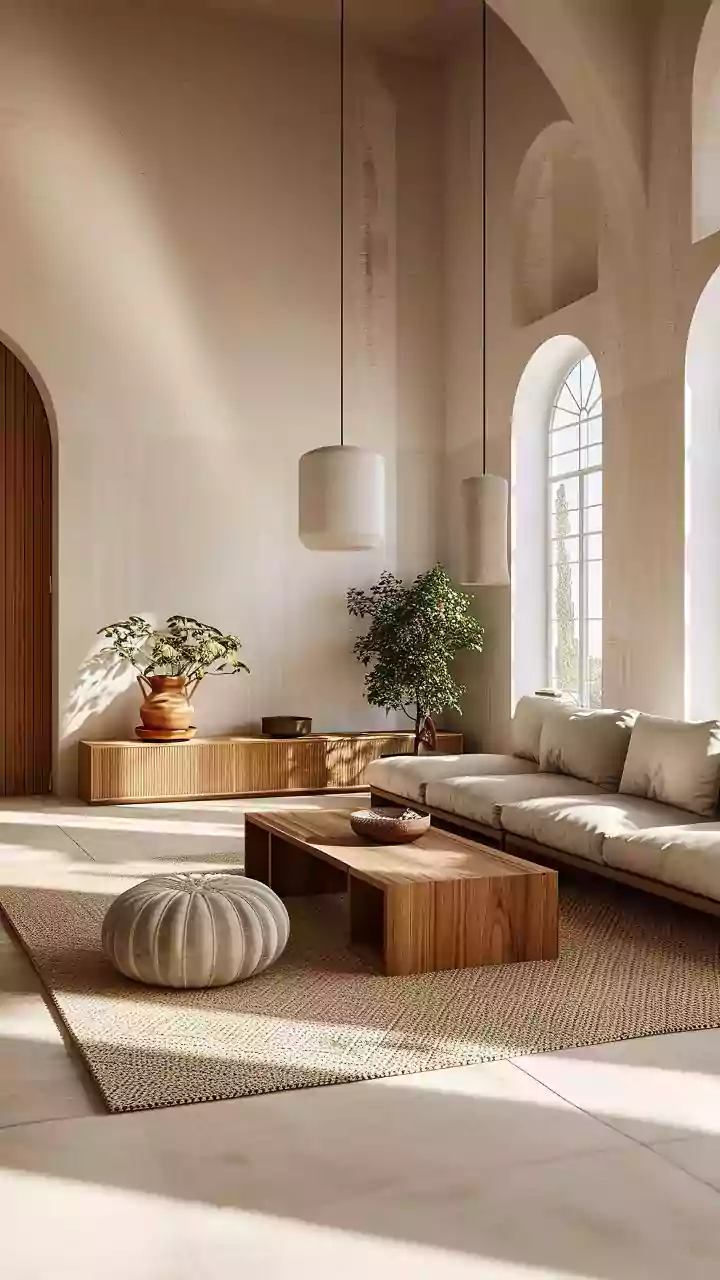
Caring for Your New Green Accent
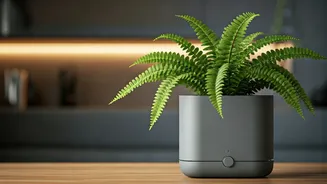
Your fern's new home has unique properties. Metal can heat up more than ceramic or plastic, so avoid placing your planter in direct, harsh sunlight, which can cook the roots. Ferns prefer bright, indirect light anyway, so a spot near a north or east-facing window is ideal. Check the soil moisture every few days by sticking your finger an inch deep. If it feels dry, it's time to water. Ferns also love humidity, so misting the leaves every couple of days will make them very happy. Remember to empty the cachepot of any excess water if you are using that method.