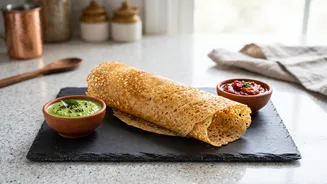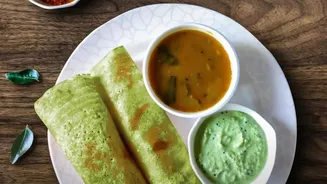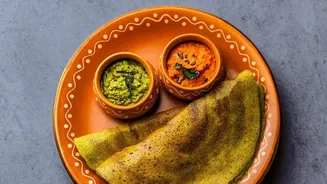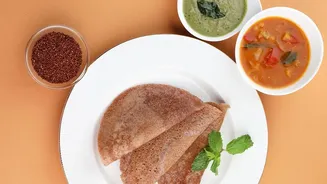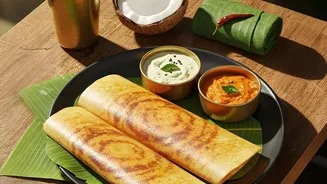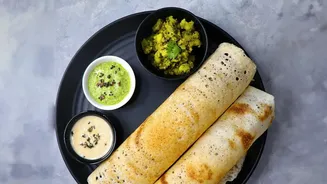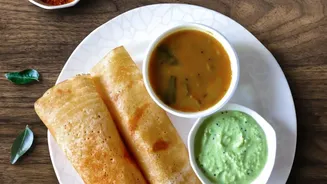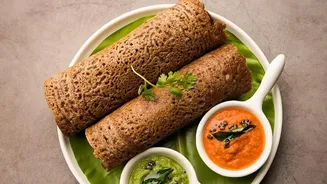



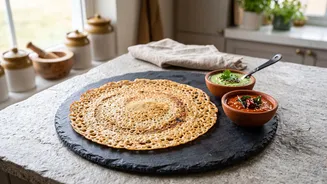
Craving a crispy, paper-thin dosa but short on time? The traditional rice and dal batter requires hours of soaking and fermentation. Enter the instant oats dosa: a quick, healthy, and delicious alternative for a perfect breakfast or light meal.
Why You'll Love Oats Dosa
The magic
of an instant oats dosa lies in its simplicity and health benefits. Unlike its traditional counterpart, this version requires no soaking, grinding, or fermentation, which means you can go from a craving to a crisp, golden dosa in about 20 minutes. It's a fantastic way to incorporate the fibre and nutrients of oats into your diet, even for those who aren't fond of oatmeal porridge. The recipe follows the logic of a rava dosa, using a blend of flours to create a lacy, crisp texture that is wonderfully satisfying.
Gathering Your Key Ingredients
This recipe relies on a trio of flours to achieve the perfect texture. You will need rolled or instant oats, which you will grind into a fine powder. Rice flour is essential for crispiness, acting as a binding agent that helps the dosa release cleanly from the pan. Finally, coarse semolina (rava or sooji) provides that signature crunchy, porous texture. For flavour and aroma, you'll want finely chopped onion, green chillies, ginger, curry leaves, coriander, cumin seeds, and a touch of black pepper.
Creating the Perfect Batter
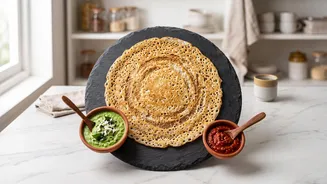
The secret to a thin, lacy dosa is a very thin batter. First, toast the oats in a dry pan for a few minutes until fragrant, then let them cool and grind them into a fine powder. In a large bowl, whisk together the oat powder, rice flour, and semolina. To this, add your chopped aromatics: onion, chillies, ginger, herbs, and spices. Now, gradually add water while whisking continuously to avoid lumps. The final consistency should be very runny and watery, similar to buttermilk or thin milk. Let this batter rest for 15-20 minutes to allow the rava to soften and absorb the liquid.
Mastering the Tawa Technique
The tawa, or griddle, must be very hot. A cast-iron tawa is excellent for this, but a good nonstick pan also works. Heat the tawa on a medium high flame until a few drops of water sprinkled on it sizzle and evaporate instantly. This is the most crucial step; if the pan isn't hot enough, the batter will stick and result in a soft, thick dosa. Before pouring each dosa, give the batter a thorough stir from the bottom, as the flours tend to settle.
Cooking to Crispy Perfection
Once the tawa is hot and the batter is stirred, it's time to cook. Using a ladle, pour the batter from a height, starting from the outer edge of the pan and moving inwards to fill the gaps. Do not try to spread the batter with the back of the ladle like you would with a traditional dosa; simply pour it to create a natural, lacy pattern. Drizzle about half a teaspoon of oil or ghee around the edges and over any holes. Cook on a medium flame for 2–4 minutes. You'll know it's ready when the edges start to turn golden brown and lift away from the pan. There is no need to flip it. Gently fold the dosa and serve it immediately.
Extra Tips for the Crispiest Dosa
If your first dosa isn't as crisp as you'd like, don't worry. The most common reasons are a batter that's too thick or a tawa that's not hot enough. Don't be afraid to add a bit more water to thin the batter further. For an extra tangy flavour, you can add a few tablespoons of curd or buttermilk to the batter. Wiping the hot tawa with half an onion dipped in oil before pouring the batter can also help prevent sticking and adds a lovely flavour. Remember, these dosas are best enjoyed hot, straight off the tawa, as they will soften upon cooling.