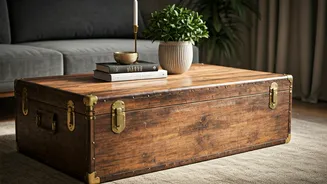


Find a Worthy Candidate
The first step is sourcing your chest. Look for one with 'good bones'—solid wood construction is ideal, as it’s more durable and easier to refinish than veneer. Common finds include old trunks, military footlockers, or 'sandooks'. Check for structural
integrity. Wobbly joints can be fixed, but widespread wood rot is a deal-breaker. Don't be deterred by surface-level issues like scratches, flaky paint, or tarnished hardware; these are cosmetic problems you can easily solve. The size should also be appropriate for your living room, typically sitting a few inches below the height of your sofa seats.
Prep, Clean, and Assess
Before you begin the transformation, a thorough cleaning is essential. Use a mild solution of soap and water, but avoid soaking the wood. For stubborn grime, a mixture of vinegar and water can work wonders. Once clean and dry, carefully inspect the piece. If it has old, peeling paint and was made before the 1980s, it’s wise to test for lead paint using a simple home kit. If it tests positive, you’ll need to take extra safety precautions, like using a chemical stripper instead of sanding, wearing a respirator, and working in a well-ventilated area to avoid creating toxic dust.
Strip and Sand for a Fresh Start
To create a premium finish, you need a flawless canvas. If the chest has thick layers of old paint or varnish, sanding alone won't be enough. Apply a chemical paint stripper according to the manufacturer's instructions, using a scraper to gently remove the softened finish. Once stripped, or if you're starting with a lightly finished piece, it's time to sand. Start with a medium-grit sandpaper (around 120-grit) to smooth out imperfections, then move to a fine-grit sandpaper (220-grit) for a silky-smooth surface. Always sand in the direction of the wood grain to avoid scratching it. A power sander can speed this up, but hand-sanding gives you more control in tight corners.
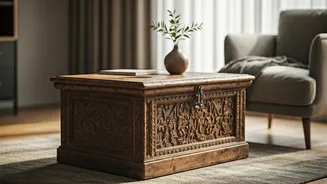
Choose Your Finish: Paint or Stain?
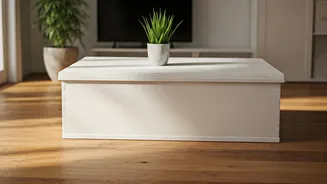
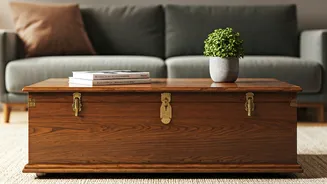
This is where your personal style comes in. Do you want to highlight the natural beauty of the wood, or introduce a pop of colour? Staining is perfect for chests made of beautiful woods like oak, teak, or walnut. It enhances the grain and gives a classic, rich look. Choose a stain colour that complements your existing decor. Painting, on the other hand, offers endless possibilities. A crisp white or black can create a modern feel, while a distressed chalk paint finish can achieve a rustic, shabby-chic vibe. If you choose to paint, always apply a coat of primer first. This ensures the paint adheres properly and the final colour is true.
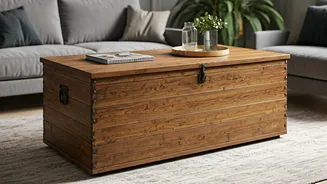
Apply the Finish Like a Pro
Whether painting or staining, the key to a professional look is thin, even coats. For stain, use a clean cloth or foam brush to apply it, wiping away any excess after a few minutes to achieve the desired depth of colour. For paint, use a high-quality brush or a small foam roller for a smooth, streak-free application. Allow each coat to dry completely before applying the next. Two coats are usually sufficient for full coverage. Lightly sand with fine-grit sandpaper between coats of paint for an ultra-smooth finish.
Seal and Protect Your Work
A coffee table sees a lot of action—mugs, books, feet—so a protective top coat is non-negotiable. Polyurethane is a popular choice for its durability and water resistance. It comes in various sheens, from matte to high-gloss. Apply two to three thin coats with a brush, letting each dry fully. For a more traditional, hand-rubbed finish, especially over stain, consider using a furniture wax. It requires more maintenance but provides a beautiful, soft lustre that feels wonderful to the touch.
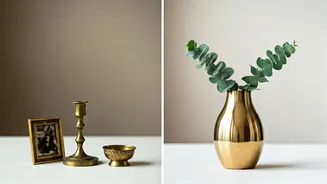
Add the Final Flourishes
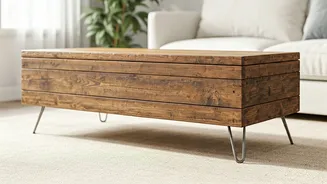
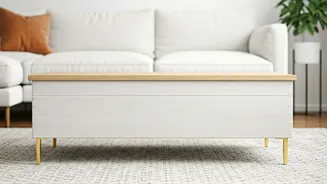
The details are what elevate a DIY project to a premium piece. Most old chests sit too low to be functional coffee tables. Consider adding legs to raise it to the proper height. You can buy stylish hairpin legs for a mid-century modern look, or classic bun feet for a more traditional feel. Another simple upgrade is replacing the old hardware. New handles, latches, or hinges can completely change the character of the chest. Finally, if the inside is musty, consider cleaning it well and lining it with scented paper or painting it for a clean, fresh storage space.