


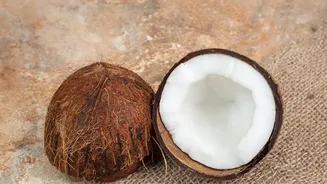
The Hidden Dangers in Raw Shells
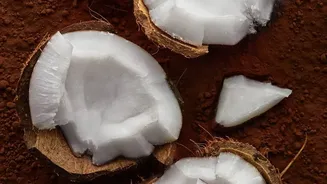
It might be tempting to simply rinse a coconut shell and fill it with soil, but skipping a thorough cleaning introduces risks to your plants. Firstly, any remaining coconut meat or residue will rot. This process not only creates unpleasant odours but also
attracts fungus, bacteria, and unwanted pests that can harm your plants. Secondly, coconuts, particularly those processed near coastal areas, can have high concentrations of salt (sodium chloride) absorbed into their husks and shells. Salt is toxic to most balcony plants, stunting their growth, burning their roots, and interfering with nutrient absorption. Finally, fresh coconut shells can contain phenolic compounds, which can be phytotoxic, meaning they can inhibit root growth, especially in young seedlings. Proper preparation neutralises these threats, ensuring the shell is a safe and nurturing environment.
A Step-by-Step Guide to Cleaning Coconut Shells
Preparing your coconut shells is straightforward and ensures they become a healthy addition to your garden. First, ensure all coconut meat is scraped out. A sturdy spoon or knife will do the job. Once the inside is clear, scrub the shell inside and out with a stiff brush and warm, soapy water to remove any clinging fibres or dirt. The most critical step is to address the salt content. Soak the cleaned shells in a bucket of fresh water for at least 24 hours. It's recommended to change the water a few times during this period to effectively leach out the salts. After soaking, give the shells a final rinse. The last step is to let them dry completely, preferably in the sun. For a smoother finish, you can lightly sand the inside and outside surfaces. Your shells are now ready for gardening.
Drilling for Proper Drainage
Whether you use a coconut shell as a planter or for another garden purpose, drainage is key. Without it, water will pool at the bottom, leading to waterlogged soil and root rot, a common issue in container gardening. Before adding any soil, use a drill or a sharp tool to create several small holes in the bottom of the shell. These holes allow excess water to escape freely, maintaining a healthy moisture balance for the plant's roots. This simple step is vital for the long-term health of any plant you decide to grow in your upcycled planter. For hanging planters, you can also drill two or three evenly spaced holes around the rim to thread twine or wire through.
Creative Uses for Your Cleaned Shells
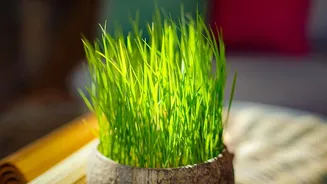
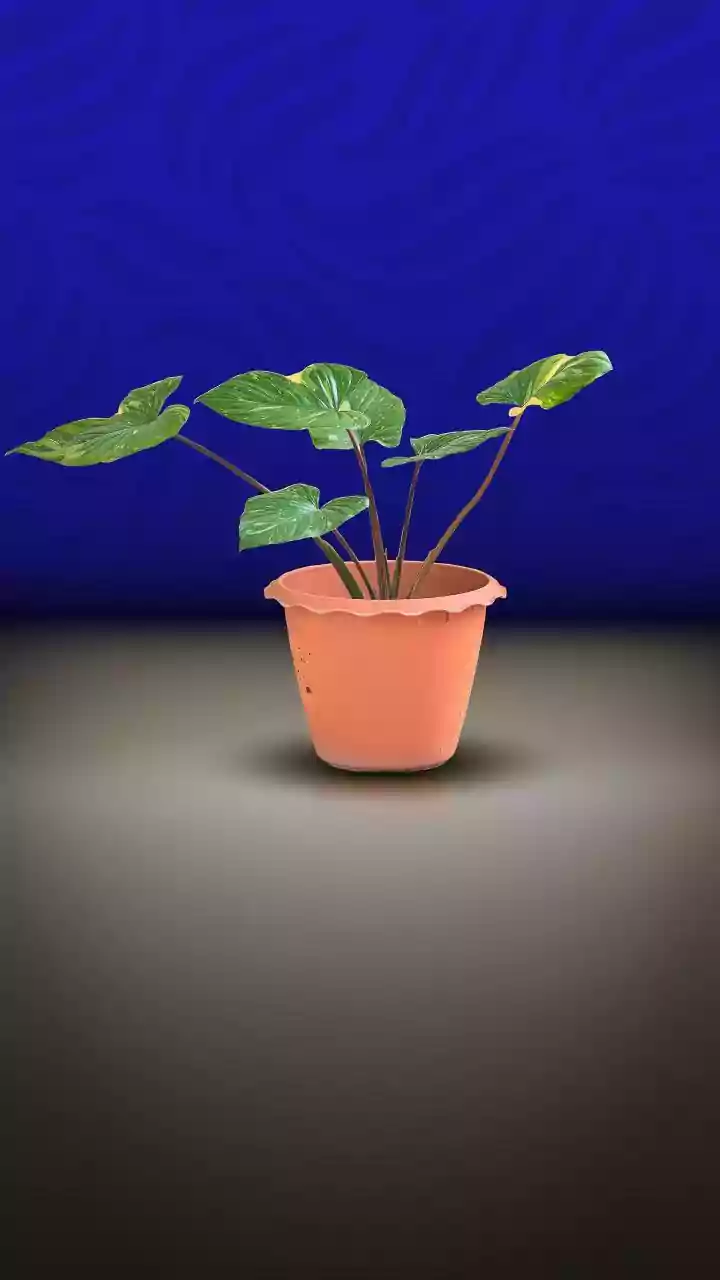
Once cleaned and drilled, coconut shells offer a world of creative possibilities for a balcony gardener. Their most popular use is as charming, rustic mini-planters, perfect for small succulents, cacti, or herbs that don't require deep soil. They can be placed on a ledge or hung to save space. You can also break the shells into smaller pieces and use them as a decorative and functional mulch. This helps the soil retain moisture, suppresses weeds, and adds organic matter as it slowly biodegrades. Another excellent use is as a drainage layer at the bottom of larger pots. Placing a few pieces of broken shell at the base of a container before adding soil improves aeration and prevents waterlogging. They can even be used as natural, biodegradable seed starters, providing a sturdy home for seedlings before they are transplanted.