



1. The Classic French or Dutch Halo
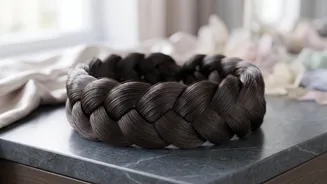
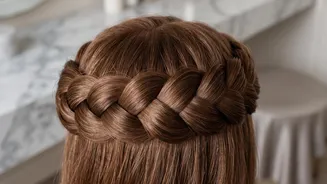
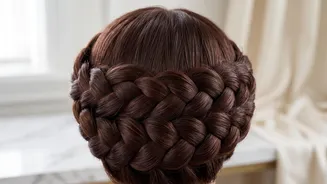
This is the foundational halo braid, a continuous plait that wraps around the entire head. You can choose between two core techniques. A French braid involves crossing the strands over the middle section, creating a smooth, sleek look that sits flat against
the head. This is often considered easier for beginners. A Dutch braid, or 'reverse French braid', involves crossing the strands under the middle section. This makes the braid pop, giving it a raised, three-dimensional effect that adds volume and texture. To create it, start a French or Dutch braid near your part, directing it along your hairline. Continue adding small sections of hair as you braid around your head—over your forehead, past your ear, and around the nape of your neck. Once you've braided all the way around, finish the remaining length in a standard braid, wrap it over the starting point, and secure it with pins.
2. The 'Cheater's' Halo (Or Milkmaid Braid)
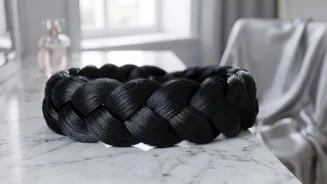
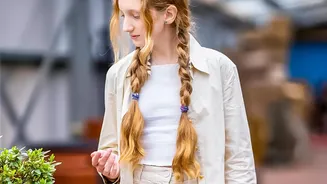
If braiding around your own head feels like an impossible feat of coordination, this simplified version is your best friend. Instead of one continuous braid, you create two separate braids and pin them up. Start by parting your hair down the middle and creating two pigtails, secured with clear elastics. Braid each pigtail—you can use a classic three-strand, a fishtail, or any braid you prefer. Gently pull the edges of each braid to 'pancake' them, giving them a fuller, more romantic look. Then, lift one braid up and over your head, like a headband, and pin it securely on the opposite side. Do the same with the second braid, tucking its end underneath the first one to hide it. This method gives the illusion of a halo braid with a fraction of the effort and is especially great for those with shorter or layered hair.
3. The Quick-Twist Halo
For a truly fast and effortless version, skip the intricate braiding altogether and opt for twists. This style delivers a similar bohemian vibe in under five minutes once you have the motion down. Part your hair how you'd like it, then take a section of hair near the front on one side and divide it into two. Begin twisting the two sections around each other, adding a new piece of hair to the front strand before each twist. Continue this rope-like twist along your hairline toward the back of your head. Once you stop adding hair, finish the section with a simple rope twist and secure it. Repeat on the other side. Then, simply cross the two twisted sections at the back of your head and pin them in place to create the halo effect. The result is a soft, romantic crown that looks far more complex than it is.
4. The Half-Up Halo Braid
Perfect for when you want the elegance of a crown but still want to show off your length, the half-up halo is a beautiful compromise. This style only uses the top section of your hair. Start by sectioning off the top half of your hair, from ear to ear. You can either create one continuous braid that travels along your front hairline or, for an easier approach, create two separate braids starting from a centre or side part. Braid these sections back toward the crown of your head. Once braided, you can simply pin them at the back, crossing them over each other. The rest of your hair is left to flow freely, which you can leave straight or style into soft waves for an even more romantic look.
5. The Embellished Fishtail Halo
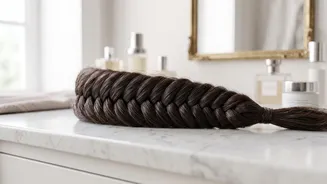
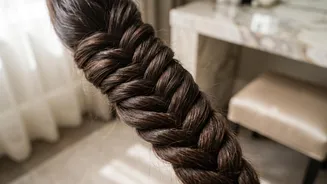
The fishtail braid offers a more intricate, woven texture that makes a halo braid look incredibly detailed. While it takes a bit more patience, it's not necessarily more difficult. To create a fishtail, you work with two strands of hair instead of three. You take a small piece from the outside of one strand and cross it over to the inside of the other, repeating this on both sides. For a halo, you can use the two-braid 'cheater's' method: create two fishtail pigtails, pancake them for volume, and pin them across the top of your head. This style looks particularly stunning when slightly messy, with a few face-framing pieces pulled out. You can also weave in a thin ribbon or add small floral or pearl pins to elevate it further for a special occasion.