



First, Digitize Your Photos
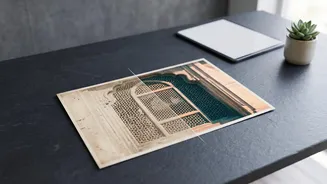
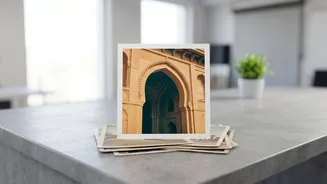
Before any digital magic can happen, you need high-quality digital copies of your physical photos. If you own a flatbed scanner, this is your best option for control and quality. Aim for a resolution of at least 600 DPI (dots per inch) to capture enough
detail for the AI to work with. If you don't have a scanner, several mobile apps are designed specifically for this purpose. These apps use your phone's camera to create scans, often correcting for glare and perspective automatically. While not always as sharp as a flatbed scanner, they are a fantastic and convenient starting point for most people.
Cleaning: Removing Scratches and Stains
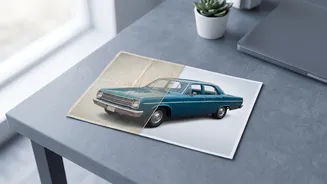
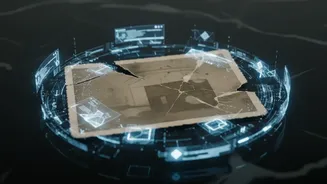
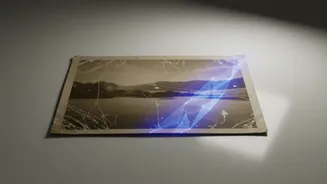
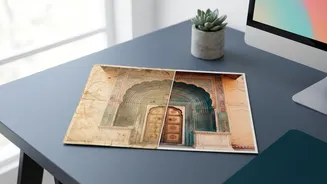
Physical damage like scratches, tears, creases, and water spots are the most common issues with old photos. Modern AI tools are incredibly effective at identifying and seamlessly repairing this kind of damage. Web-based tools like Aragon.ai and PicStudio.AI allow you to upload a photo, and their algorithms automatically detect and reconstruct the damaged areas. Many of these services offer free trials or a certain number of free restorations, making them very budget-friendly. The process is usually as simple as uploading your image and clicking a single "restore" button; the AI does the heavy lifting of painting in the missing information.
Sharpening: Bringing Faces Into Focus
Often, old photos suffer from soft focus, slight motion blur, or general fading that makes details look indistinct. AI sharpening tools can dramatically improve clarity without creating the artificial 'halo' effect seen in older software. These tools are trained to recognize and enhance key features, especially faces, bringing eyes and expressions back into sharp relief. Many all-in-one restoration platforms, including options from Canva and Adobe Firefly, include sharpening as part of their enhancement process. This step is crucial for transforming a fuzzy, distant memory into a portrait that feels immediate and lifelike.
Upscaling: Preparing for Print and Display
If you plan to print your restored photos, especially in a size larger than the original, you'll need to upscale them. Upscaling uses AI to intelligently increase the number of pixels in an image, effectively boosting its resolution. This prevents the photo from looking blocky or pixelated when printed. Tools like LetsEnhance.io have dedicated models for upscaling old photos, ensuring the new details look natural. This step is the key to turning a small, scanned image into a beautiful 8x10 print worthy of a frame.
Bonus Step: Adding Realistic Colour
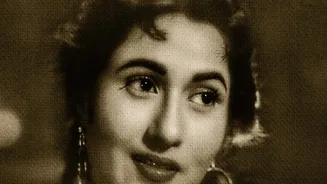
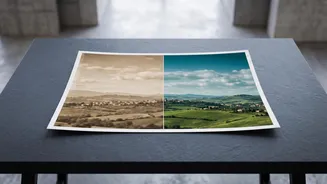
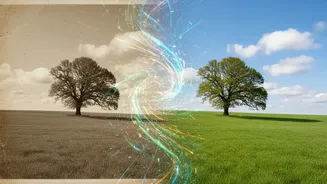
For your black-and-white collection, AI colorization can be a breathtaking final touch. These tools analyze the shades of grey to make educated guesses about the original colours, from skin tones to clothing and landscapes. The results can be astonishingly realistic and provide a completely new perspective on a familiar image. Many restoration services, such as MyHeritage and Adobe Firefly, bundle colorization with their repair features. While not strictly 'restoration,' it's a popular and impactful way to breathe new life into vintage photographs.
A Simple Workflow for Best Results
For the best outcome, follow a logical order. Always start with cleaning the physical damage—remove the scratches, tears, and spots first. Once you have a clean base image, you can proceed with sharpening to enhance the details. After sharpening, you can then move on to colorization if you wish. The final step should always be upscaling. By increasing the resolution last, you ensure that the AI is enhancing an already clean and sharp image, which yields the most impressive and high-quality results for printing or digital display.