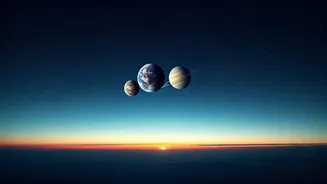


Understanding the Celestial Event
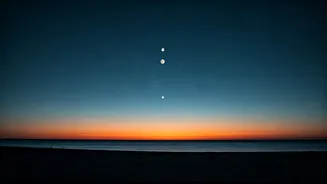
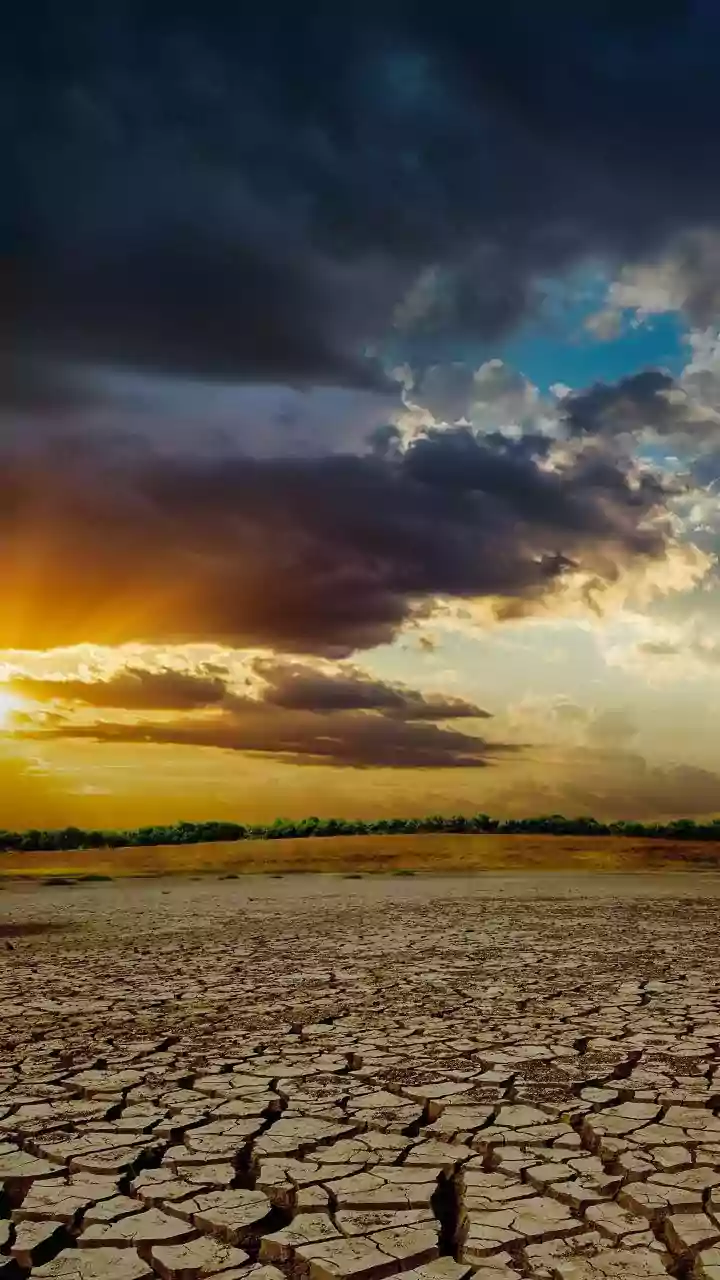
So, what exactly is a 'Super New Moon'? Let's break it down. A 'New Moon' is the phase when the Moon is positioned between the Earth and the Sun, making it invisible to us. This results in the darkest possible nights, as there is no moonlight to wash
out the faint light from distant stars and galaxies. A 'Supermoon' occurs when a new or full moon coincides with its perigee—the point in its orbit where it is closest to Earth. While a 'Super Full Moon' appears larger and brighter, a 'Super New Moon' simply means our invisible moon is at its closest point. The key takeaway for stargazers is the 'New Moon' part: it guarantees a pristine, dark sky, offering a rare window to witness the cosmos in all its glory.
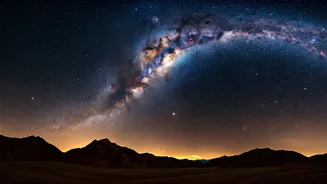
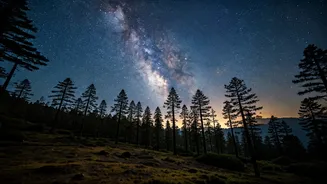
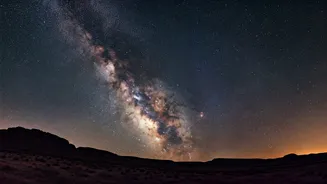
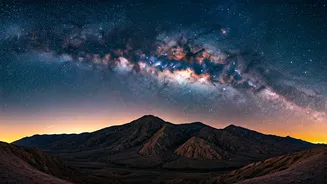
Why This is Prime Time for the Milky Way
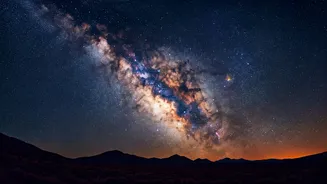
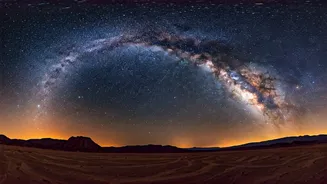
The Milky Way, our home galaxy, is a breathtaking band of light composed of billions of stars. However, its faint glow is easily overpowered by ambient light, whether from cities or the Moon itself. A New Moon phase is non-negotiable for serious astrophotography. It eliminates the single biggest source of natural light pollution in the night sky. This allows the sensitive sensor of your camera to capture the subtle details of the Milky Way's galactic core—its brightest and most dramatic part—which appears as a dusty, luminous cloud. In India, the core is most visible during the pre-monsoon and post-monsoon months, making these moonless nights a golden opportunity.
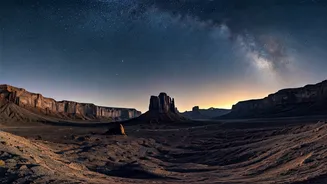
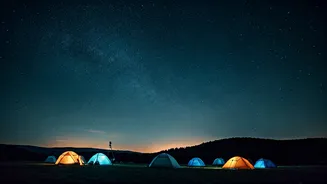
Finding the Perfect Dark Sky Spot
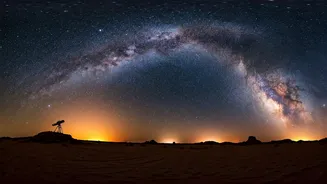
The biggest challenge for most urban dwellers is light pollution. To truly see the Milky Way, you need to get away from city lights. Your goal is to find a location with a Bortle Scale rating of 4 or lower (the lower, the better). Look for spots at least 50-100 kilometres away from major metropolitan areas. Hill stations, remote beaches, national parks, and wildlife sanctuaries are excellent choices. Places like Spiti Valley in Himachal Pradesh, the salt flats of the Rann of Kutch in Gujarat, or high-altitude areas in Ladakh are famous for their dark skies. For those without access to such remote locations, even driving to the city's outskirts or a nearby village can make a significant difference. Use a light pollution map online to scout potential locations before you head out.
Essential Gear for Night Sky Photography
You don't need a space telescope, but a few key pieces of equipment are essential. 1. **A Camera with Manual Mode:** A DSLR or mirrorless camera is ideal as it allows you to control the settings manually. 2. **A Wide-Angle Lens:** A lens with a wide aperture (a low f-number, like f/1.8 to f/4) is crucial. It lets in more light, which is vital for night photography. 3. **A Sturdy Tripod:** This is absolutely non-negotiable. You'll be using long exposure times, and any camera shake will result in blurry images. A heavy, stable tripod will keep your camera perfectly still. 4. **A Remote Shutter or Self-Timer:** Pressing the shutter button can cause tiny vibrations. Use your camera's two-second timer or a remote shutter release to avoid this.
Your Starting Camera Settings
Getting the right settings can feel intimidating, but here is a great starting point. Set your camera to Manual (M) mode. * **Aperture:** Set it to the widest possible opening (the lowest f-number your lens allows). This is often between f/1.8 and f/4. * **Shutter Speed:** Aim for 15-25 seconds. A good guideline is the '500 Rule': divide 500 by your lens's focal length to find the maximum shutter speed before stars start to streak (e.g., 500 / 20mm lens = 25 seconds). * **ISO:** Start with an ISO of 1600 or 3200. This makes your camera's sensor more sensitive to light. You can adjust this based on your test shots. * **Focus:** Switch your lens to manual focus. Use your camera's live view, zoom in on the brightest star you can find, and adjust the focus ring until the star is a sharp, tiny point of light.