




Looking to refresh your living space without breaking the bank? Origami wall art offers a creative, personal, and surprisingly simple way to turn a blank wall into a stunning focal point. It's a craft that combines mindful folding with design.
Why Choose Paper for Wall Decor?
Before you
start folding, it's worth appreciating the unique appeal of paper. Unlike traditional framed art, origami and other paper crafts add texture, dimension, and a sense of lightness to a room. The interplay of light and shadow on folded 3D shapes creates a dynamic display that changes throughout the day. It’s also incredibly versatile and budget-friendly. From a child's bedroom to a minimalist living room, you can adapt the colours, shapes, and scale to fit any style. Best of all, it gives you the satisfaction of creating something beautiful with your own hands.
Choosing the Right Paper
The success of your project starts with the right material. While you can practice with standard printer paper, investing in paper designed for the task will yield better results. 'Kami' is the classic, affordable origami paper that is thin, crisp, and comes in countless colours, making it ideal for beginners. For pieces that require more durability, consider 'Tant' paper, which is slightly thicker and has a subtle texture. If you want to add a touch of elegance, Chiyogami or Washi papers feature beautiful traditional Japanese patterns. For large-scale geometric pieces, you might even use coloured cardstock between 120 and 180 GSM, which is sturdy enough to hold its shape.
Simple Shapes to Get Started
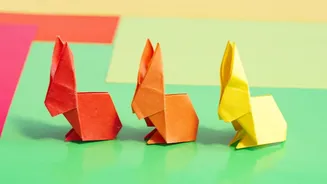
You don't need to be an origami master to create impressive wall art. Start with simple, classic forms that look great in multiples. Butterflies are a fantastic entry point; their organic shape adds life and movement to a wall. Simple flowers, hearts, and even basic geometric shapes like triangles or diamonds can be arranged into stunning mosaics. Another easy yet effective design is the Sonobe unit, a modular piece that can be interlocked to create larger geometric structures. The key is to create many of the same simple shape and let the arrangement be the star of the show.
Creating a Stunning Layout
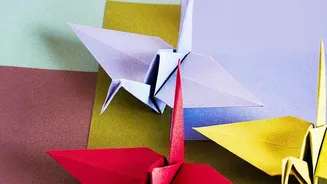
The arrangement is just as important as the folded shapes themselves. Before committing to a layout, plan it on the floor or a large table. Consider the flow and the negative space around the pieces. You could create a flock of cranes appearing to fly across the wall, a cascading waterfall of blue paper flowers, or a tightly packed geometric pattern for a more modern look. For a more structured approach, you can create a mural-like effect by arranging smaller pieces into a larger shape, like a heart or a tree. Another popular technique involves framing a few select, intricate models in shadow boxes to protect them and give them a polished look.
Hanging Your Paper Creations
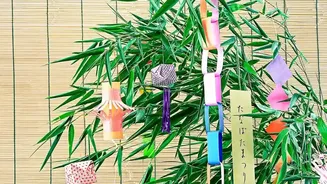
Once your pieces are folded and your layout is planned, it's time to bring it to life on the wall. For lightweight paper creations, removable adhesive strips or dots are an excellent damage-free option, perfect for renters or for those who like to change their decor frequently. This allows you to secure each piece without harming the paper or the wall paint. For a more mobile display, you can attach your origami pieces to threads and hang them from a small branch or dowel to create a beautiful wall hanging. If you've mounted your shapes onto a cardboard or foam board backing, self-adhesive Command strips that work like Velcro can easily hold the lightweight art in place.