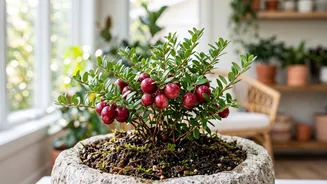




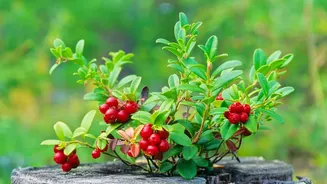
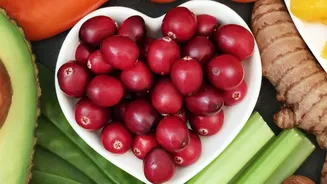
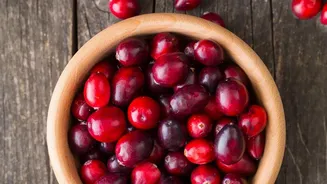
Growing your own cranberries offers a rewarding connection to this festive fruit. While associated with sprawling bogs, you can cultivate them indoors. Success, however, depends entirely on recreating their unique growing conditions right in your home.
Choose a Wide Container
Cranberry plants have a spreading habit, sending out runners horizontally. Because of this, the width of your container is more important than its depth. Select a pot, trough, or window box that is at least 30 cm across. While the plants have shallow roots, often staying within the top 15 cm of soil, a wider pot gives the runners space to grow. Ensure the container has excellent drainage holes to prevent the soil from becoming waterlogged, which can lead to root rot.
The Critical Acidic Soil Mix
Cranberries are acid-loving plants and will not survive in standard potting soil. They require a soil pH between 4.0 and 5.5. You can purchase a pre-made mix for acid-loving plants like azaleas or rhododendrons, or create your own. A simple and effective homemade mix consists of equal parts peat moss and coarse sand. This combination mimics the natural bog environment by retaining moisture while also providing the sharp drainage and acidity these plants need. Never use regular garden soil or compost, as they are typically too alkaline.
Sunlight and Temperature
For the best fruit production, cranberry plants need full sun, which means at least six hours of direct sunlight per day. When growing indoors, this will likely require placing your plant in the sunniest south-facing window you have. If natural light is insufficient, you must supplement with a grow light to ensure the plant gets the energy it needs to flower and fruit. Cranberries are cool-temperate plants and also require a period of winter chilling to set buds for the following season.
Watering Your Bog Plant
While cranberries grow in bogs, this doesn't mean they want to be submerged in water at home. The key is consistent moisture, not saturation. The soil should always be damp to the touch but never soggy. Because tap water is often alkaline, it can raise the soil's pH over time, harming the plant. It is best to use rainwater or distilled water for your cranberry plant. A self-watering pot can be an excellent tool for maintaining the correct moisture level without overwatering.
Fertilizing and Feeding
Cranberries have low nutrient requirements, so you should fertilize them lightly. Over-fertilizing, especially with nitrogen, will encourage lots of leafy runner growth at the expense of the upright stems that produce flowers and fruit. In the spring, apply a light dose of a fertilizer formulated for acid-loving plants, such as one for blueberries or rhododendrons. A slow-release organic fertilizer like seaweed extract or fish emulsion is also a good option. If the leaves start to yellow, it may be a sign of iron deficiency, which can be corrected with an appropriate supplement.
Pollination for Fruit Production
Outdoors, cranberry flowers are pollinated by bees. Indoors, you will have to play the part of the bee to ensure your plant produces fruit. Cranberry flowers are not able to self-pollinate, so pollen must be moved from one flower to another. Once the plant is in bloom, you can perform this task by hand. Use a small, soft brush (like an eyeliner brush or a small paintbrush) or a cotton swab to gently collect pollen from the stamens of one flower and transfer it to the stigma of another. Repeat this process every few days while the plant is flowering to maximize your chances of a successful harvest.
Pruning and Maintenance
Pruning helps maintain the plant's health and encourages the growth of fruit-bearing upright stems. Young plants require very little pruning. For established plants, the goal is to manage the long, sprawling runners. In the spring, or after the plant has been established for a few years, you can trim back some of the longer runners. This thinning improves air circulation and light penetration and encourages the plant to put its energy into producing the upright stems where fruit develops. Always remove any dead or damaged vines to keep the plant tidy and healthy.