

The Thrill of the Hunt
The magic of a vintage frame wall begins with the search. Flea markets, antique malls, thrift stores, and estate sales are your best friends. When hunting, focus on the frame's shape, material, and details, not the art inside or its current color. Look
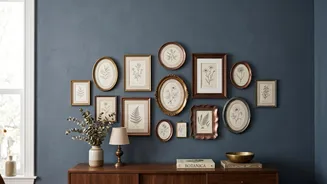
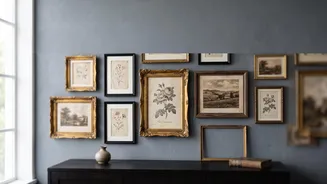
for solid wood construction, interesting carvings, or a beautiful patina that signals its age. Examine the corners for stability and check for irreparable damage. Don't be deterred if you find a stunning frame without glass; not all art needs it. The goal is to gather a variety of sizes and shapes—rectangular, oval, and ornate—that add visual interest to your future collection.
Curate a Cohesive Collection
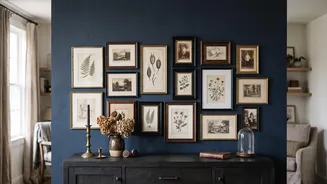
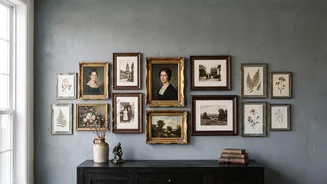
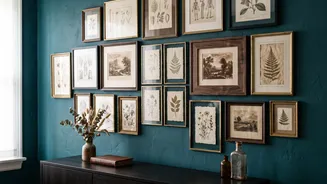
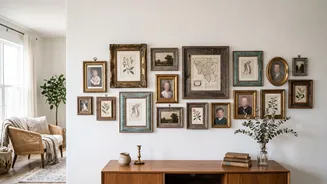
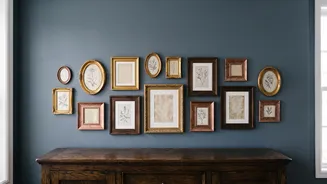
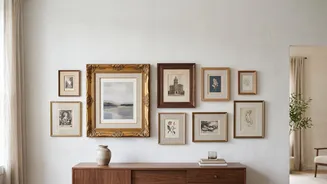
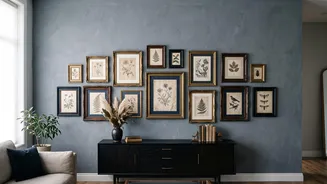
The key to mixing frames is to create harmony without making everything match. Instead of a random assortment, aim for a common thread. One effective strategy is to stick to a limited color palette of two or three tones, such as black, natural wood, and gold. Repeating these colors throughout the arrangement will tie everything together. Alternatively, you can unify mismatched frames by painting some of them a single color, like a classic white or a shade that matches your wall for a minimalist feel. Another approach is to create cohesion through the art itself, choosing pieces with a similar theme—like botanical prints or black-and-white photos—to let the varied frames shine.
Decide What to Display
A vintage frame gallery is about more than just pictures. Mix in different types of content to create a layered, personal display. Alongside family photos and art prints, consider framing mirrors, fabric swatches, or even beautiful wallpaper scraps for texture. Empty frames can be just as impactful, highlighting their own ornate details or drawing attention to a beautiful wall color. You can also hang small wreaths, bundles of dried foliage, or sentimental keepsakes within a larger empty frame to create a unique three-dimensional focal point. This mix of art, objects, and empty space tells a richer story.
Plan the Perfect Layout
Before you hammer a single nail, plan your arrangement. The easiest way is to lay all your frames on the floor and shuffle them around until you find a balanced composition. For a more precise method, trace each frame onto craft paper, cut out the templates, and tape them to the wall. This allows you to visualize the layout and make adjustments without creating unnecessary holes. Start by placing your largest piece, the 'anchor,' slightly off-center at eye level. Then, build the rest of the arrangement around it, filling in gaps with medium and smaller pieces. Step back often to check the visual balance.
Hang with Confidence
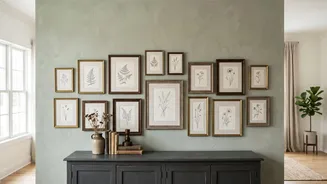
Once you're happy with your paper template layout, it's time to hang. The space between frames is crucial for a polished look. Aim for a consistent gap of about 2 to 4 inches between each piece. This spacing gives each item room to breathe while ensuring the collection feels like a single, cohesive unit. While a perfectly symmetrical grid has its place, an organic or salon-style layout often feels more relaxed and collected over time, which suits the vintage aesthetic perfectly. Focus on achieving a feeling of balance rather than perfect symmetry. Use a level to make sure individual frames are straight, and your wall will look intentionally and beautifully styled.