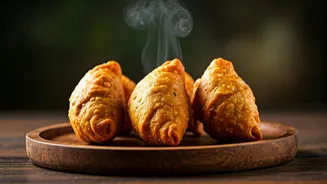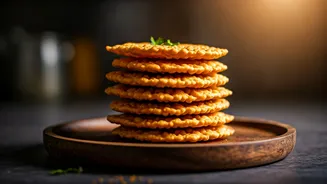


The Quest for Pakoda Perfection
Let’s be honest: a soggy, oil-logged pakoda is a culinary tragedy. The perfect one, however, is a work of art. It boasts a golden, crunchy exterior that gives way to a soft, flavourful interior, whether it’s onion, potato, or paneer. The frustration for
many home cooks is consistency. Why do restaurant pakodas often have that superior crunch? The good news is that the secrets aren't secrets at all, but rather a collection of clever techniques that food bloggers and seasoned home cooks have perfected. The 'better' pakoda isn't a single recipe but a new approach to an old favourite, focusing on texture and reducing oil absorption without sacrificing that quintessential taste we all crave.
The Game-Changer: Reinforce Your Flour
The foundation of any pakoda is the besan (gram flour) batter. But using besan alone can sometimes lead to a softer crust. The most popular trick circulating online is to fortify your batter with a secondary, crisping agent. Adding a few tablespoons of rice flour or cornflour is the easiest way to guarantee a crunchier result. Why does this work? Rice flour and cornflour have no gluten and absorb less oil than besan, creating a lighter, more brittle crust when fried. Some even swear by adding a bit of sooji (semolina) for a gritty, delightful texture. Experiment with the ratio, but a good starting point is one part rice flour or cornflour to four parts besan.
The Hot Oil Trick
This technique feels counterintuitive but delivers incredible results. Just before you start frying, take a tablespoon or two of the hot oil from your kadai and drizzle it directly into your pakoda batter. Whisk it in quickly. The hot oil reacts with the leavening agents in the batter (if you've used a pinch of baking soda) and creates tiny air pockets. This process, known as 'moin' in Hindi, essentially 'shortens' the batter, preventing it from absorbing too much oil during frying. The result is a pakoda that is noticeably lighter, airier, and crispier. It’s a simple step that has a massive impact on the final texture, making your pakodas taste professionally made.
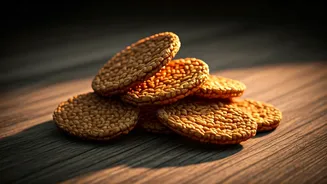
Double Frying: The Restaurant Method
Ever wonder how your favourite street-side vendor keeps their pakodas so consistently crisp? The answer is often double frying. This method requires a bit more patience but is virtually foolproof. First, fry the pakodas in moderately hot oil (around 160°C) until they are pale and cooked through but not yet browned. This is the first fry. Remove them from the oil and let them rest on a wire rack for at least 10-15 minutes. Just before serving, increase the oil temperature to high (around 190°C) and fry them again in small batches for just a minute or two until they are deep golden brown and audibly crispy. This second, high-heat fry drives out any remaining moisture from the crust, creating a hard, crunchy shell that stays crisp for much longer.
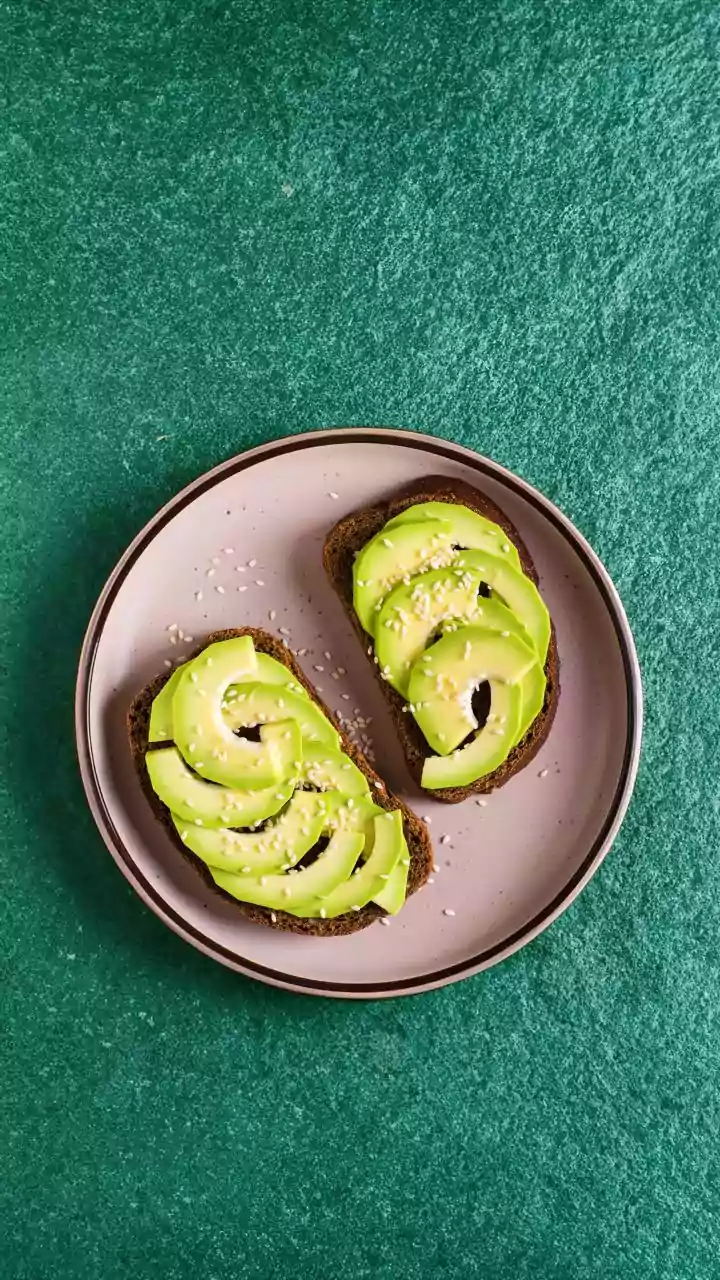
The Healthier Twist: Air-Fried Pakodas
For those looking to enjoy their favourite snack with a fraction of the oil, the air fryer is a fantastic tool. While it won't replicate the exact taste of a deep-fried pakoda, it comes remarkably close. The key is to make your batter slightly thicker than you would for deep-frying so it doesn’t drip through the basket. Lightly grease the air fryer basket, place the pakoda batter in small dollops (leaving space between them), and spray them with a little oil. Air fry at around 180°C for 8-10 minutes, then flip them, spray again, and cook for another 5-7 minutes until golden and crisp. You get the flavour and a satisfying crunch with minimal guilt, proving that the 'better' pakoda can also be a healthier one.