


1. The Classic Dutch Braid Halo
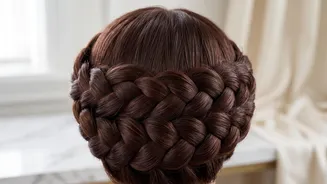
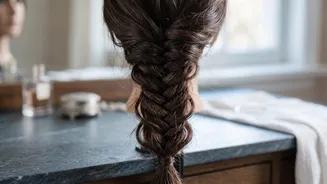
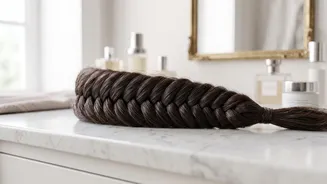
This is the quintessential halo braid, known for its prominent, 3D effect. The Dutch braid, sometimes called an 'inverted French braid', is created by crossing the strands of hair under each other instead of over. This technique makes the braid pop off
the scalp, creating a defined and sculpted crown. To achieve this look, start a Dutch braid near one ear and work your way around the entire hairline, gradually adding in new sections of hair. Once you've braided all the way around, tuck the end of the braid discreetly under the starting point and secure it with bobby pins. This style is fantastic for those with medium to long hair and provides a clean, sophisticated finish that lasts all day.
2. The Softer French Braid Crown
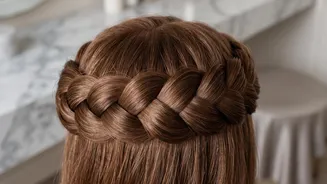
If you prefer a softer, more integrated look, the French braid halo is your go-to. Unlike the Dutch braid, the French braiding technique involves crossing the outer strands over the middle strand. This causes the braid to lie flatter against the head, creating a seamless and woven appearance that blends into your hair. It’s an equally beautiful but more understated alternative to the classic halo. This style works exceptionally well for those with finer hair, as it creates a delicate, romantic look without needing the same volume as a Dutch braid. The process is the same: begin braiding along the hairline until you form a complete circle, then pin the end to secure it.
3. The Quick Rope Twist Halo
For those short on time or new to braiding, the rope twist halo is a brilliant and simple alternative. This style doesn't require a complex three-strand braid. Instead, you divide your hair into two sections, as if making pigtails. Twist each section tightly from root to tip, creating two 'ropes'. Then, simply lift each twist up and over the top of your head, laying them flat like a headband and pinning them securely behind the opposite ear. You can create two simple pigtail braids and cross them over as well, a style often called a milkmaid braid. It delivers a similarly elegant look with minimal effort and is perfect for a last-minute updo.
4. The Boho-Chic Messy Halo
Embrace a more relaxed, bohemian vibe with a deconstructed halo braid. This style is all about texture and an 'undone' finish. Start with either a Dutch or French braid halo, but keep the tension loose. After the braid is complete and pinned, gently pull on the edges of the braid—a technique known as 'pancaking'—to create volume and a slightly messy texture. You can also pull out a few face-framing tendrils to soften the look. This style works best on hair that isn't freshly washed, as the natural texture provides better grip. A spritz of texturizing spray before you start can also help achieve that perfectly imperfect finish.
5. The Statement Double Halo Braid
For a truly show-stopping look, or for those blessed with very thick and long hair, the double halo is a stunning option. This style involves creating two braids that sit parallel to each other. You can create one smaller braid right along the hairline and a second, larger braid just behind it. Alternatively, create two braids from pigtails and wrap them in opposite directions across the crown. The result is a more intricate and layered look that adds extra dimension and elegance. While it takes a bit more time, the dramatic and regal effect is perfect for formal events, weddings, or anytime you want your hair to be the main attraction.