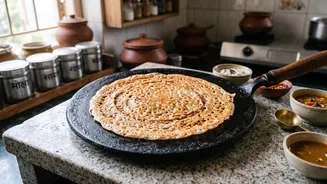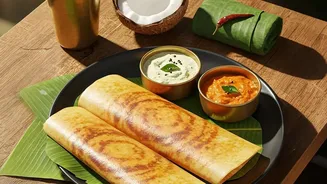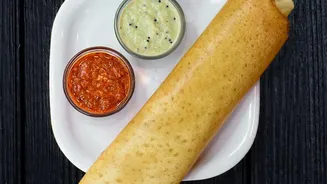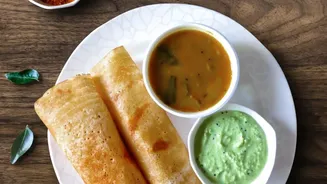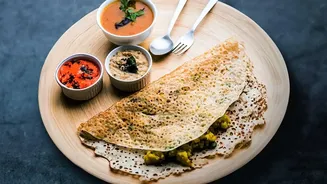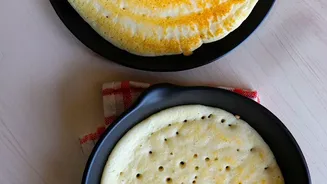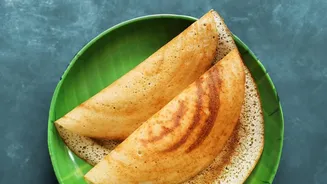




The dream of a paper-thin, golden-brown dosa, shattering at the touch, is a universal joy. Yet, the reality of a sticky batter clinging to a cast-iron tawa can be deeply frustrating. The secret isn't just in the batter, but in the tawa itself.
The Foundation: Seasoning Your Tawa
A cast-iron
tawa is more than a pan; it's a culinary partner that gets better with age, but only with proper 'seasoning'. This isn't about flavour, but about creating a natural, non-stick surface. Seasoning is a layer of baked-on, polymerized oil. To season a new tawa, first wash it with mild soap and water to remove any factory coating, then dry it completely on a low flame. Apply a very thin layer of a high-smoke-point oil—like sesame, groundnut, or vegetable oil—all over the surface. Heat the tawa on a medium flame for 10-15 minutes until it starts to smoke lightly, then let it cool completely. Wiping away excess oil and repeating this process 2-3 times will build a strong, slick base that is the true secret to a non-stick surface.
The Pre-Dosa Ritual: Temperature is Everything
The most common reason a dosa sticks is improper heat. Cast iron takes longer to heat up than other materials, but it retains that heat exceptionally well. Before your first dosa, heat the tawa on a medium flame for at least 3-5 minutes. The classic test is to sprinkle a few drops of water on the surface. If they sizzle and dance across the tawa before evaporating, your pan is ready. If they disappear instantly with a harsh sound, it's too hot; reduce the flame and let it cool slightly. Just before pouring the batter, rub the hot surface with a half-cut onion dipped in a little oil. This not only greases the pan lightly but also helps regulate the temperature and imparts a subtle flavour.
Technique for a Perfectly Crisp Dosa
Once your tawa is perfectly heated, lower the flame to medium-low. Pour a ladleful of batter into the centre and, working quickly, spread it outwards in a thin, even spiral motion. The key is a single, confident movement; don't go back over areas you've already spread. Once the dosa is spread, drizzle a few drops of oil or ghee around the edges. This helps the sides crisp up and release from the pan. Now, be patient. The dosa is ready to be lifted only when the edges start to turn golden brown and lift away from the tawa on their own. Using a thin steel spatula, gently work your way from the edge to the centre before folding. Never cover the dosa with a lid, as this traps steam and will make it soft.
The Aftermath: Cleaning and Care
How you clean your tawa is as important as how you cook on it. The golden rule is to never soak a cast_iron tawa in water, as this will lead to rust. Also, avoid using harsh dish soaps or steel scrubbers, as these can strip away the precious seasoning you've built up. The best method is to clean it while it's still warm. Simply rinse it under warm water and use a soft sponge or cloth to wipe away any residue. For stubborn bits, you can make a paste with coarse salt and a little water and gently scrub the affected area. A stubborn piece of food can also be loosened by simmering a little water in the pan for a minute.
Long_Term Maintenance and Storage
After every cleaning, it is absolutely crucial to dry the tawa completely to prevent rust. The most effective way to do this is to place it back on the stove over a low flame for a few minutes until all moisture has evaporated. Once it's dry and while it's still slightly warm, apply a very thin coat of cooking oil with a paper towel. This final step protects the surface and reinforces the seasoning, keeping it ready for your next dosa session. Store your tawa in a dry place, perhaps with a paper towel placed on the surface to absorb any ambient moisture.