



What You Will Need
Before you begin, gather your simple tools. You don’t need any fancy equipment to create a thriving sourdough starter. You will need a clean glass jar (at least 1-litre capacity is ideal), a spoon or spatula for mixing, and a kitchen scale for accuracy.
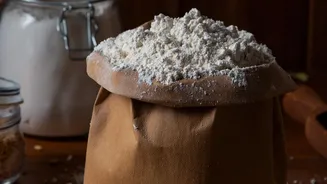
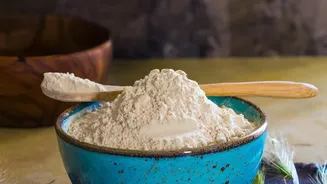
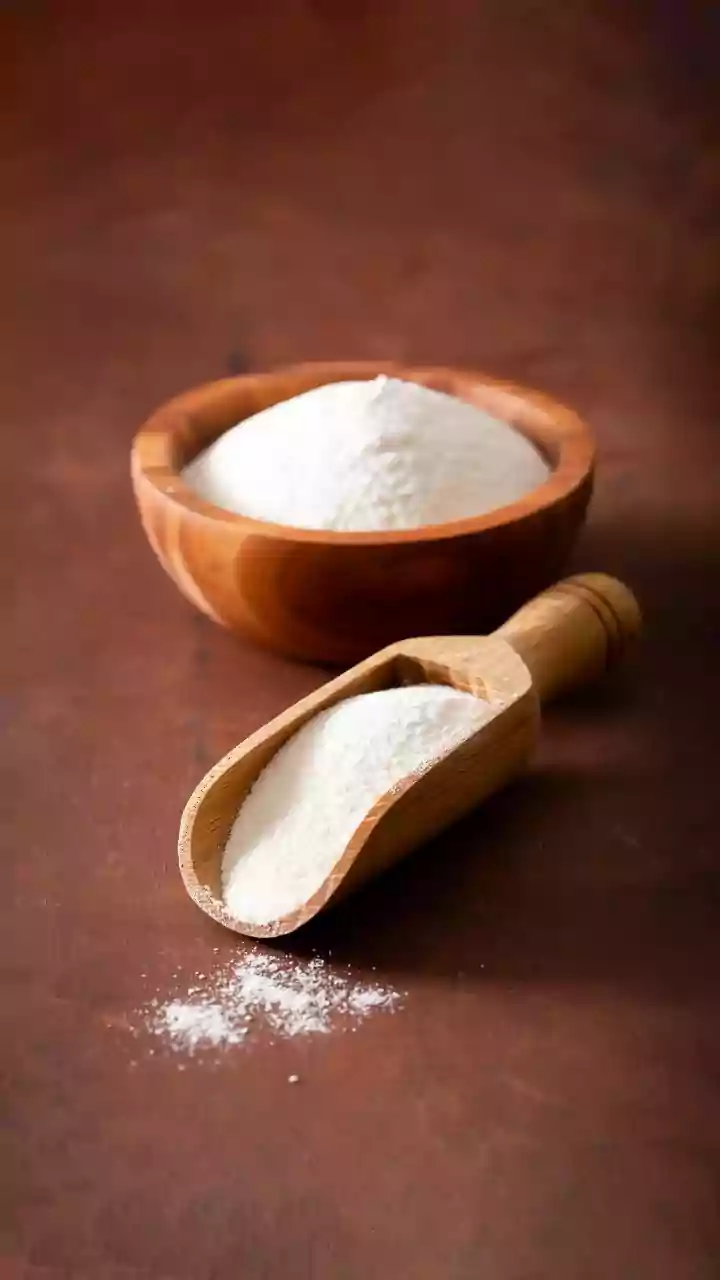
For ingredients, you just need flour and water. It’s best to use unchlorinated water; you can leave tap water out overnight for the chlorine to dissipate. For flour, a combination of whole wheat and all-purpose or bread flour works wonderfully. Whole wheat helps kickstart the process, while all-purpose flour is perfect for daily feedings.
Day 1: The Beginning
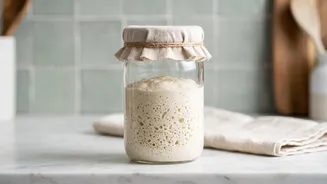
This is the simplest step. In your clean jar, combine 50 grams of whole wheat flour and 50 grams of lukewarm water. Stir vigorously until no dry flour remains and the consistency is like a thick paste. Cover the jar loosely—you can rest the lid on top without sealing it or use a piece of cloth secured with a band. This allows gas to escape. Place the jar in a consistently warm spot in your kitchen, ideally around 24°C. Now, you just leave it alone for 24 hours.
Day 2 & 3: The First Feedings
After 24 hours, you might see a few bubbles, or you might see nothing at all. Either is fine. It is time for the first feeding. Discard all but about 50 grams of your starter. To this remaining starter, add 50 grams of all-purpose flour and 50 grams of lukewarm water. Mix well, cover loosely, and return it to its warm spot. Repeat this exact process on Day 3: discard all but 50 grams, then feed it with 50 grams of flour and 50 grams of water. This 'discard and feed' process is crucial for managing acidity and providing fresh food for the yeast.
Days 4-6: Patience is a Virtue
During this period, your starter might seem sleepy or develop a strange, sour smell. This is often called the 'awkward phase' and it's completely normal. The initial bacteria are giving way to the stable yeast and lactobacilli you want. Don't be discouraged if activity seems to dip. Continue your daily routine: discard all but 50 grams of starter and feed it with 50 grams of all-purpose flour and 50 grams of water. Consistency is key here. Towards Day 6, you should start to see more predictable activity, with the starter rising and becoming bubbly a few hours after feeding. The aroma should also begin to shift from sour to a more pleasant, yeasty, and slightly sweet-sour scent.
Day 7 and Beyond: Is It Ready?
By Day 7, your starter should be showing strong signs of life. A healthy starter will double in volume within 4 to 8 hours of a feeding, be filled with bubbles of various sizes, and have a pleasantly tangy aroma. To test if it's ready for baking, perform the 'float test'. Drop a small spoonful of your active, bubbly starter into a glass of water. If it floats, it's full of gas and ready to leaven bread. If it sinks, it may need a few more days of consistent feedings to build strength.
Troubleshooting Common Problems
Sometimes starters need a little help. If you see a dark liquid on top, this is 'hooch', and it simply means your starter is hungry. Just stir it in or pour it off and proceed with your feeding. If you see any pink or orange streaks, or fuzzy mould, this is a sign of bad bacteria, and you must discard the starter and begin again. If your starter isn’t becoming active, try moving it to a warmer spot or giving it a feeding with whole wheat or rye flour to provide extra nutrients.