

Embrace the Science of the Crunch
To master the air fryer, it helps to understand how it differs from deep frying. Deep frying works by submerging food in hot oil, which rapidly dehydrates the surface and creates a crispy crust through the Maillard reaction. An air fryer, on the other
hand, is a powerful convection oven that circulates extremely hot air at high speed. This method also achieves the Maillard reaction, but by using air instead of oil as the primary medium of heat transfer. The result is a texture that is remarkably close to fried, but with up to 85% less fat, making it a healthier way to enjoy your favourite snacks. Knowing this helps manage expectations: the goal isn't an identical copy, but a brilliantly crunchy and lighter alternative.
Start Dry for Maximum Crispiness
Moisture is the number one enemy of a crispy finish. When you place damp food in an air fryer, the appliance has to first work to evaporate all that surface water. During this time, the food is essentially steaming, which prevents a crust from forming. To get a head start on crunch, always ensure your ingredients are as dry as possible. For snacks like aloo tikki made with boiled potatoes, consider boiling them a day ahead and refrigerating them to reduce moisture content. For vegetables like in kurkuri bhindi, pat them thoroughly dry with a paper towel after washing. This simple step allows the hot air to start crisping the surface almost immediately.
A Little Oil Goes a Long Way
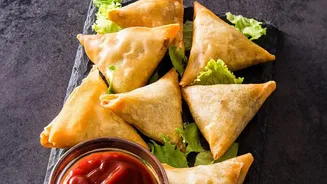
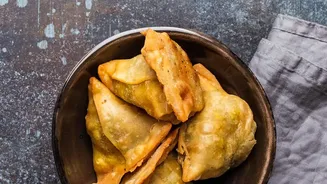
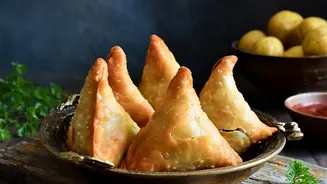
While the main appeal of an air fryer is reducing oil, a small amount is crucial for achieving that golden, street-food-style crunch. Oil is a fantastic conductor of heat, and a light, even coating helps the surface of your food cook and brown more effectively. Instead of drizzling, use a brush or an oil spray to apply a thin, consistent layer. This ensures every surface gets a little help in the crisping process. For snacks like samosas or bread pakoras, brushing them lightly with oil before and sometimes once during cooking can make all the difference between a dry, baked texture and a satisfyingly flaky crunch.
Give Your Food Some Space
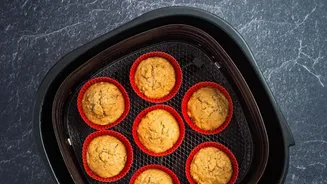
Overcrowding the air fryer basket is one of the most common mistakes and the surest way to get a soggy result. Hot air needs to circulate freely around each piece of food to cook it evenly and wick away moisture. When snacks are piled on top of each other, they trap steam, effectively steaming one another. For the best results, always arrange your food in a single, even layer. If you’re making a large batch of pakoras or masala peanuts, it's far better to cook them in two smaller batches than to cram them all in at once. The extra few minutes are well worth the superior texture.
Preheat and Flip for an Even Finish
Just like a traditional oven, preheating your air fryer for a few minutes is a vital step. Starting your food in a hot environment kickstarts the cooking process and helps set the crust immediately. Most recipes recommend a preheat at the target cooking temperature for about 3-5 minutes. Furthermore, to ensure all sides get equal exposure to the circulating heat, remember to shake the basket or flip the items halfway through the cooking time. This is especially important for items like samosas, tikkis, and veg cutlets to guarantee a uniform golden-brown colour and crispness all over.
Choose the Right Snacks and Batters
Some Indian snacks adapt to air frying better than others. Items with a pastry or a coating, like samosas, tikkis, and veg cutlets, work exceptionally well. In fact, many find that frozen samosas work even better than fresh ones as their pastry is firm and crisps up beautifully. For snacks involving a wet batter, like pakoras, the trick is to make the batter much thicker than you would for deep frying. A loose, runny batter can drip through the basket grate. Instead, form the mixture into flatter patties that hold their shape. With a few adjustments, you can successfully adapt a wide range of your favourite street foods.