


The Indoor Answer to Outdoor Lethargy
When the monsoon humidity hits, our dogs can get just as lethargic and restless as we do. Pacing, sighing, and staring blankly at the door are all signs of a pup in need of stimulation. While you can't change the weather, you can change the mood indoors.
The solution is simpler than you think: a fun, rewarding, and delicious DIY project. Making your own dog treats is not only a fantastic way to bond with your pet, but it also gives you complete control over what they eat, ensuring they get only the good stuff.
Why Pumpkin is a Pup Superfood
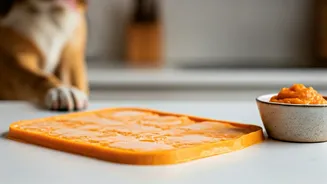
Pumpkin isn't just for festive lattes; it’s a powerhouse of nutrients for your dog. Vets often recommend it for its high fibre content, which is fantastic for digestive health, helping with both constipation and diarrhoea. It's packed with vitamins like A, C, and E, as well as minerals like iron and potassium. The key is to use the right kind. Always choose 100% pure, unsweetened pumpkin puree. Avoid pumpkin pie filling at all costs, as it's loaded with sugar, spices like nutmeg (which can be toxic to dogs), and other additives that are harmful to your pet.
An Easy, No-Fuss Recipe
You don't need to be a master chef to whip up these treats. This recipe uses just three simple ingredients and is incredibly forgiving. It's a perfect activity for a lazy afternoon when you want to do something productive but not strenuous. **Ingredients:** - 1 cup pure pumpkin puree (make sure it's 100% pumpkin) - 1/2 cup xylitol-free peanut butter (check the label carefully, as xylitol is toxic to dogs) - 2 cups whole wheat flour or oat flour (use oat flour for a gluten-free option) **Instructions:** 1. Preheat your oven to 180°C (350°F) and line a baking sheet with parchment paper. 2. In a large bowl, mix the pumpkin puree and peanut butter until well combined. 3. Gradually add the flour, mixing until a stiff, sticky dough forms. If the dough is too dry, add a tablespoon of water; if it's too sticky, add a little more flour. 4. Lightly flour a clean surface and roll out the dough to about 1/4-inch thickness. 5. Use a cookie cutter to cut out shapes. A simple small circle or bone shape works perfectly. Or, for a quicker method, just use a pizza cutter or knife to cut the dough into small squares. 6. Place the treats on the prepared baking sheet. 7. Bake for 20–25 minutes, or until the edges are golden brown and the treats are hard. For a crunchier treat, turn off the oven and let them cool inside with the door ajar. 8. Let the treats cool completely before serving.
Serving Suggestions and Storage
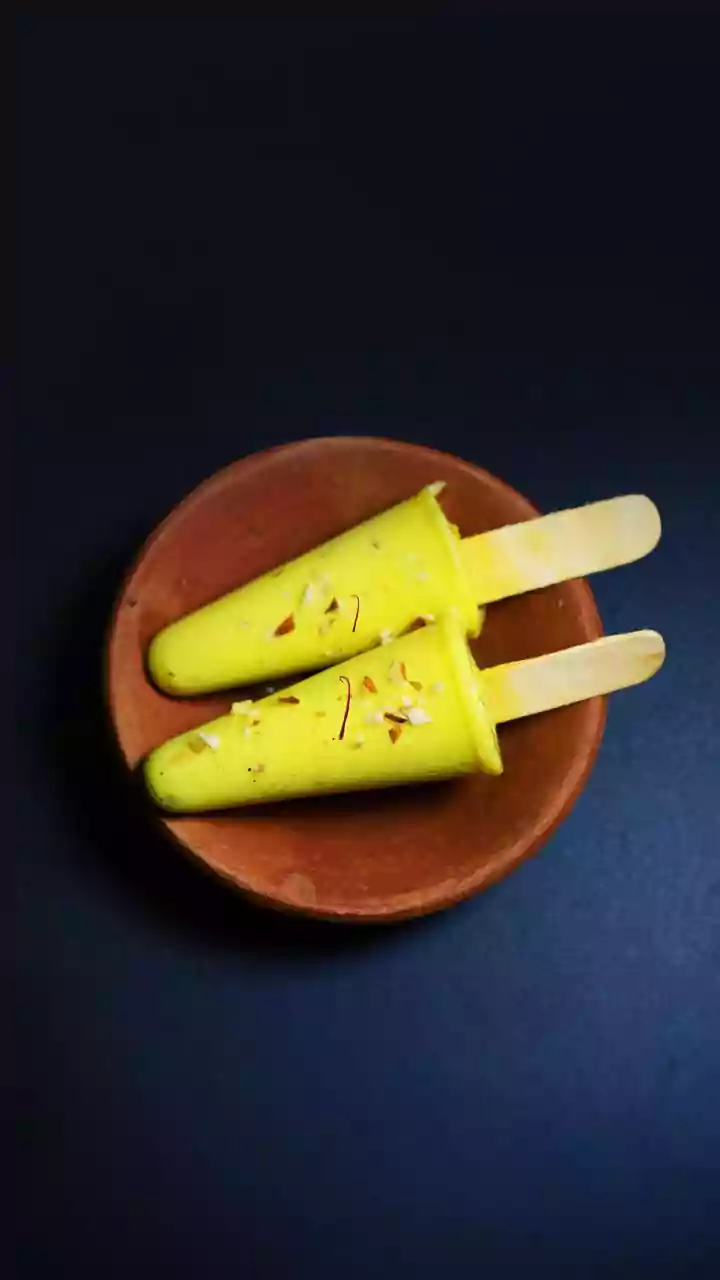
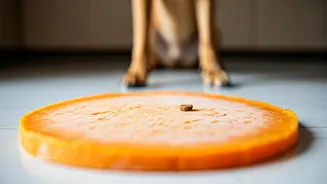
These treats are more than just a snack; they're a tool for enrichment. Once cooled, you can use them to make your dog’s afternoon more interesting. Hide them around the house for a fun game of 'find it', or use them in a puzzle toy to make your dog work for their reward. This mental stimulation is just as important as physical exercise in beating boredom. You can also use them for a short, upbeat training session to practice commands. Store the cooled treats in an airtight container at room temperature for up to a week, or in the refrigerator for up to two weeks. For a cool, soothing snack on an extra hot day, you can even freeze them.