

Why Bother with Composting?
Creating your own compost is one of the most rewarding and eco-friendly habits you can adopt. It dramatically reduces the amount of waste your household sends to already overburdened landfills, where organic matter would otherwise release harmful methane
gas. But the benefits don't stop there. The finished product is a free, all-natural fertilizer teeming with essential nutrients like nitrogen, phosphorus, and potassium. This homemade soil conditioner improves soil structure, helping it retain moisture (which means less watering) and promoting a healthy ecosystem of beneficial microbes that protect plants from disease. Ultimately, you save money on store-bought fertilizers and enrich your garden with a superior, living soil amendment.
The Golden Rule: Balancing Greens and Browns
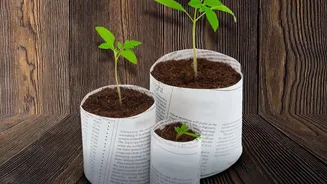
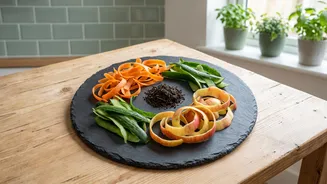
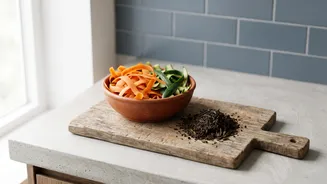
Successful composting hinges on one simple principle: balancing 'green' materials with 'brown' materials. 'Greens' are nitrogen-rich items that are typically moist and break down quickly. This category includes all your kitchen scraps like vegetable peels, fruit cuttings, coffee grounds, and, of course, tea leaves. 'Browns' are carbon-rich materials that are typically dry and woody. They provide structure and allow air to circulate, which is crucial for decomposition and preventing bad smells. Think dried leaves, shredded newspaper, cardboard, and coco peat. A good rule of thumb for beginners is to aim for a 50/50 mix, or roughly one part greens to two parts browns by volume. If your pile gets smelly, it likely has too many greens; if it's too dry and inactive, it needs more greens.
What to Compost (and What to Avoid)
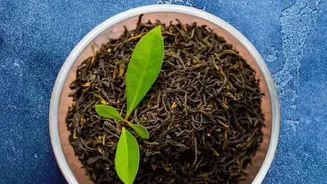
Most of your kitchen's plant-based waste is perfect for the compost bin. Items you should definitely add include all fruit and vegetable scraps, used tea leaves and coffee grounds, and crushed eggshells. You can even compost paper tea bags, as long as they don't contain plastic mesh or staples. However, some items should be kept out to avoid attracting pests and creating foul odours. Steer clear of meat, fish, bones, dairy products, and oily or greasy foods. It's also wise to avoid adding diseased plants, as the pathogens might survive the composting process and spread to your healthy plants.
A Simple Bin Method for Beginners
You don't need fancy equipment to start. A simple plastic bucket, terracotta pot (khamba), or any container with a lid will work perfectly, making this method ideal for Indian apartments. Start by drilling a few holes in the sides and bottom for aeration and drainage. To begin, add a 4-inch layer of 'browns' like dried leaves or shredded cardboard at the bottom. On top of this, add your daily kitchen scraps (the 'greens'). Finish by covering the fresh scraps with another thin layer of browns. This step is key to preventing odours and fruit flies. Keep the lid on and repeat the layering process every time you add new waste. Every few days, use a stick or a small rake to turn and mix the contents, which introduces oxygen and speeds up decomposition.
Caring for Your Compost
A healthy compost pile should be moist like a wrung-out sponge, but never soaking wet. If it seems too dry, especially during hot weather, sprinkle a little water on it. If it gets too wet from excess kitchen scraps or rain, add more dry 'brown' materials to soak up the moisture. A common mistake is not chopping larger scraps. Cutting up things like cauliflower stems or mango peels into smaller pieces provides more surface area for microbes to work on, significantly speeding up the process. In India's warm climate, a well-managed bin can produce finished compost in as little as 4 to 8 weeks. Don't be alarmed if the pile feels warm to the touch—that's a sign that the microbes are hard at work!
Is It Ready? Harvesting Your 'Black Gold'
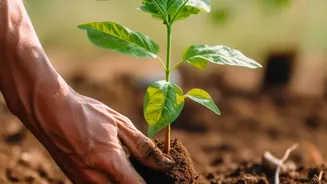
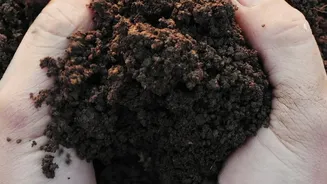
You'll know your compost is ready when it has transformed into a dark, crumbly, soil-like material with a pleasant, earthy smell. You shouldn't be able to recognise the original food scraps you put in. At this stage, the decomposition is complete. You can either sift the compost to get a fine material for seedlings or use it as is. Spread a one-inch layer on top of the soil in your pots, or mix it into the soil when preparing new beds for planting. This finished compost will provide a slow-release source of nutrients, helping your plants thrive.