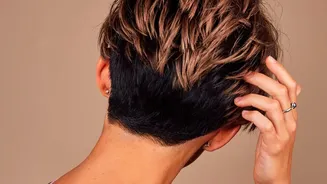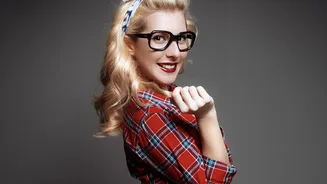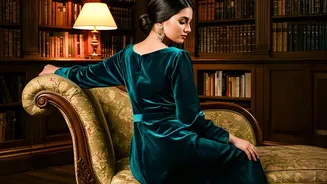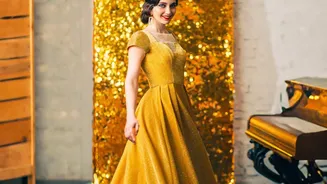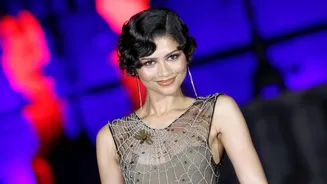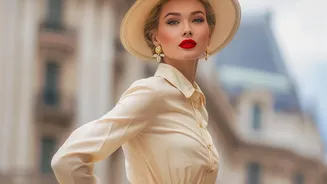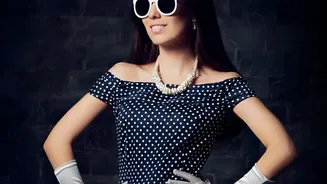

The glamour of past eras never truly fades, especially when it comes to hairstyling. From the sleek waves of the 1920s to the bold volume of the 1960s, vintage looks are timeless. Here’s a simple guide to recreating them yourself.
Get Your Toolkit Ready
Before diving in, having
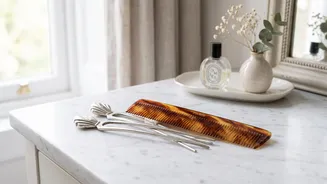
the right tools makes all the difference. While every style has specific needs, a basic vintage styling kit will serve you well across the decades. A rat-tail comb is essential for creating clean parts and backcombing. Bobby pins that match your hair colour are non-negotiable for securing your styles. For hold, a strong hairspray is your best friend. Depending on the look, you might also want duckbill clips for setting waves, a good teasing brush for volume, and perhaps some foam rollers or a curling iron for creating classic curls. Most iconic vintage looks begin with curled or waved hair, so prepping your hair with a curl set can make styling much easier.
The 1920s: Effortless Finger Waves
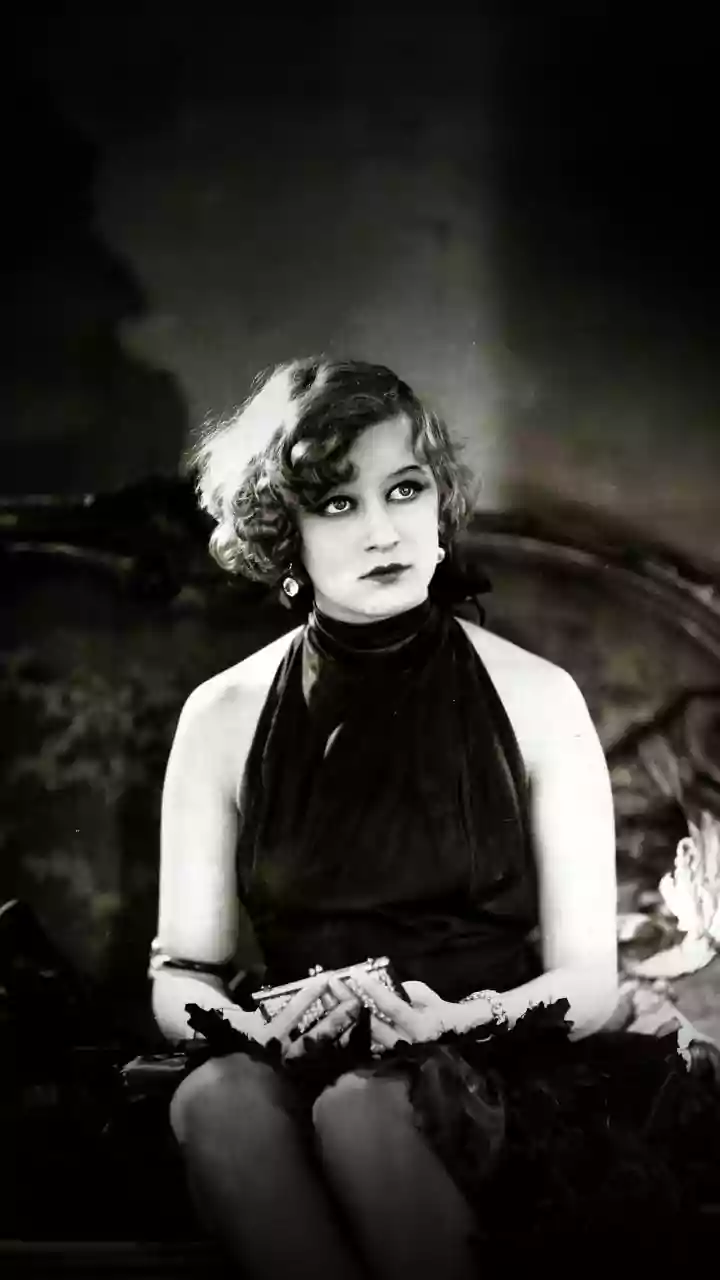
The 1920s were defined by the sleek, sculpted look of finger waves, a hallmark of the flapper era. While they may look complex, a simplified version is achievable at home. Start with damp, well-combed hair and apply a strong-hold gel or mousse. Create a deep side part. Place your middle finger flat on your hair near the part, then use a fine-toothed comb to push a section of hair forward, creating a C-shaped ridge. Hold that ridge with your index finger and comb the hair below it in the opposite direction to form the next wave. You can use duckbill clips to hold the wave patterns in place as you work. Continue this S-pattern down the side of your head. Let it dry completely before removing the clips, and finish with a spritz of hairspray to lock it all in place.
The 1940s: Iconic Victory Rolls
Victory rolls are perhaps the most recognizable hairstyle of the 1940s, symbolizing wartime glamour and resourcefulness. This style works best on hair that hasn't been washed for a day, as it provides more grip. Start by creating a side part. Take a section of hair from the front, from your parting down to your ear. To make it easier to shape, gently backcomb the underside of the section to create some texture and volume. Now, hold the section up and, starting from the ends, roll the hair inward around two fingers toward your scalp. Once you have a neat roll, carefully slide your fingers out and secure the roll to your head with plenty of bobby pins. Repeat on the other side for a classic two-roll look. Don't worry about perfection on the first try; practice makes perfect!
The 1950s: The Polished Ponytail
The ponytail became a youthful yet chic staple in the 1950s. This isn't just any ponytail; it’s about polish and volume. Start by sectioning off the front part of your hair and clipping it away. Gather the rest of your hair into a high ponytail. For that signature '50s bump, gently tease the hair at the crown before securing it. Now, unclip the front section. You can sweep it dramatically to one side and wrap it around the base of your ponytail, pinning it underneath to hide the elastic. For a final touch, curl the ends of the ponytail to give it a bouncy, flicked-out finish. A ribbon or scarf tied around the base adds an extra dose of retro charm.
The 1960s: A Simplified Beehive
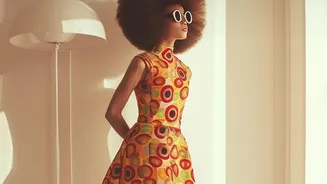
The 1960s were all about height, and the beehive was the ultimate expression of this trend. A full beehive can be intimidating, but a simpler, half-up version is surprisingly easy. The key is backcombing. Take the section of hair at the crown of your head and tease it generously with a comb, spraying each teased section for hold. Once you've built up enough volume, gently smooth the top layer of hair over the teased section to hide the tangles. Gather this 'bump' and pin it at the back of your head. For extra volume without extreme teasing, you can use a 'hair rat' or a small foam insert under the hair to create the shape. Let the rest of your hair hang loose or pull the sides back and pin them under the bump for a clean finish.