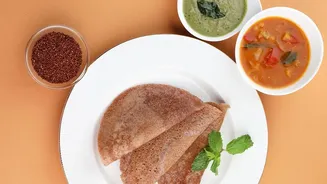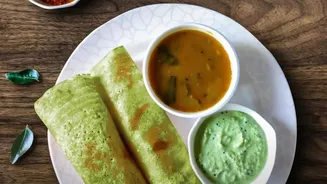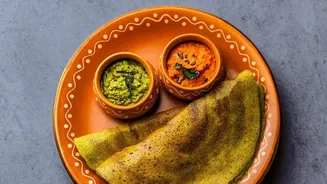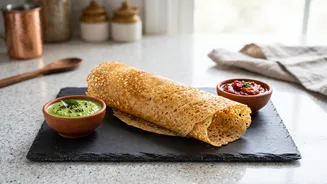


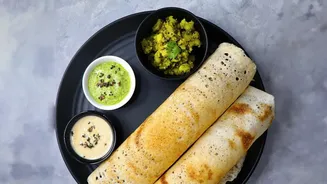


The quest for a healthy, quick, and delicious breakfast often leads to the versatile oats dosa. But achieving that perfect, paper-thin, crispy texture can be a challenge. This guide demystifies the process, turning a good breakfast into a great one.
The Magic of an Instant Dosa
Unlike
traditional dosas that require hours of soaking and fermentation, the instant oats dosa is a game-changer for busy mornings. The batter comes together in minutes, offering a nutritious meal packed with the fibre of whole-grain oats. The secret lies in a blend of key ingredients: powdered oats provide the body and nutty flavour, semolina (rava or sooji) creates the signature crispiness and lacy texture, and rice flour helps the dosa release cleanly from the tawa. A touch of curd or yogurt can add a pleasant tang that mimics the taste of a fermented batter. This combination makes it a go-to for a satisfying breakfast without the lengthy prep work.
Perfecting the Batter Consistency
The single most important factor for a thin, crispy oats dosa is the batter consistency. It should be very thin and free-flowing, often compared to the consistency of buttermilk or even thinner. A thick batter will result in a soft, pancake-like uttapam, which is not the goal here. To start, combine your powdered oats, rava, and rice flour. Then, whisk in water gradually until you reach a runny consistency. Don't be afraid to add more water; the batter needs to be fluid enough to be poured, not spread. Many recipes call for flavourings like finely chopped onions, ginger, green chillies, cumin seeds, and curry leaves, which should be mixed in after the base batter is formed. Letting the batter rest for 15-20 minutes is a crucial step; this allows the rava to absorb water and hydrate properly, which prevents the dosa from breaking on the tawa.
Prepping the Tawa Correctly
Your tawa, or griddle, must be sufficiently hot before you begin. A lukewarm tawa will cause the batter to stick and steam, resulting in a pale, soft dosa. To check if it's ready, sprinkle a few drops of water on the surface; they should sizzle and evaporate almost instantly. While a non-stick pan works, many experts agree that a well-seasoned cast-iron tawa yields the best results because it retains heat evenly, contributing to a superior crisp finish. Before pouring your first dosa, it's a good practice to grease the tawa lightly with oil, using a cloth or half an onion to create a thin, even layer.
The Art of Pouring
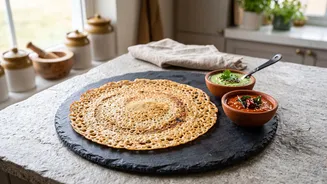
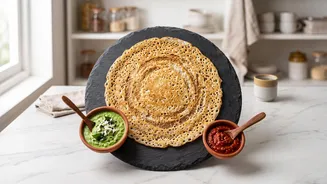
Making a lacy oats dosa requires a different technique than a traditional dosa. You do not spread this batter with the back of a ladle. Instead, you pour it. First, always stir the batter well right before you make each dosa, as the solids tend to settle at the bottom. Then, holding the ladle at a height, pour the batter onto the hot tawa, starting from the outer edges and moving inward in a circular motion to fill the gaps. This pouring method is what creates the characteristic network of holes and the delicate, crispy texture. Don't try to fill every single gap; the empty spaces are part of what makes this dosa unique.
Cooking to Crispy Perfection
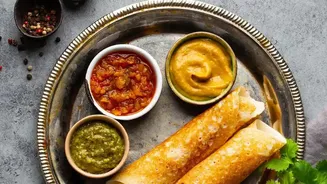
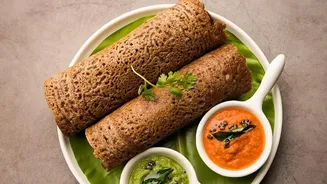
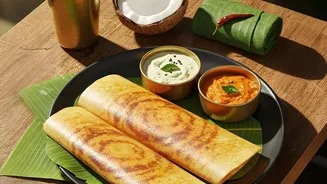
Once the batter is on the tawa, let it cook undisturbed on a medium-high flame. Drizzle a little oil or ghee around the edges and over the surface to aid in crisping. The dosa is ready when the surface looks cooked and the edges begin to turn golden brown and lift away from the pan. This can take a few minutes, so patience is key. For the crispiest result, it's best to cook the dosa on only one side; flipping it can make it lose some of its crispness. Once cooked, gently fold it over and serve it immediately. These dosas are best enjoyed hot, straight off the tawa, with your favourite chutney or sambar.