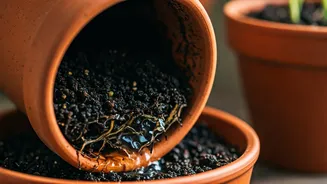


Why Good Drainage is Non-Negotiable
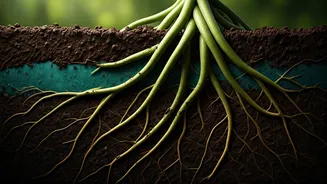
Before we dive into the shells, it's crucial to understand why drainage is so important for potted plants. Unlike garden beds, containers have a finite amount of soil and limited space for excess water to go. When water sits at the bottom of a pot, it drowns
the roots, depriving them of oxygen. This leads to root rot, a fungal disease that is one of the most common killers of container plants. Good drainage ensures that water moves through the soil, providing necessary moisture without creating a soggy, suffocating environment. A well-draining potting mix allows roots to breathe and grow strong, which is the foundation of a healthy plant.
The Surprising Benefits of Peanut Shells
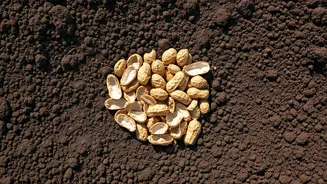
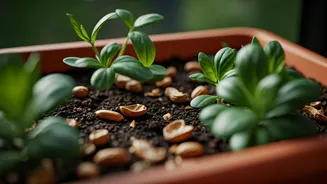
So, where do peanut shells fit in? These seemingly humble scraps are a fantastic resource. Their rigid, irregular shapes are excellent for creating air pockets within the soil. [1, 3, 11] When mixed into potting soil, they prevent compaction and help create a lighter, fluffier texture. [3] This improved aeration is vital for root health. Furthermore, they are lightweight, making large pots and hanging baskets much easier to move. [3, 8, 11] As they slowly decompose, peanut shells also release valuable organic matter and small amounts of nutrients like carbon, magnesium, calcium, and potassium into the soil. [1, 4, 7] This process improves the soil's structure and its ability to hold water over the long term. [1, 2]
How to Prepare Shells for Your Plants
You can't just toss leftover shells straight into your pots. A little preparation is key to success. First, and most importantly, only use shells from unsalted peanuts. [1, 2, 8] The high sodium content in salted shells can be toxic to plants and harm beneficial soil microbes. [2, 6, 8] If you only have salted shells, you can rinse them thoroughly or soak them in water for at least 12 hours—changing the water once—to remove the excess salt. [2, 5, 6] After rinsing, let the shells dry completely to prevent mould. [2] The next step is to crush them. Whole shells are too large and will decompose very slowly. Breaking them into smaller pieces by hand, stepping on them, or giving them a quick pulse in a food processor speeds up decomposition and makes them easier to mix into the soil. [1, 5, 7]
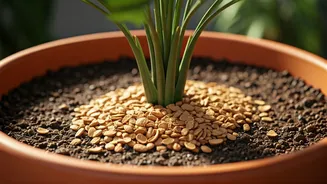
Mixing Shells into Your Potting Soil
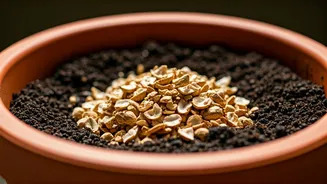
There are two main ways to use your prepared peanut shells. The most effective method is to mix them directly into your potting soil. [4] A good ratio to start with is about one part crushed shells to three or four parts potting mix. This will improve the overall structure of the soil, providing aeration and drainage throughout the root zone. Some gardeners add a layer of shells to the bottom of the pot before adding soil, believing it improves drainage. [8, 11] However, many experts caution against this, as it can create a perched water table—an area of saturated soil just above the shells—which can lead to root rot. [4] Integrating the shells throughout the soil is a much safer and more beneficial approach for consistent moisture levels and aeration. The shells can also be used as a top-layer mulch to help retain soil moisture and suppress weeds. [1, 2]
Important Considerations and Potential Downsides
While beneficial, there are a few things to keep in mind. In very humid or wet climates, peanut shells used as mulch or mixed in high concentrations might retain too much moisture, potentially encouraging fungal growth. [1, 3] It's always a good idea to monitor your soil moisture and adjust watering accordingly. Another consideration is the slow decomposition rate. [2, 7] While this is good for long-term soil structure, it means the shells won't provide a quick nutrient boost like a balanced fertilizer. Finally, be mindful of severe peanut allergies. If you plan to give away plants grown in a mix containing peanut shells, it's courteous to let the recipient know. [4]