




Choosing Your Perfect Match
The secret to natural-looking volume starts with selecting the right clip-in pieces. First, focus on colour. The extensions should match the ends of your hair, not the roots, for the most seamless blend. If your hair has multiple tones, you might need
to mix shades. Next, consider texture. If your hair is naturally wavy, choose extensions with a similar wave pattern. For straight hair, select a smooth texture. Finally, think about weight and density. For fine hair, lightweight or 'seamless' sets with flat wefts are ideal as they add fullness without pulling on your natural hair. If your hair is already thick, you can opt for a heavier set to achieve a dramatic effect. The goal is to add just enough hair to look full and believable.
Preparation for a Flawless Blend
A little prep work goes a long way in making your clip-ins undetectable. Start with clean, dry hair. For a better grip, especially if your hair is fine or silky, gently tease the roots where you plan to attach the clips. A spritz of dry shampoo or texturizing spray can also add the grit needed to hold the clips securely in place all day. Before you begin clipping, lay out the wefts (the hair pieces) in order from widest to smallest. This makes the application process quicker and more organised. The widest pieces are typically used for the back of your head, while the smaller wefts are for the sides.
Application Technique: The Foundation
Proper placement is everything. Always start applying the clip-ins low on your head and work your way up. Create a clean, horizontal part just above the nape of your neck and clip the rest of your hair out of the way. Attach your first, widest weft to this section. Open the clips, slide them into the teased roots of your hair, and snap them shut. Release another section of your hair about an inch above the first weft and apply the next piece. Crucially, always leave a thick enough layer of your own hair at the top and sides to cover the wefts completely, ensuring no clips are visible. Avoid placing clips too close to your hairline or part.
Quick Hairstyle 1: The Voluminous Ponytail
A full, bouncy ponytail is a classic style that's easy to elevate with clip-ins. For a high ponytail, try clipping the wefts in upside down; this helps them lie flat when you pull your hair up and makes the style more comfortable. Gather your natural hair and the extensions into a ponytail at your desired height and secure it with a strong hair tie. To conceal the elastic, take a small section of hair from the ponytail, wrap it around the base, and secure it underneath with a bobby pin. This simple trick creates a polished, high-impact look perfect for any occasion.
Quick Hairstyle 2: The Effortless Half-Up, Half-Down
The half-up, half-down style is incredibly versatile and works beautifully with extensions. It naturally hides the top wefts, making it a foolproof choice. Focus on applying the clip-in pieces to the lower half of your head, building volume where your hair will be left down. Once the extensions are secure, gather the top section of your hair from temple to temple and secure it with a chic claw clip, scrunchie, or pins. For a softer, more romantic look, pull out a few face-framing strands.
Quick Hairstyle 3: The Fuller Festive Braid
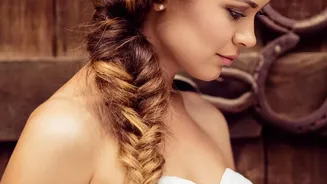
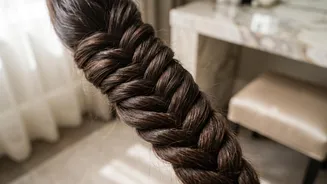
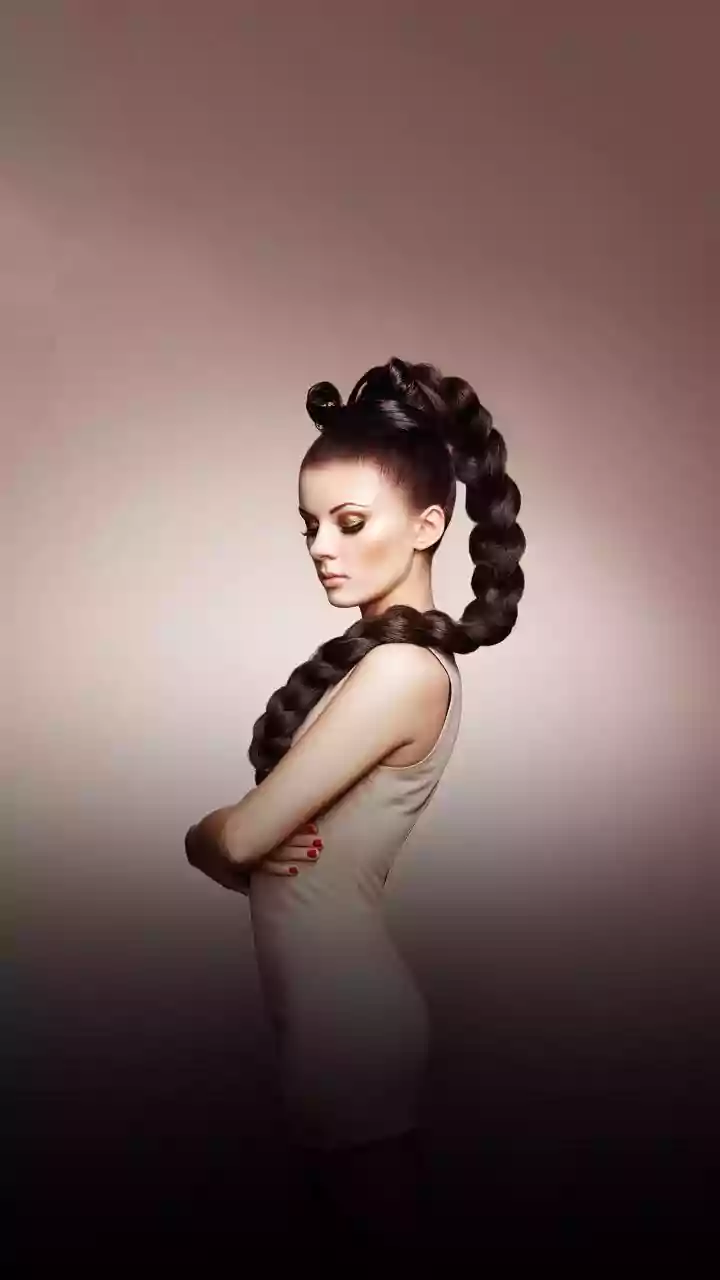
Braids can sometimes look thin, especially towards the ends. Clip-ins are the perfect solution for creating thick, impressive braids for festive events or weddings. Apply the wefts throughout your hair as you normally would, then style your braid of choice, whether it's a classic three-strand, a fishtail, or a crown braid. A great trick for added length is to clip a small weft directly into the middle of the braid as you go, ensuring it's hidden within the plaits. Once the braid is secured, gently pull apart the sections—a technique called 'pancaking'—to make it look even fuller and more voluminous.